


VIVOTEK
50 - User's Manual
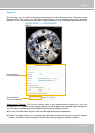
Media > Image
This section explains how to configure the image settings of the Network Camera. It is
composed of the following tabbed windows: General settings, Image settings, Exposure, and
Privacy mask, and Pixel Calculator.
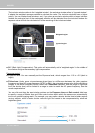
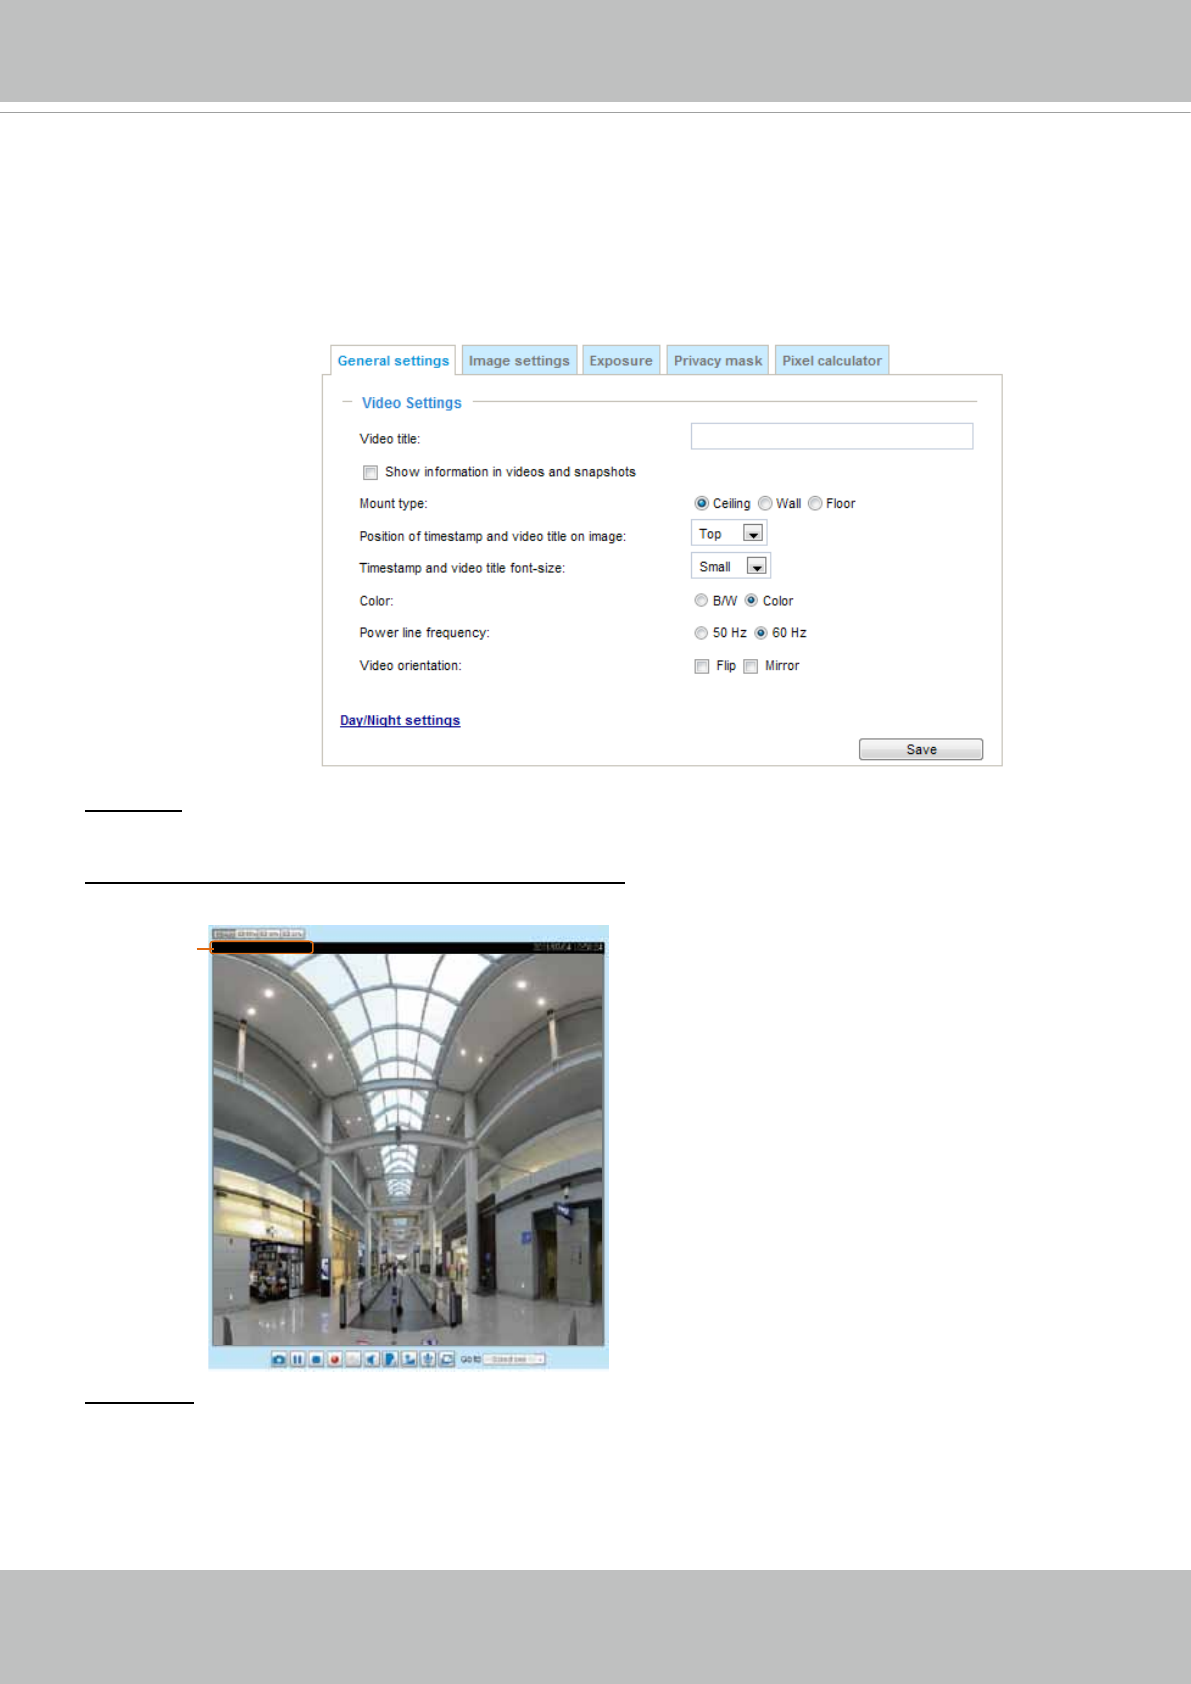
General settings
Video title: Enter a name that will be displayed on the title bar of the live video as well as the view cell on
the ST7501 and VAST recording software.
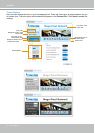
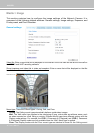
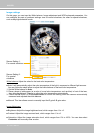
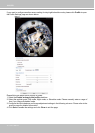
Show timestamp and video title in video and snapshot: Enter a name that will be displayed on the title
bar of the live video as the picture shown below.
2011/03/13 17:08:56
Video 17:08:56 2011/03/13
Video Title and Time
Mount type: There are 3 Mount types - Ceiling, Wall, and Floor.
Ceiling: The Ceiling mount type automatically delivers upside-down images.
Wall: The Wall mount type applies to the monitoring of long, side-to-side surveillance areas, such
as when mounted on a wall facing a corridor. Different Mount types have different options with the
Display mode settings. For example, the 1P2R (1 Panoramic & 2 Regional) and 1P3R (1 Panoramic
& 3 Regional) Display modes are only available when the “Wall“ Mount type is applied.
Floor: The Display modes with the Floor mount type are identical to those for the Ceiling mount