- Page 7 -
5 ERASE
5.1 Erasing a PART
The erase button is used to erase a single track, part or song. When in PART mode, pressing and holding
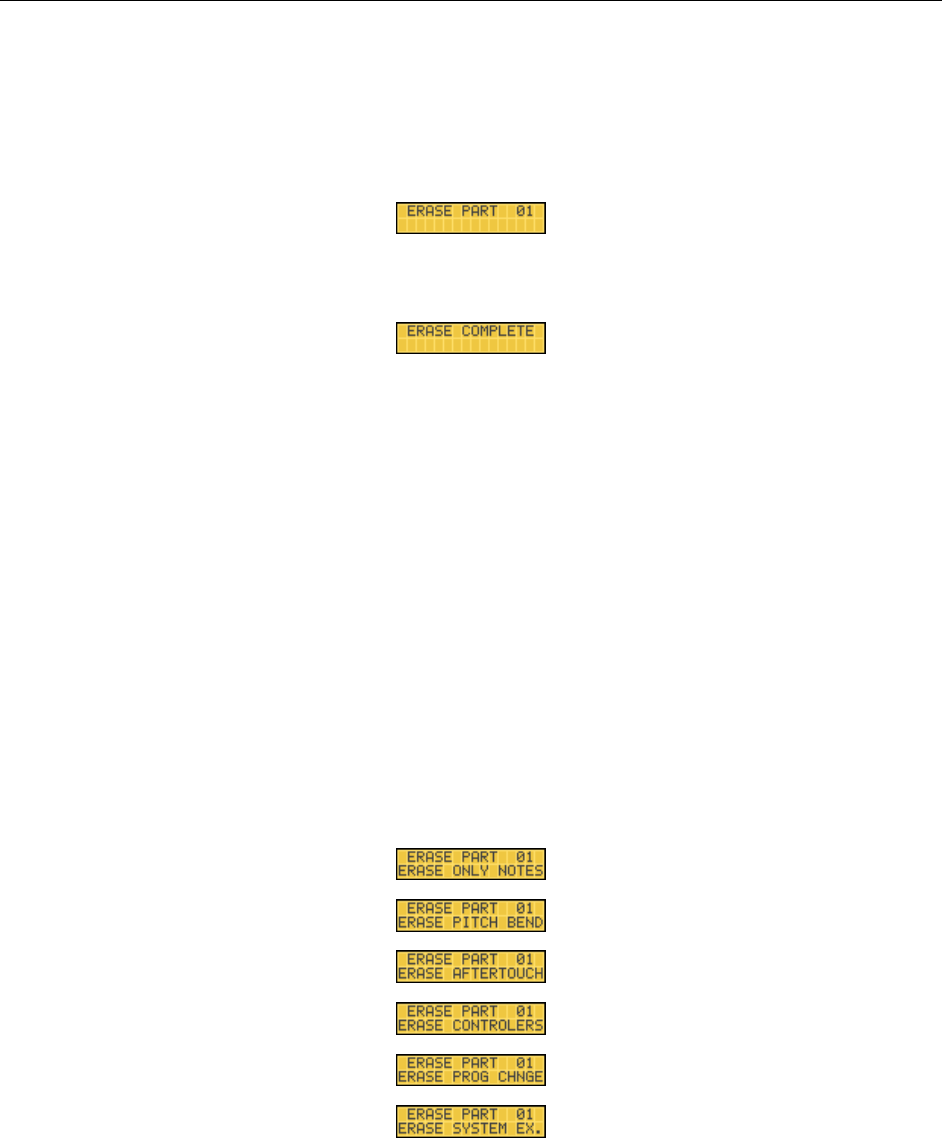
the ERASE button causes the following display:
The number 01 would actually be the currently selected part number. All 8 track LEDs will be lit. To erase
the selected part, press RECORD. The display will change to:
The display will remain this way until the RECORD button is released, after which the display will return
to its previous state.
5.2 Erasing a single TRACK
To erase a single track, press and hold the ERASE button (all track LEDs will light), and select the desired
track number. The selected track's LED will remain lit, and the other track LEDs will turn off. Additional
tracks can be selected, and their LEDs will come on. Pressing RECORD will erase any selected tracks.
5.3 Erasing selected information (notes, pitchbend, individual
MIDI channel, etc.)
When erasing a track or part, it is possible to erase only selected data from a part or track. While holding
the ERASE button, the page up and page down buttons below the LCD display can be used to select
specific functions. If the arrow buttons are used, they will scroll through the following choices backwards
or forwards depending on which button is pressed:
