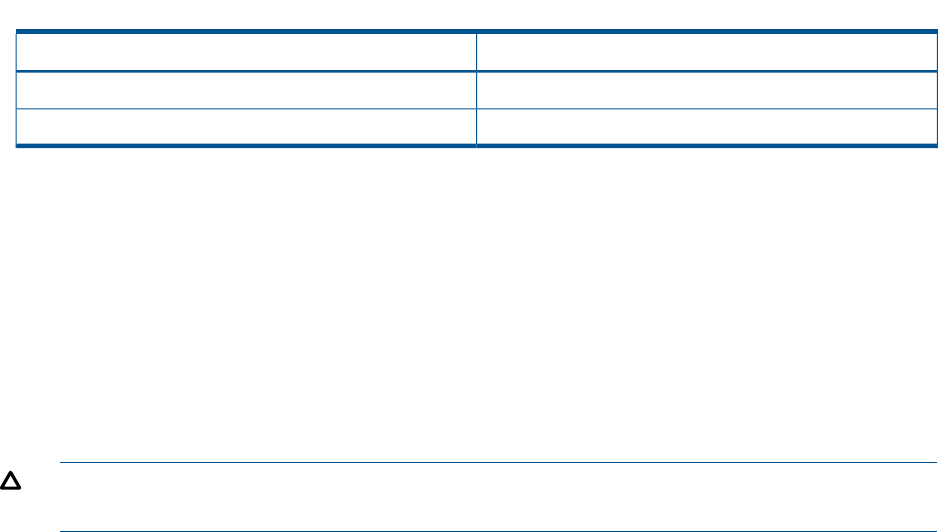
Table 3 Relationship of disk size to datastore block size (continued)
Max VMDKBlock Size
1024 GB4 MB
2048 GB8 MB
To configure the data disk:
1. In the VI Client, navigate to the Inventory Panel.
2. Click Add at the bottom of the Hardware tab.
3. Select Hard Disk as the type of device to add and click Next.
4. Select Create a new virtual disk and click Next.
5. In the Disk Capacity section, designate a capacity that is suitable for the amount of storage
available on your ESX Server.
6. In the Location section, select Store with Virtual Machine, and click Next.
7. For the first disk, select the Virtual Device Node to be SCSI1:0 from the list. For additional
disks, assign SCSI 1:1 through 1:4, in sequential order.
CAUTION: Selecting anything other than SCSI 1:0 for the first disk causes RAID to be
unconfigurable later.
8. Select Mode→Independent→Persistent and click Next.
9. Review the device configuration and click Finish.
Powering on the VSA for vSphere and setting IP address and hostname
1. In the inventory panel, select the new VSA for vSphere and power it on.
2. Select the Console tab and wait for the VSA for vSphere to boot.
3. When the VSA for vSphere finishes booting, enter Start and press Enter to log in to the
Configuration Interface.
4. On the Configuration Interface main menu, press Tab to select Network TCP/IP Settings and
press Enter.
5. On the Available Network Devices window, press Tab to select the applicable network interface
and press Enter.
6. On the Network Settings window, press Tab to select the Hostname box and enter a host
name for the VSA. Use backspace to erase an entry if necessary.
This host name displays in the CMC only. It does not change the name of the original .vmx
file or the name of the virtual machine in the VMware interface.
7. Press Tab to select the method for setting the IP address.
If you are entering a static IP address, note that Gateway is a required field. If you do not
have a gateway, enter 0.0.0.0.
8. Press Tab to select OK and press Enter.
9. Press Enter again to confirm the action.
10. After the settings are configured, press Enter to confirm the IP address change.
11. On the Available Network Devices window, press Tab to select Back and press Enter.
12. On the Configuration Interface, press Tab to select Log Out and press Enter.
Finishing up with VI Client
1. In the VI Client Information Panel, select the Summary tab.
2. In the General section on the Summary tab, verify that the IP address and host name are
correct, and that VMware Tools are running.
Powering on the VSA for vSphere and setting IP address and hostname 9
