19
RECORDING
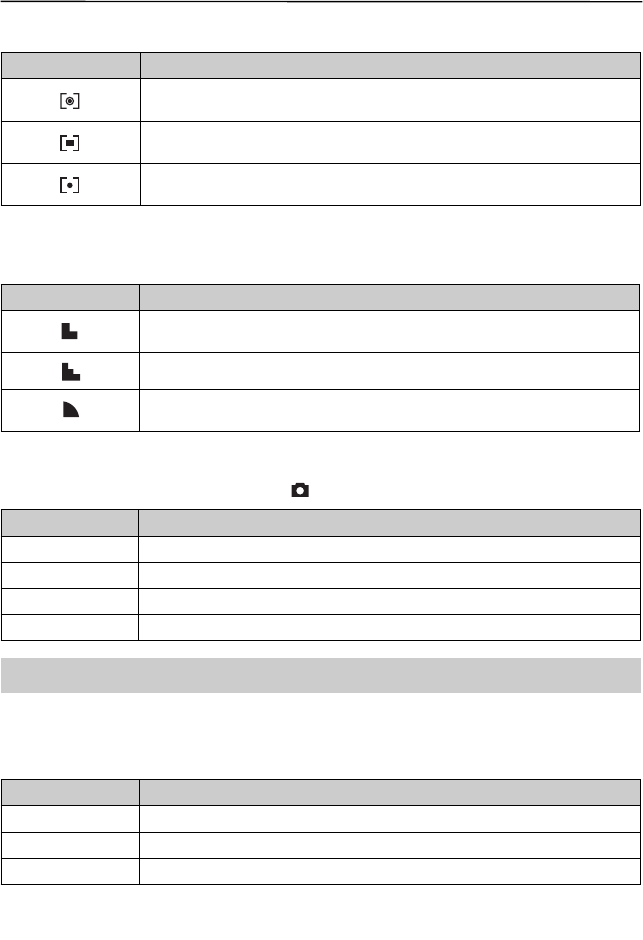
Setting the Metering
There are 3 different light metering options available on your camera.
Option Description
Light is measured from the entire shooting screen, but gives more importance
to the values near the center.
Selects an exposure based on readings from multiple points in the subject
area
Selects an exposure based on a single reading taken from the center of your
picture.
Setting the Sharpness
You can select whether you want the image to have sharp or soft outlines.
Option Description
The edges of the image are emphasized. The edges will become sharp, but
noise may occur in the recording image.
The edges of the image are sharp. This is suitable for printing.
The edges of the image are softened. This is suitable for editing images on
PC.
Setting the Photo Effect
You can add special effects to your images in
mode.
Option Description
Off No effect is added to the image.
B&W Convert image to black & white.
Sepia Recorded image will be stored in a sepia tone.
Neg. Art Opposite what they were in the original image.
Note: This function is not available to resolution 8M.
Setting Date Stamp
The Date Stamp function can be used to add a date to your pictures as you take them.
Option Description
Off Do not add the recorded date & time to printed images.
Date Only add the recorded date to printed images.
Date & Time Add the recorded date & time to printed images.


