SVAT ELECTRONICS
now you can see
CLEARVU3 13
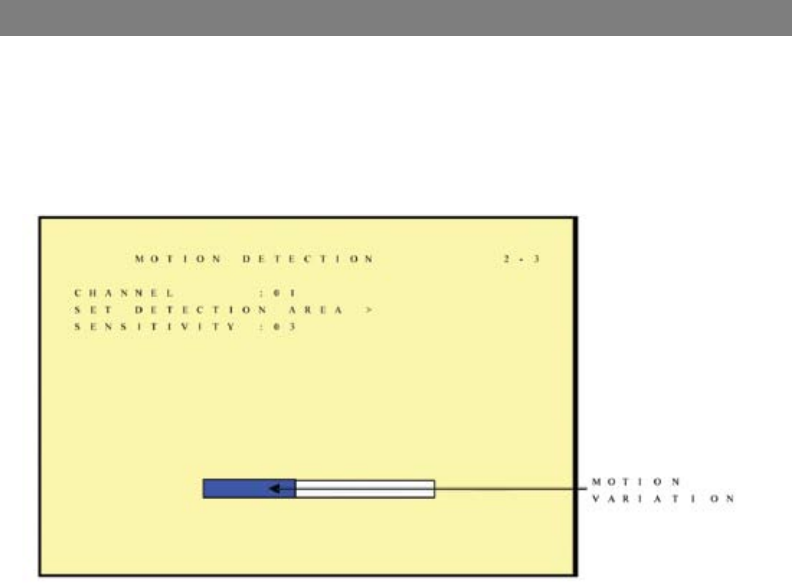
6.2.3 Motion Detection
You can use these settings to adjust the area and sensitivity of motion detection on each
camera channel. These settings are important if you are using motion activated recording,
because if adjusted correctly, they can help prevent false triggering of
motion recording.
1. Channel – Select the camera channel in which you would like to make changes
2. Set Detection Area – Select this setting to enter a grid screen for the selected
camera channel. In this screen you can set the areas in the camera’s view that
you want to enable or block motion detection in. For example, if there are cars
constantly driving by in an area on your camera, you can block that area from
detecting motion. Use the directions below to set up motion detection areas:
Area Block Color:
• Grey: Detection Block. These areas will be detected
• Transparent: Non-Detection Block.
• Green: Flashes when motion on the camera is being detected.
Use the green ashes to determine where motion is consistently being detected, and then
make sure to set the motion detection area to exclude these areas from motion detection.
Follow the directions below:
• Press “SEARCH” button to enable whole detection area.
• Press “MENU” button to disable whole detection area.
• You can set up a maximum of 3 separate detection areas (Detection areas
may overlap):
• Press the” UP/ DOWN/ LEFT/ RIGHT” buttons to setup the starting point of the
detection area.
• Press the “ENTER” button to conrm the starting point of the detection area.
• Press the “UP/ DOWN/ LEFT/ RIGHT” buttons to drag the window and set the
ending point of the detection area.
• Press the “ENTER” button to conrm the ending point of the detection area.
