


7
290A Installation Instructions
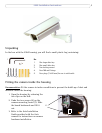
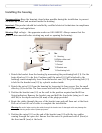
Completing the installation
Caution: The heater at the front of the housing unit becomes hot when in operation. If applicable, position
the cable connected from the DC IRIS socket to the lens so that it does not touch the heater.
• Ensure that all cables and connections are correctly and safely installed.
• Ensure that the lens setting is correct and make final adjustments if required
(refer to Axis Installation Guide).
• Ensure that the window is clean. Wipe it with a dry cloth if it is not. Do not use a
damp or wet cloth! Ensure that no tools/loose parts are left in housing.
• Finally ensure that all the visible seals are undamaged and in position.
Warning: If any of the seals are damaged or missing , the housing will not be weatherproof and water
ingress may occur. This can seriously damage to the camera and other system equipment. Installations that
have been completed with damaged or missing seals are not covered by any warranty.
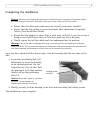
Once you have checked all the above items, close the housing with the two clips on the
side:
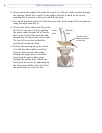
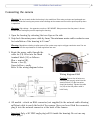
1. Loosen the positioning bolt (13)
sufficiently to move the housing
in the desired position. Use the
large allen key (1) to do this. Once
the housing is in its final position
firmly lock up the positioning
bolt (13).
Caution: Do not over-tighten or use exces-
sive force. You may damage the
bracket-swivel assembly if you do so.
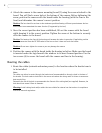
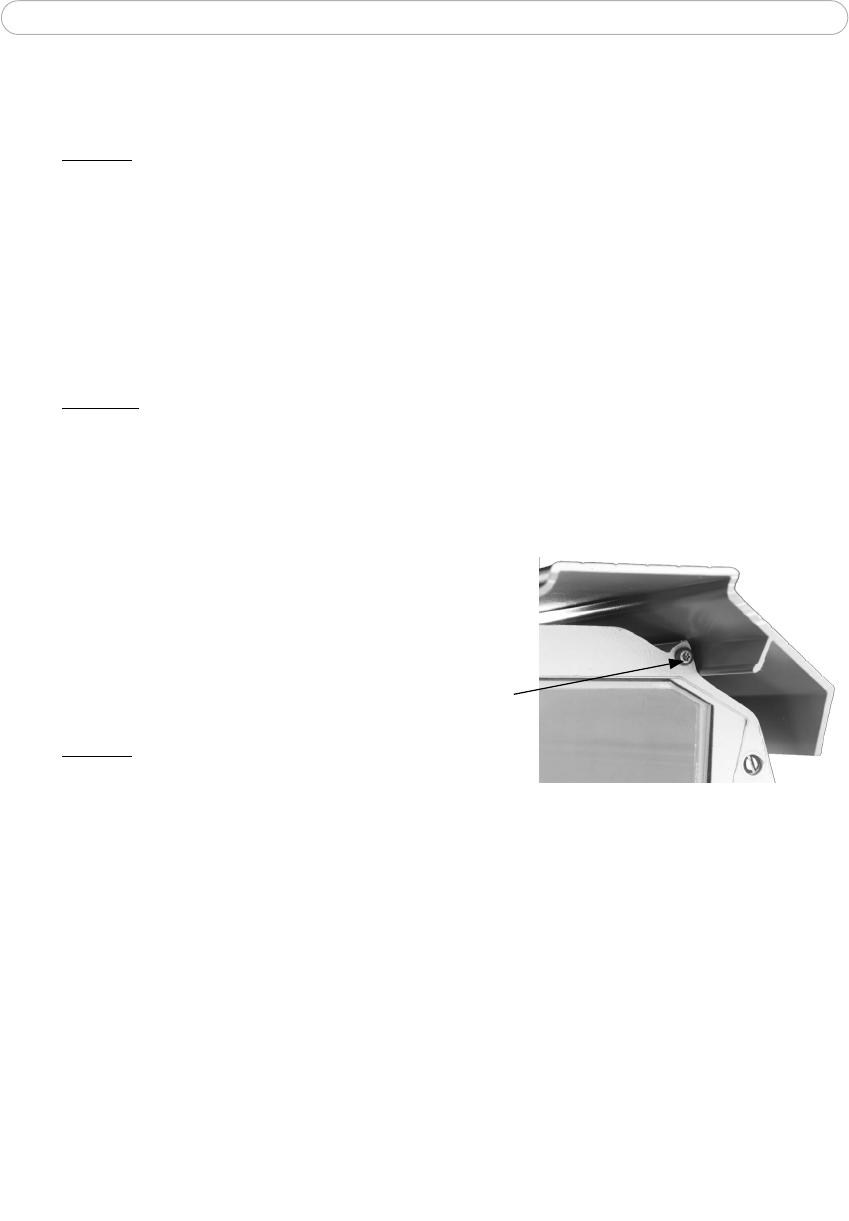
2. Finally, securely lock the housing at the front and rear using the locking screws.
The installation is now complete.
Locking screw
at front