


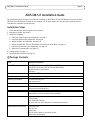


Page 10 AXIS Q87-E Installation Guide
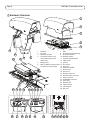
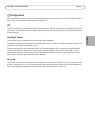
Attach the Base to the Bracket
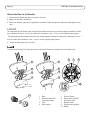
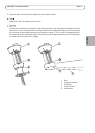
1. Remove the desiccant bag, which is placed in the base.
2. Make sure the seal is in position.
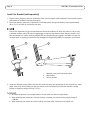
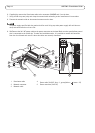
3. Route the network, power and, if applicable, illuminator cables through their respective cable glands in the
base.
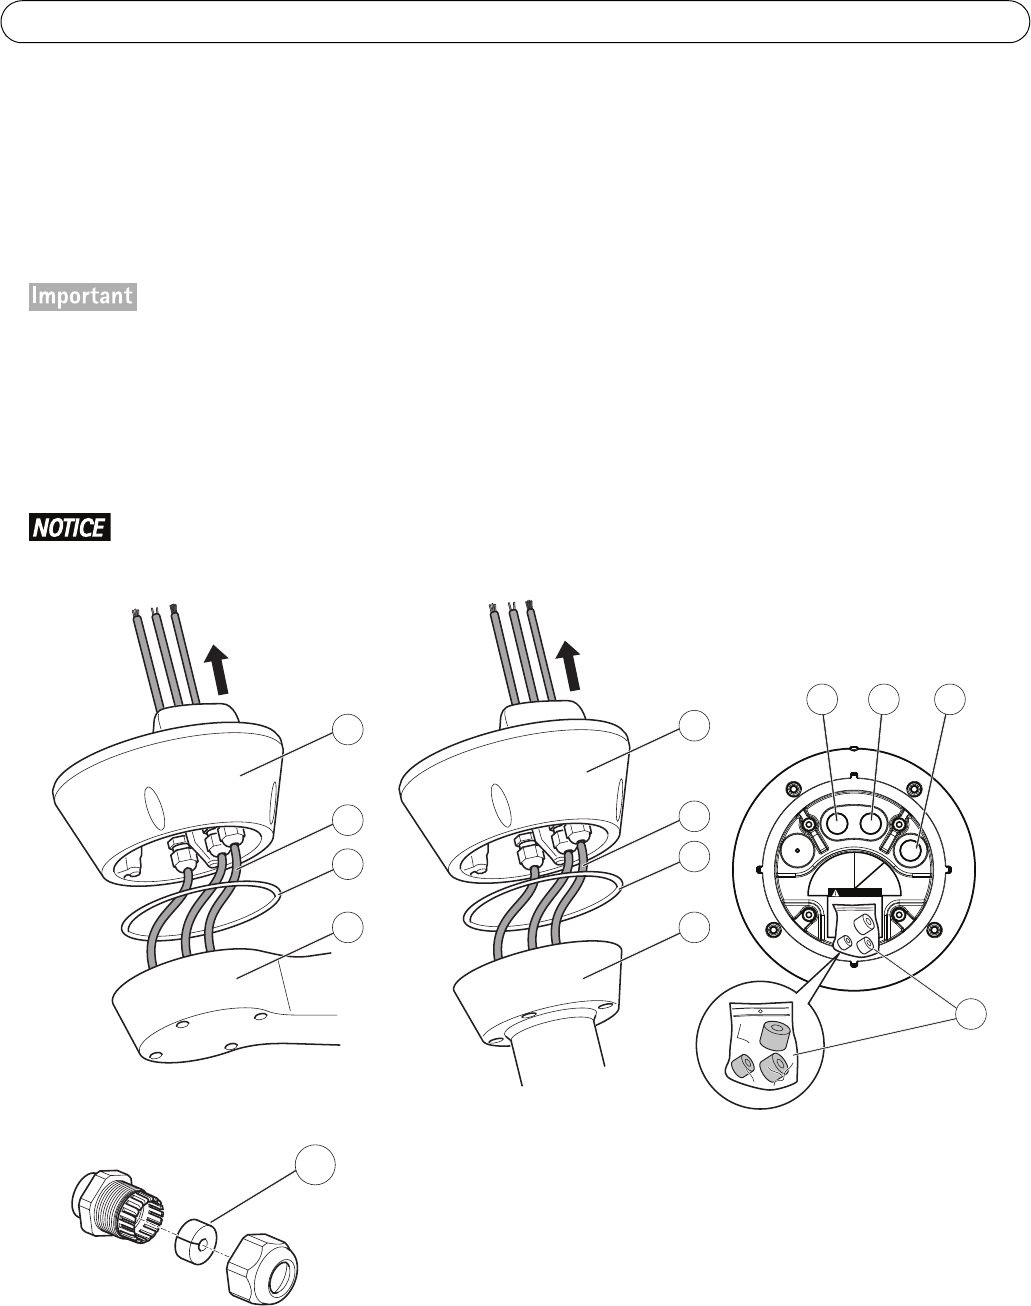
The cable gland for the power cable, and the IR illuminator cable has a pre-mounted gasket suitable for cables
with a diameter of 5 mm -10 mm. For cables with a diameter 3 mm - 7 mm, use the supplied spare gaskets.
The cable gland for the network cable has a pre-mounted gasket suitable for cables with a diameter of 3 mm - 7
mm. For cables with a diameter 5 mm - 10 mm, use the supplied spare gaskets.
4. Screw the cable gland caps on firmly.
To maintain the product's IP rating and reduce cable strain, make sure to tighten the cable gland caps.
WARN ING
24 V AC
Power
IR
Network
3
3
2
1
1
6 7 8
9
54
2
10
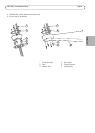
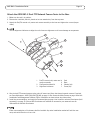
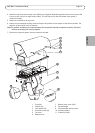
1 Base 5 Column bracket
2 Network, power and
illuminator cables
6 Power cable (24 V AC)
7 Illuminator cable
3 Seal 8 Network cable
4 Wall bracket 9 Supplied spare gaskets
10 Gasket