Printing Images
154
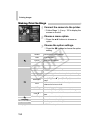
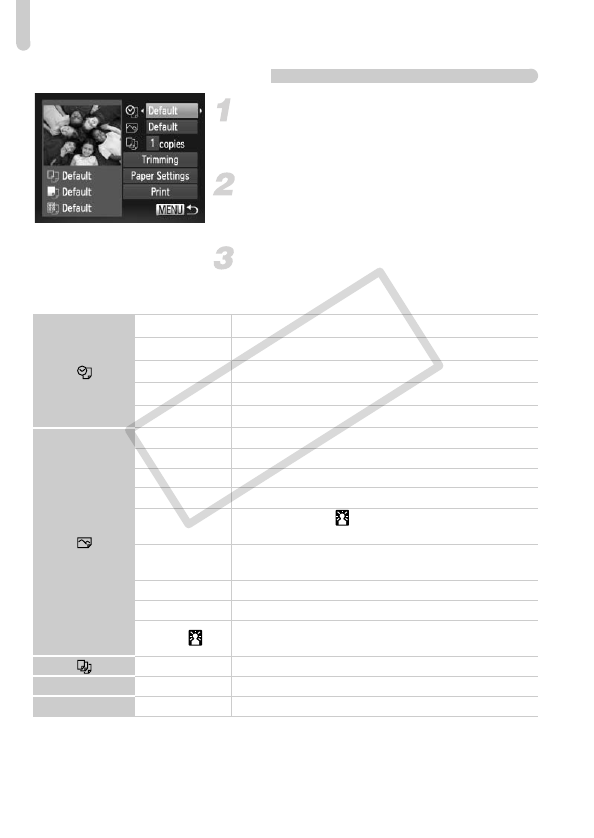
Making Print Settings
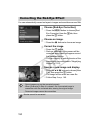
Connect the camera to the printer.
z Follow Steps 1 – 6 on p. 152 to display the
screen on the left.
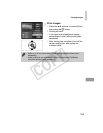
Choose a menu option.
z Press the op buttons to choose an
option.
Choose the option settings.
z Press the qr buttons to choose the option
setting.
* Only appears when connected to a PIXMA series printer.
Default Follows the printer’s settings.
Date Prints the date.
File No. Prints the file number.
Both Prints both the date and file number.
Off —
Default Follows the printer’s settings.
Off —
On Uses shooting information to optimize print settings.
Red-Eye1 Corrects red-eye.
Red-Eye2*
Uses [NR], [Face ] and [Red-Eye1] to correct the
image.
Vivid*
Greens in trees, and blues in the sky and ocean are
enhanced to be more vivid.
NR* Reduces image noise.
Vivid+NR* Uses both [Vivid] and [NR] to correct the image.
Face *
Corrects brightness for dark faces, such as in backlit
shots.
No. of Copies Choose the number of copies.
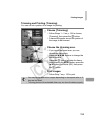
Trimming — Choose the area for printing.
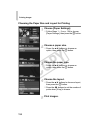
Paper Settings — Sets the paper size and layout.
COPY


