


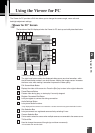
Viewer for PC
2
Viewer for PC
2
29
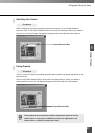
Connecting to the Camera Server
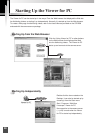
When you use the Viewer for PC to connect to the camera server and monitor, if the Viewer for PC was
started up from the Web browser, it automatically connects to the camera server. But if the Viewer for PC
was started up independently, you need to specify the camera server or select a registered camera server.
You can also change the connection target to another camera server while you are still connected to one
camera server, or start up multiple Viewer for PCs and connect each one to a different camera server.
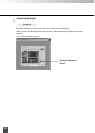
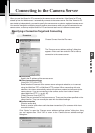
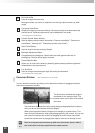
Specifying a Connection Target and Connecting
Procedure
1
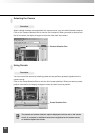
Choose Connect from the File menu.
2
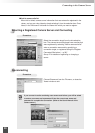
The “Camera server address settings” dialog box
appears. Enter each item and click OK to make a
connection to the camera server.
■ Host Name
Specify the IP address of the camera server
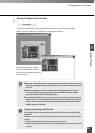
■ Video connection settings
[Auto] [WV-TCP] [WV-HTTP]
Select whether to connect to the camera server using auto selection, or to connect
using the WebView-TCP or WebView-HTTP protocol. When connecting with auto
selection, the viewer automatically selects the optimum protocol and connects to the
camera server. If you are connecting to the camera server from inside a firewall,
select WebView-HTTP (→ pp.44, 45).
[Video] [Camera Control] [HTTP]
Specify the port numbers of the camera server. These are the values specified on the
camera server. They can normally be used with the default settings.
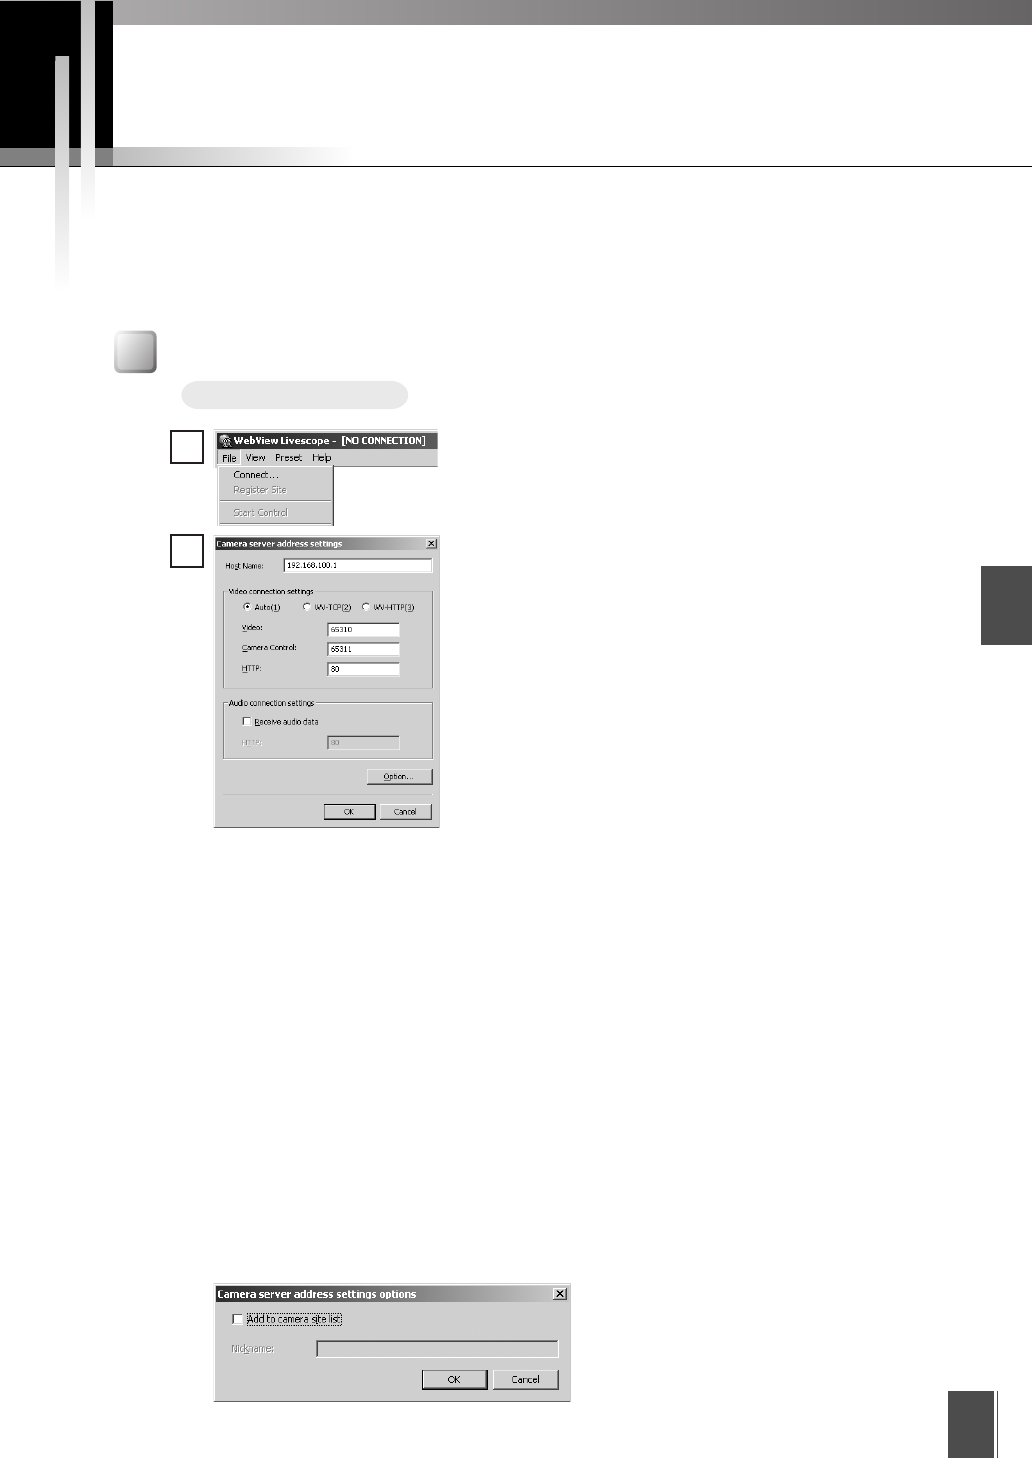
■ Audio connection
[Receive audio data]
Select to receive audio when audio has been transmitted. (For cameras which have
an audio function.)
Click “Option” to open the “Camera server address settings options” dialog box. Here
you can register sites. Click “OK” to return to the “Camera server address settings”
dialog box.