


Common, Convenient Features
54
The camera can add the shooting date and time to images in the lower-right
corner. However, note that these cannot be removed. Confirm beforehand
that the date and time are correct (p. 18).
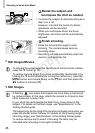
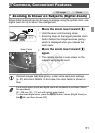
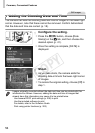
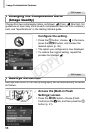
Configure the setting.
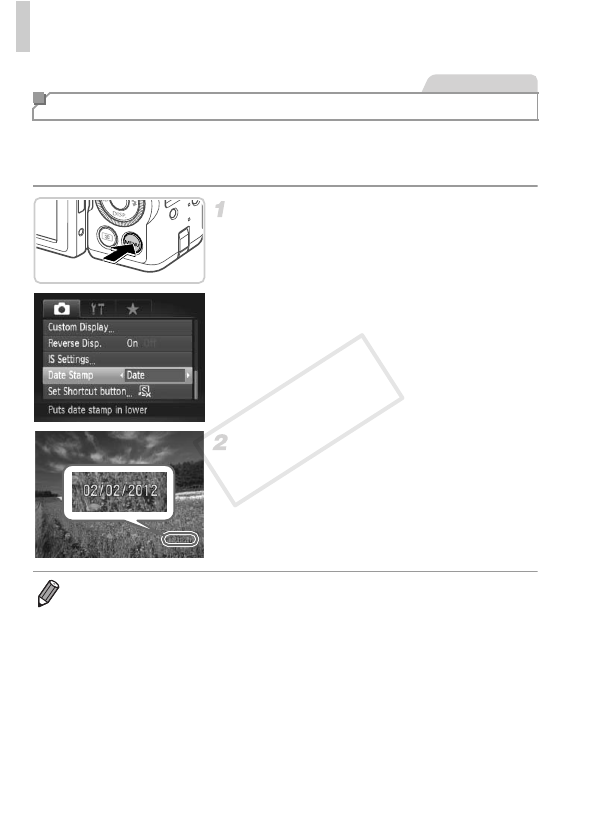
z Press the n button, choose [Date
Stamp] on the 4 tab, and then choose the
desired option (p. 41).
X Once the setting is complete, [DATE] is
displayed.
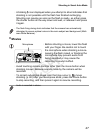
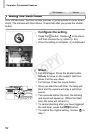
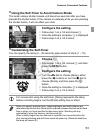
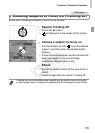
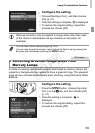
Shoot.
X As you take shots, the camera adds the
shooting date or time to the lower-right corner
of images.
z To restore the original setting, choose [Off] in
step 1.
Adding the Shooting Date and Time
Still Images
• Images originally recorded without the date and time can be printed with this
information as follows. However, adding the date and time to images that
already have this information may cause it to be printed twice.
- Use camera DPOF print settings (p. 208) to print
- Use the included software to print
For details, refer to the Software Guide.
- Print using printer functions (p. 202)
COPY