


Initial Preparations
20
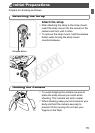
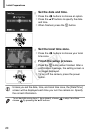
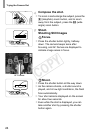
Set the date and time.
Press the qr buttons to choose an option.
Press the op buttons to specify the date
and time.
When finished, press the m button.
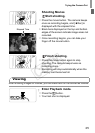
Set the local time zone.
Press the qr buttons to choose your local
time zone.
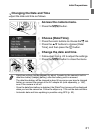
Finish the setup process.
Press the m button when finished. After a
confirmation message, the setting screen is
no longer displayed.
To turn off the camera, press the power
button.
• Unless you set the date, time, and local time zone, the [Date/Time]
screen will be displayed each time you turn the camera on. Specify
the correct information.
• To set daylight saving time (1 hour ahead), choose in step 2 and then
choose by pressing the op buttons.
COPY