Photo Operations
130
Deleting a Photo from the Index Screen
1 Open the [Photos] Index Screen (A 127).
2 Move the orange selection frame to the photo to be deleted.
3 Press the joystick to open the photo menu.
4 Select [Delete] and then press the joystick.
5 Select [OK] and then press the joystick.
• Select [Cancel] instead to cancel the operation.
• The selected photo is deleted.
• If a custom picture file is embedded in the photo, it is also deleted.
6 When the confirmation message appears, press the joystick.
Deleting a Selection of Photos
1 From the [Photos] index screen open the photo selection screen.
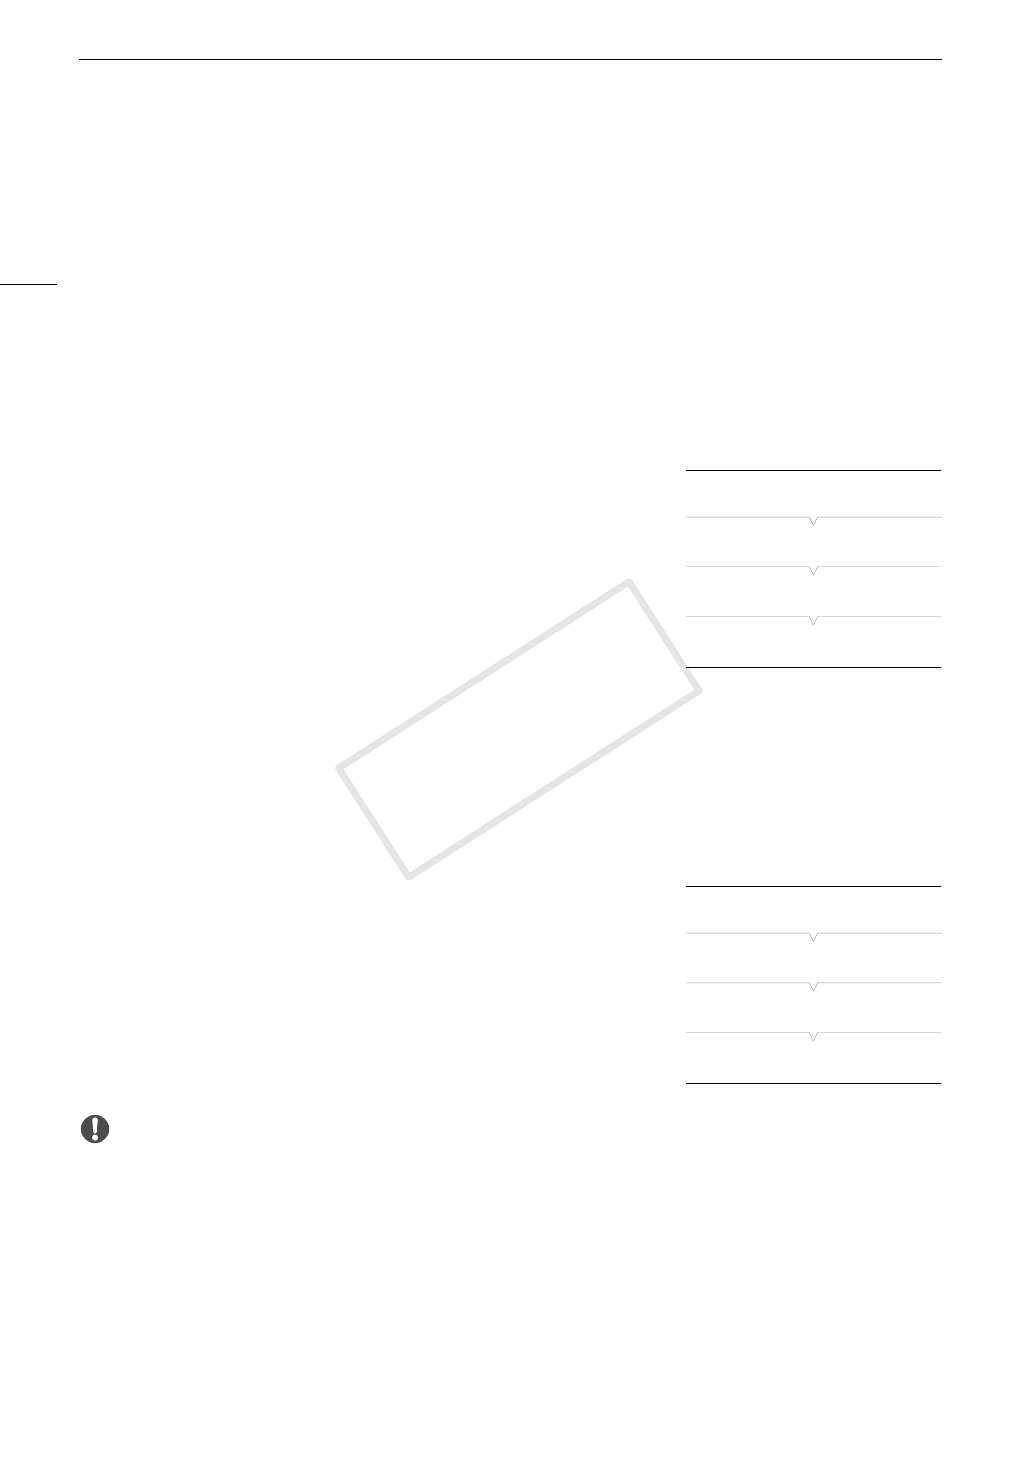
[w Other Functions] > [Photos] > [Delete] > [Select]
2 Using the joystick, bring the orange selection frame to a photo you wish
to delete and then press the joystick.
• A checkmark
" will appear next to the photo's thumbnail to indicate
it was selected. Press the joystick again to remove the checkmark.
• Repeat this step to select all the photos you wish to delete. The total
number of selected photos will appear at the bottom of the screen,
next to the
" icon.
3 After selecting all the desired photos, press the MENU button.
4 Select [OK] and then press the joystick.
• Select [Cancel] instead to return to the photo selection screen.
• While the photos are being deleted, you can press the joystick to cancel.
5 When the confirmation message appears, press the joystick.
Deleting All Photos
1 From the [Photos] index screen open the [Photos Delete All] screen.
[w Other Functions] > [Photos] > [Delete] > [All]
2 Select [OK] and then press the joystick.
• Select [Cancel] instead to cancel the operation.
• While the photos are being deleted, you can press the joystick to
cancel.
3 When the confirmation message appears, press the joystick.
IMPORTANT
• Be careful when deleting photos. Deleted photos cannot be recovered.
• Photos that were protected using other devices cannot be deleted with the camcorder.
[w Other Functions]
[Photos]
[Delete]
[Select]
[w Other Functions]
[Photos]
[Delete]
[All]
COPY


