


29
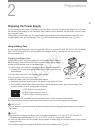
Preparing the Camcorder
Preparing the Camcorder
This section outlines the basic preparations for the camcorder such as attaching a lens and attaching the
modular units (handle unit, grip unit, etc.) to the camcorder. The modular units extend the camcorder's
functionality so you can choose the configuration that best fits your needs and shooting conditions.
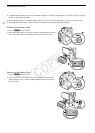
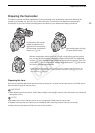
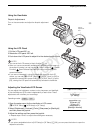
Preparing the Lens
As much as possible, attach and remove the lens quickly and in a clean environment free of dust. Refer also to
the instruction manual of the lens used.
IMPORTANT
• When attaching/removing a lens, avoid direct sunlight or strong light sources. Also, be careful not to drop the
camcorder or lens.
NOTES
• Be careful not to touch the lens mount or any components inside the lens mount area.
• Replace the body cap to the lens mount immediately after removing the lens from the camcorder.
• Keep the body cap clean and free from dust or dirt particles.
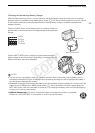
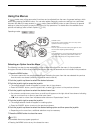
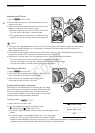
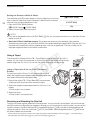
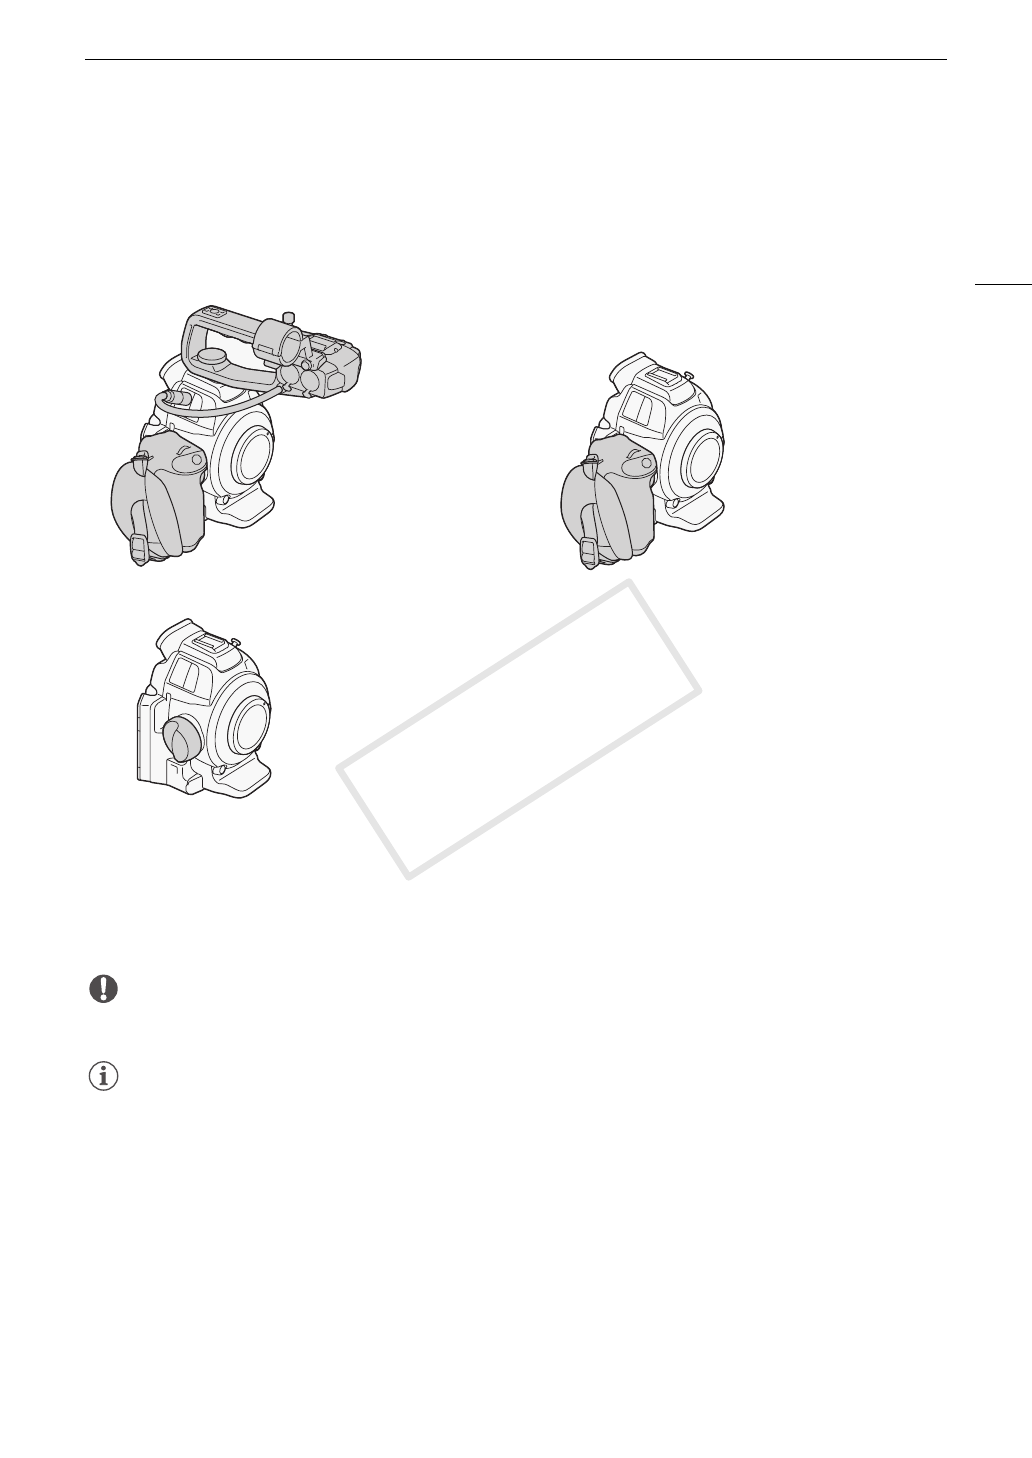
Minimal configuration with thumb rest. You will not be able to use the joystick,
but you can set the joystick's functions (up/down/left/right/SET) to assignable
buttons (A 89) to be able to change settings that require the joystick*. Also, the
control dial (A 60, 61) and MAGN. button/Assignable button 7 (A 89) cannot
be used to operate the camcorder.
* Except during photo playback. Functions that require the joystick include all settings in the
menus (A 27, 133), white balance, ISO speed/gain and shutter speed (A 53), custom
picture settings (A 92), etc.
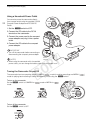
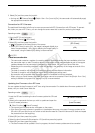
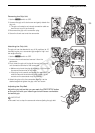
Configuration with handle:
Attach the handle unit to
use the built-in microphone,
XLR terminals, microphone
holder, etc. (A 74).
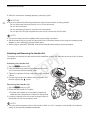
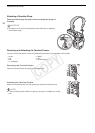
Light configuration with grip
for hand-held shooting.
COPY