


Mounting on the Camera and Dis-
mounting
Pre-Mounting Checklist
1. Make sure the camera's stop-down lever
is not locked for stopped-down metering
(see p. 61). If it is, a red warning dot will
appear beside the coupling lever inside
the camera body.
2. Make sure the automatic aperture lever at
the rear of an FD lens is not set for
manual diaphragm control (see p. 80).
3. Before mounting an FD lens, make sure
the film advance lever has been complete-
ly advanced.
4. Remove the lens' rear dust cap.
5. Remove the camera's body cap.
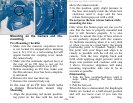
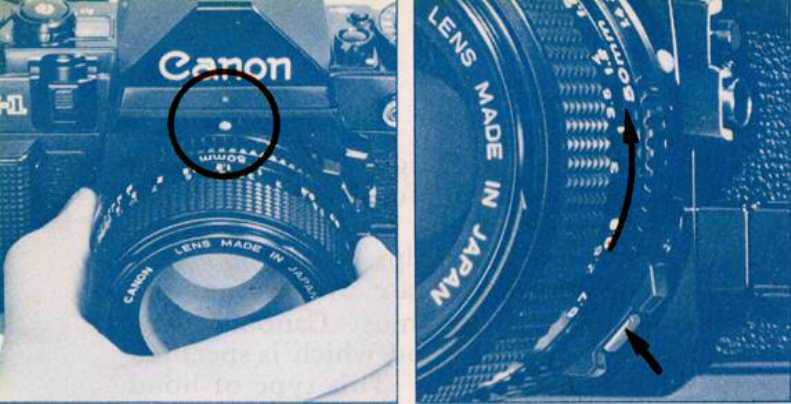
In the case of an FD lens which lacks
a chrome Breech-lock mount ring:
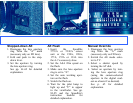
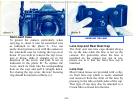
Mounting
1. Align the projecting red mount position-
ing point on the lens with the red dot
above the camera mount.
2. In this position, apply slight pressure to
the lens, and simply rotate the whole lens
clockwise until it stops and the lens
release button pops out with a click.
Do not press the lens release button while
mounting the lens.
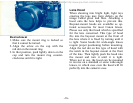
Only when this button pops out can you be
sure that the lens is properly mounted and
that it will function properly. It is also
possible to mount this type of lens when it
is not perfectly aligned with this camera.
To facilitate mounting when it is very dark
or when you are in a great hurry, the mount
positioning point is rounded. Simply find
this point with your finger and align it as
closely as possible with the red dot on the
camera. Turn the lens slightly back and
forth while applying slight pressure until it
drops into position and continue with step
2 above. Excessive sloppiness will make
mounting impossible; take care to be as
accurate as possible.
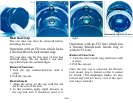
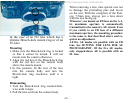
Dismounting
1. Turn the lens counterclockwise until it
stops while pressing the lens release
button.
2. Pull the lens out.
When the lens is dismounted, the diaphragm
blades are locked in a half-closed position
and will not move even if you turn the
lens aperture ring.
Not For Resale – Free Download at http://www.joe-chan.com/manuals
–16–