


70
1
2
3
4
5
6
7
8
Cover
Preliminary Notes and
Legal Information
Contents:
Basic Operations
Advanced Guide
Camera Basics
Smart Auto
Mode
Other Shooting
Modes
P Mode
Setting Menu
Accessories
Appendix
Index
Basic Guide
Playback Mode
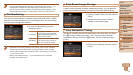
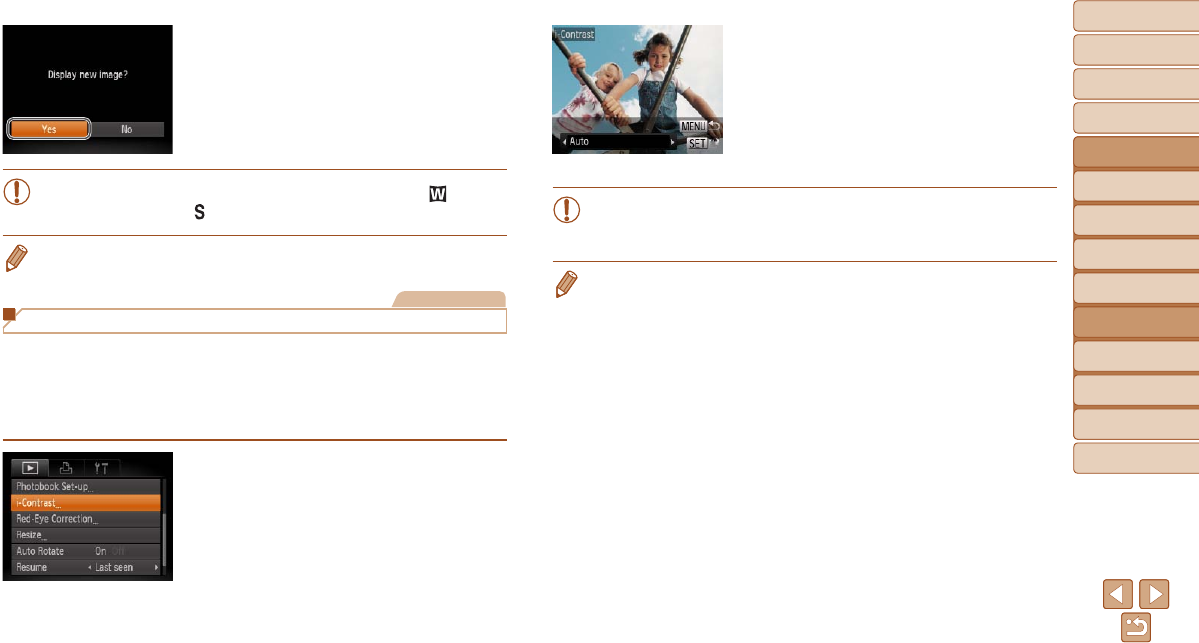
3 Choose an option.
Press the <q><r> buttons to choose an
option, and then press the <m> button.
4 Save as a new image and
review.
Follow steps 4 – 5 in “Resizing Images”
(=
69).
•For some images, correction may be inaccurate or may cause
images to appear grainy.
•Images may look grainy after repeated editing using this function.
• If [Auto] does not produce the expected results, try correcting images using
[Low], [Medium], or [High].
5 Review the new image.
Press the <n> button. [Display new
image?] is displayed.
Press the <q><r> buttons to choose
[Yes], and then press the <m> button.
The saved image is now displayed.
•Editing is not possible for images shot at a resolution of [ ]
(=
36) or saved as [ ] in step 3.
• Images cannot be resized to a higher resolution.
Still Images
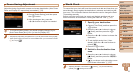
Correcting Image Brightness (i-Contrast)
Excessively dark image areas (such as faces or backgrounds) can be
detectedandautomaticallyadjustedtotheoptimalbrightness.Insufcient
overall image contrast is also automatically corrected, to make subjects
stand out better. Choose from four correction levels, and then save the
imageasaseparatele.
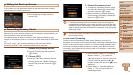
1 Choose [i-Contrast].
Press the <n> button, and then
choose [i-Contrast] on the [1] tab
(=
26).
2 Choose an image.
Press the <q><r> buttons to choose an
image, and then press the <m> button.