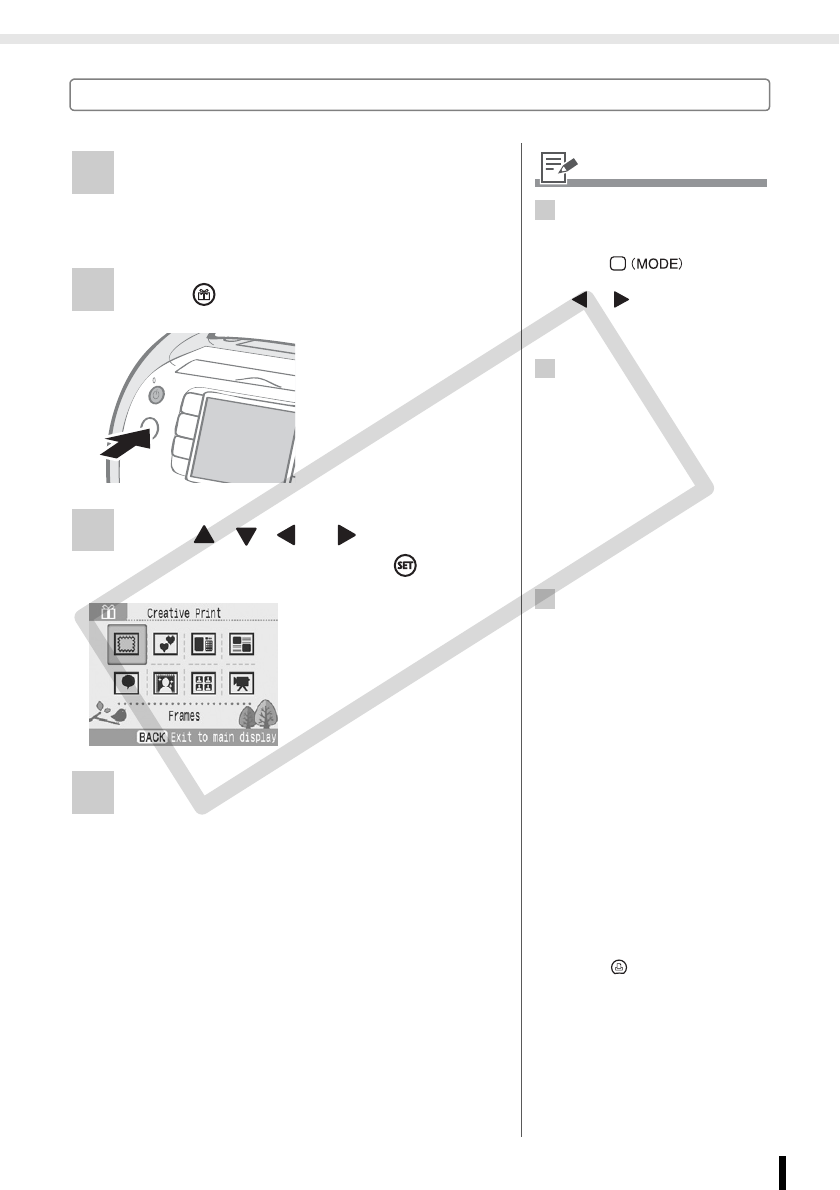
Creative Print
41
Printing from Memory Cards
How to Use the Menu (Creative Print)
1 Turn the printer on, and insert the
memory card into the appropriate
memory card slot (p. 31).
2 Press .
3 Press , , or to select the
desired function and press .
4 Make settings and then print.
• For detailed settings for each item, refer to
pp. 42 - 53.
• The Creative Print
menu is displayed.
2
• When printing the favorite
images added to the printer with
the Creative Print function,
press and change
the print mode to Favorite with
or (p. 18).
• Creative Print is not available
when the print mode is Reprint.
3
• Only [Image Effects], [ID Photo]
and [Movie Print] are displayed
when the black and white
cartridge (Easy Photo Pack E-
P25BW) is inserted into the
printer (p. 21).
• Only [Frames] and [Clip Art] are
displayed when the gold or
silver print supporting cartridge
(Easy Photo Pack E-P20G/E-
P20S) is inserted into the printer
(p. 21).
4
• Multiple functions cannot be
applied to an image at the same
time.
• Each function is available only
for a single image for each
printing. You can select several
images up to frame number with
[Multi Layout].
• If you change the cartridge
while making settings, the
settings, such as trimming or
position, are automatically
adjusted to fit the new cartridge.
• If the new cartridge does not
support the set function or
setting, the screen will return to
the Creative Print menu.
• Print confirmation screen (the
finished image) is displayed
after finishing each setting.
Press to start printing.
COPY
