


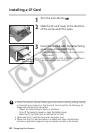


32 Basic Functions
2
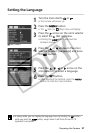
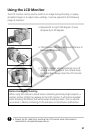
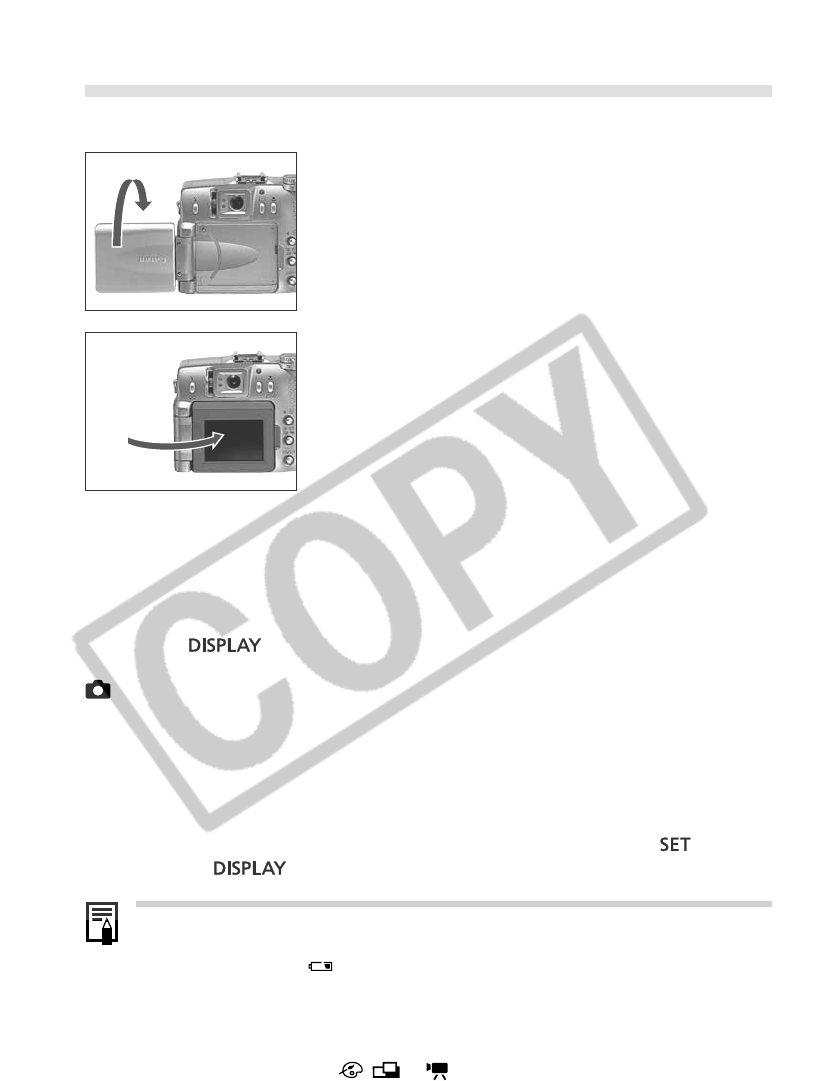
Fold the LCD monitor back against the
camera body.
• Fold it until it clicks into place against the camera
body. If it is not fully closed, the image will appear
reversed and icons and messages will not display.
• Icons and messages will appear and images will
show properly (not reversed) when the LCD
monitor is folded right against the camera until
it clicks.
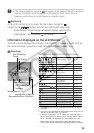
Switching between Display Modes
Pressing the button switches the LCD monitor display mode.
Shooting
• Each time the Display button is pressed, the LCD monitor cycles to the next mode
in the following order: display on (no information) ➞ display on (information
view)* ➞ display off.
*Depending on the LCD monitor’s position, the information view may not display.
• You can also set the LCD monitor display settings in the shooting mode while an
image is being reviewed right after being taken by first pressing the
button
and then the
button.
• The display mode is memorized when the camera is turned off. It assumes the last
mode when it is turned on again. When the LCD monitor is used for shooting and
the low battery icon
appears, however, the LCD monitor may not
automatically turn on the next time the camera is started.
• Changing the shooting mode will cause the LCD monitor to display relevant
information for about six seconds when it is turned on regardless of whether the
information view mode is on or off.
• Setting the mode dial to
, or turns on the LCD monitor regardless of
whether it is set to on or off.
The LCD monitor can also be positioned as below.
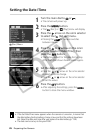
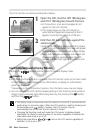
1
Open the LCD monitor left 180 degrees
and tilt it 180 degrees toward the lens.
• In this position, icons and messages do not
appear on the LCD monitor.
• The image shown on the LCD monitor is
automatically flipped and reversed so that it
appears correctly from in front of the lens.