


Using the Menus
32
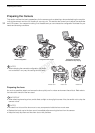
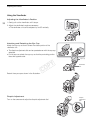
5 Push the joystick right or press SET.
• The orange selection frame will appear on a setting option.
• Press the CANCEL button to return to the previous submenu.
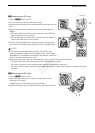
6 Push the joystick up/down or turn the SELECT dial to select the desired setting option and then
press SET.
• Depending on the menu item, additional selections may be necessary.
7 Press the MENU button to close the menu.
NOTES
• Unavailable items may appear grayed out.
• Pressing the MENU button at any time closes the menu.
• You can check some of the current settings on the status screens (A 178).
Using the Customized Submenu (My Menu)
You can register up to 14 frequently used menu settings under the My Menu submenu for easy access.
Furthermore, if you set an assignable button to [My Menu] (A 111), you can press the button to access your
registered menu settings even faster and more easily.
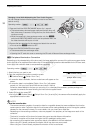
Adding Menu Settings
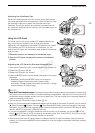
1 Open the My Menu [Register] screen.
[¥ My Menu] > [Edit] > [Register]
• The menu will change to blue to indicate you are selecting menu
settings to add to the My Menu submenu.
2 Navigate the menus to find the menu setting you want to add and then
press SET.
3 Select [OK] and then press SET twice.
• The menu setting you registered will now appear under the My Menu submenu.
• Select [Cancel] instead to cancel the operation.
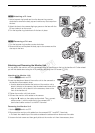
Rearranging Menu Settings
1 Open the My Menu [Move] screen.
[¥ My Menu] > [Edit] > [Move]
2 Push the joystick up/down or turn the SELECT dial to select the setting
you want to move and then press SET.
•An orange ] icon will appear next to the setting you selected to
move.
3 Push the joystick up/down or turn the SELECT dial to move the setting to the desired position and then press
SET.
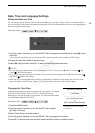
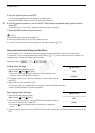
Operating modes:
[¥ My Menu]
[Edit]
[Register]
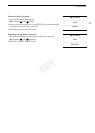
[¥My Menu]
[Edit]
[Move]
COPY