


Indexer System Guide October 2004
© As-Built Solutions Ltd Page
9
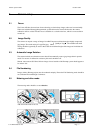
2.8 Manual Exposure
Where a seamless panorama is required or part of the scene is lit in such a way that the metering is likely
to be compromised manual exposure (M on the mode dial) can be used. An example would be internal
i
maging in a room with a very bright window. The camera will reduce the exposure when the Indexer is
orientated towards the window and large variations in the appearances of the internal surfaces will occur.
In manual mode the exposure both the aperture and shutter speed can be set for a complete station. Point
the camera in a direction that is the average illumination and partially press the shutter release. The
camera will meter the exposure and the shutter speed set accordingly.
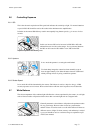
2.9 Controlling In-camera processing
The raw image data captured by the camera can be processed to enhance contrast, colour saturation and
sharpness. These parameters are grouped into Set1, Set2 and Set3. Use of only Set1 is recommended for
consistency and simplicity.
To check the set being used press the Menu button and select Parameters using the large wheel and press
the Set button in the middle of the wheel. Set1 should be selected using the large wheel and Set button
pressed again. To configure / check the Set1 parameters please refer to page 56 of the camera manual.
Recommended adjustments are sharpness +2 and Saturation +1.
2.10 General
Operation
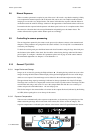
2.10.1 Image Review and Storage
Images can be reviewed by pressing the Playback button (
). Rotating the large wheel can access other
images. Pressing the Info button will then display a histogram and highlight alert for areas of the image,
which are over-exposed. Unwanted images can be deleted via the trash button adjacent to the display.
The approximate image capacity remaining is indicated on the top right hand side of the LCD display.
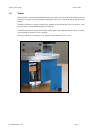
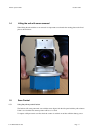
The image data is stored on a Compact flash card accessed via the top of the camera. The images are then
read from the card using a card reader. To access the compact flash card slide the cover on the top of
camera and press the small white button - the card will pop out.
Wait for the images in the camera buffer to be written to the compact flash card (indicated by the flashing
red LED) before opening the cover on the top of the camera.
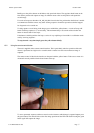
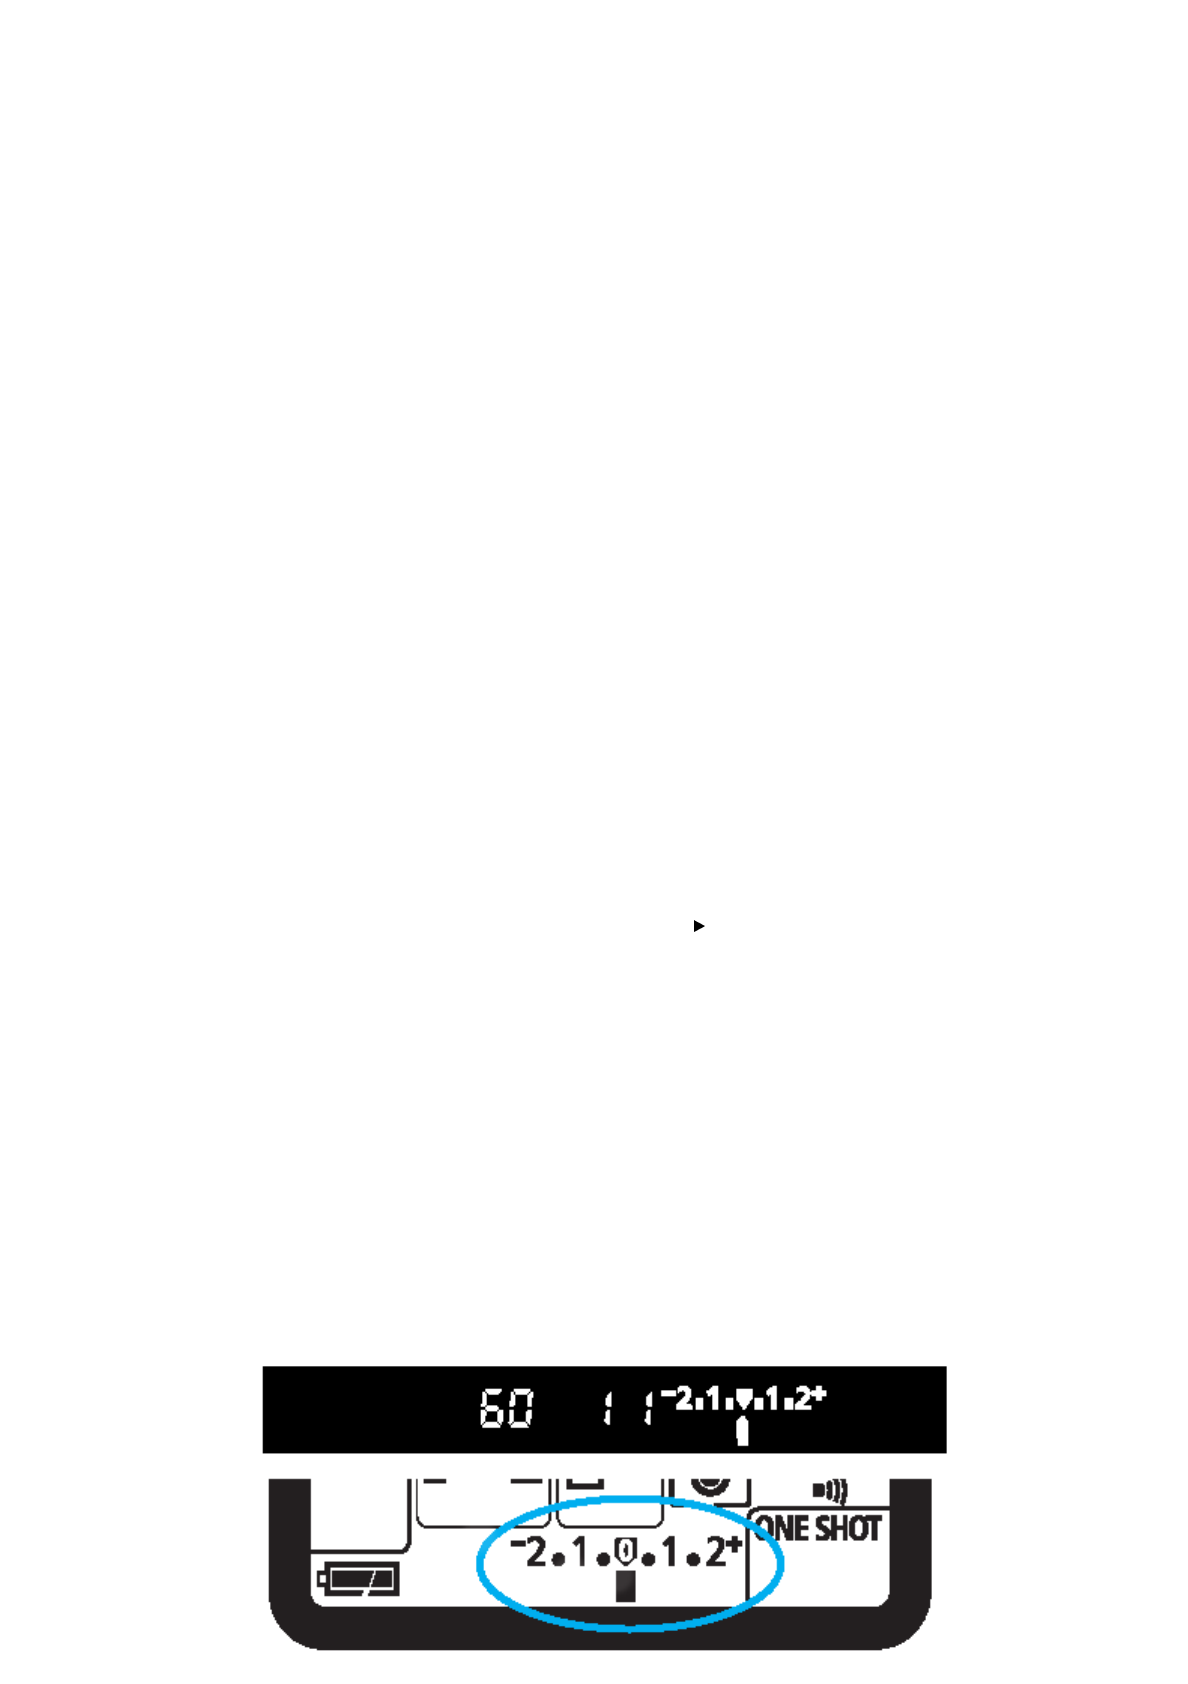
2.10.2 Exposure Compensation
Take care not to unintentionally select exposure compensation, set by metering via a partial press of the
shutter and turning the large wheel on the back of the camera (also used to review the images). The
exposure compensation is indicated by the indicator at the bottom of the LCD panel illumination button.