


81
4.
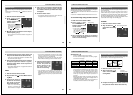
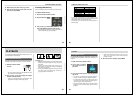
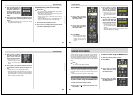
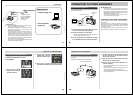
After confirming that the
Auto Focus operation is
complete (operation in-
dicator is green), press
the shutter button all the
way down to record the
image.
5.
Use [+] and [–] to adjust the brightness of the
title image (
±30), and then press the shutter
button.
• The brightness adjustment you make here is stored
along with the title image data.
Superimposing a Title onto an Image
IMPORTANT!
The TITLE icon is blue, indicating that the title operation
is disabled in the following cases.
• When there is not enough remaining memory to store
the result of the title operation.
• While a movie image or panorama image is on the
monitor screen.
• When the “MEMORY FULL” or “FOLDER FULL” mes-
sage is on the monitor screen in the REC Mode.
1.
Slide the Function Switch to PLAY.
2.
Use [+] and [–] to display the image onto which
you want to superimpose the title.
EDITING IMAGES
82
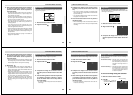
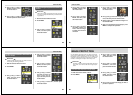
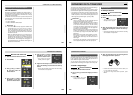
7.
Use [+] and [–] to select
the color you want the
title to be, and then
press the shutter button.
• Each press of [+] or [–]
scrolls through the selec-
tion of 20 available title col-
ors.
8.
Use [+] and [–] to select
the type of title plate you
want to use, and then
press the shutter button.
• Each press of [+] or [–]
scrolls through the selec-
tion of 4 available title plate
settings.
• Title plate settings consist of 4 plate variations, plus a
setting that specifies no title plate.
3.
Press MENU.
4.
Use [+] and [–] to select
EFFECT, and then press
the shutter button.
5.
Use [+] and [–] to select
TITLE, and then press
the shutter button.
6.
Press MENU.
• Pressing the shutter button
here, performs title super-
impose using the last
method you previously se-
lected.
EDITING IMAGES
83
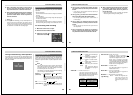
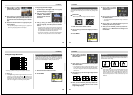
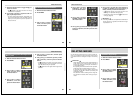
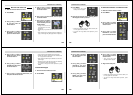
9.
Use [+] and [–] to select
the color you want the
plate to be, and then
press the shutter button.
• Each press of [+] or [–]
scrolls through the selec-
tion of 12 available plate
colors.
10
.
Use [+] and [–] to select the position of the title
on the image, and then press the shutter but-
ton.
• Each press of [+] or [–] changes title locations.
• Note that pressing the shutter button does not change
the existing image, but creates a new image with the
superimposed title. The new image in inserted directly
after the original (non-titled) image.
EDITING IMAGES
84
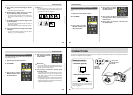
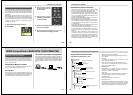
To select a folder using the MENU button
1.
Slide the Function Switch to PLAY.
2.
Press MENU.
3.
Use [+] and [–] to select
TOOL, and then press
the shutter button.
4.
Use [+] and [–] to select
FOLDER, and then press
the shutter button.
Folders help you to group your images into any arrangement
you like. You can use folders, for example, to keep your per-
sonal images separate from images you need for business.
There are six folders from which to choose. Any image you
record is automatically placed into in the currently selected
folder.
NOTE
You cannot create additional folders.
Recording an Image in a Specific Folder
Images you record are normally stored in the CAMERA
folder. See “Using the Record Menu” on page 59 for informa-
tion about how you can change to another folder to store
images.
• Up to 250 images can be stored in a single folder.
Selecting a Folder to Save Images
To select a folder using the FOLDER button
1.
Slide the Function Switch to PLAY.
2.
Each press of sequentially selects avail-
able folders.
USING FOLDERS