


109
INFRARED DATA TRANSFER
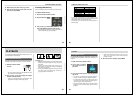
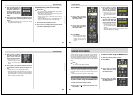
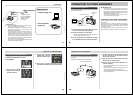
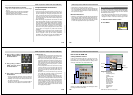
3.
Use [+] and [–] to select
IR, and then press the
shutter button.
4.
Use [+] and [–] to select
QV-LINK, and then press
the shutter button.
5.
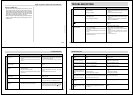
Align the infrared port of the camera with the
port of your computer.
6.
Start up the PC Link software on your com-
puter and transfer the images you want.
Transferring Images Using PC Link Software
With PC Link Software, cable-free infrared image data trans-
fer can be performed with a personal computer that supports
IrDA1.0 protocol or later. See the documentation that comes
with your computer for details on its infrared communication
capabilities.
Movie images that are uploaded to a personal computer and
then download back to the camera cannot be played back as
a movie. Uploading a movie image to a computer ungroups
it, so you will not be able to play it back when you download
it back to the camera unless you re-group them using the
procedure on page 69.
1.
Slide the Function Switch to PLAY.
2.
Press MENU.
110
INFRARED DATA TRANSFER
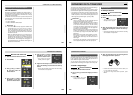
Infrared Data Transfer Precautions
• Make sure that the infrared ports of the sending unit and
the receiving unit are pointed straight at each other, and
that there is nothing blocking the path between them.
• To avoid problems that occur due to sudden loss of battery
power during infrared image transfer, we recommend that
you use the separately AC adaptor specified for this cam-
era when transferring images.
• Avoid performing infrared data transfers in areas expose to
direct sunlight or other strong illumination.
• Such conditions as natural outdoor light, low battery power,
too much distance between infrared ports, and misalign-
ment of infrared ports can cause failure of image transfers
or corrupted data.
• Proper image data transfer is impossible whenever there is
anything blocking either of the infrared ports.
• Do not locate any other infrared emitting device (such as
remote control units) or fluorescent lighting in the vicinity of
the cameras while they are performing infrared image
transfers.
• Failure to be able to establish an IrDA connection can
mean that the device you are trying to communication with
does not support the IrDA standard, or that the applications
being used are not compatible. When this happens, you
probably have to connect the camera to the computer with
a separately available cable for data transfer.
111
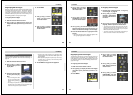
USING CompactFlash CARDS WITH YOUR COMPUTER
USING CompactFlash CARDS WITH YOUR COMPUTER
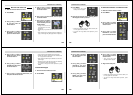
Setting Up to Access CompactFlash Card
Contents From Your Computer
You can use any of the three methods described below to
access the contents of a memory card with your computer.
If you use your computer to change the fixed names of the
folders created by this camera, the camera will no longer dis-
play the renamed folders.
CompactFlash Memory Card Slot
If your computer has a CompactFlash Memory Card Slot, in-
sert the camera’s memory card into the slot.
PC Card Slot
In this case you need an optionally available CASIO CA-10
PC Card Adaptor. See the instructions that come with the PC
Card Adaptor and the documentation that comes with your
computer for details on using this type of configuration.
Other Desktop Computer Configurations
Some desktop computers require a separately available PC
card reader/writer and the optionally available CASIO CA-10
PC Card Adaptor to read memory card contents. See the
instructions that come with the PC card reader/writer and the
PC Card Adaptor for details on using this type of configura-
tion.
112
USING CompactFlash CARDS WITH YOUR COMPUTER
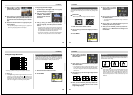
• Management File (Folders)/(Images)
These files contain data about folder management and im-
age sequence.
• Title Data
This is data recorded when a title is recorded. It is used
when adding titles to images.
• HTML Files (Main)/(Menus)/(Image List)/(Image Data)
These files are for displaying lists of images in camera
memory using a Web browser.
• CAMERA Folders
These folders are for storing image data. There are six
CAMERA folders: CAMERA, FOLDER A, FOLDER B,
FOLDER C, FOLDER D, FOLDER E.
• Image Files
These JPEG files are images recorded by the camera. See
page 26 for details on how file names are generated.
• PREVIEW Folder
This folder is for storing preview images.
• Preview Image File
A preview image JPEG file is created whenever an image
is recorded. Preview images are used when scrolling
through images on the camera's monitor screen and in the
HTML image lists displayed on your computer's screen.
CompactFlash Card Precautions
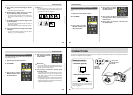
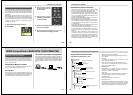
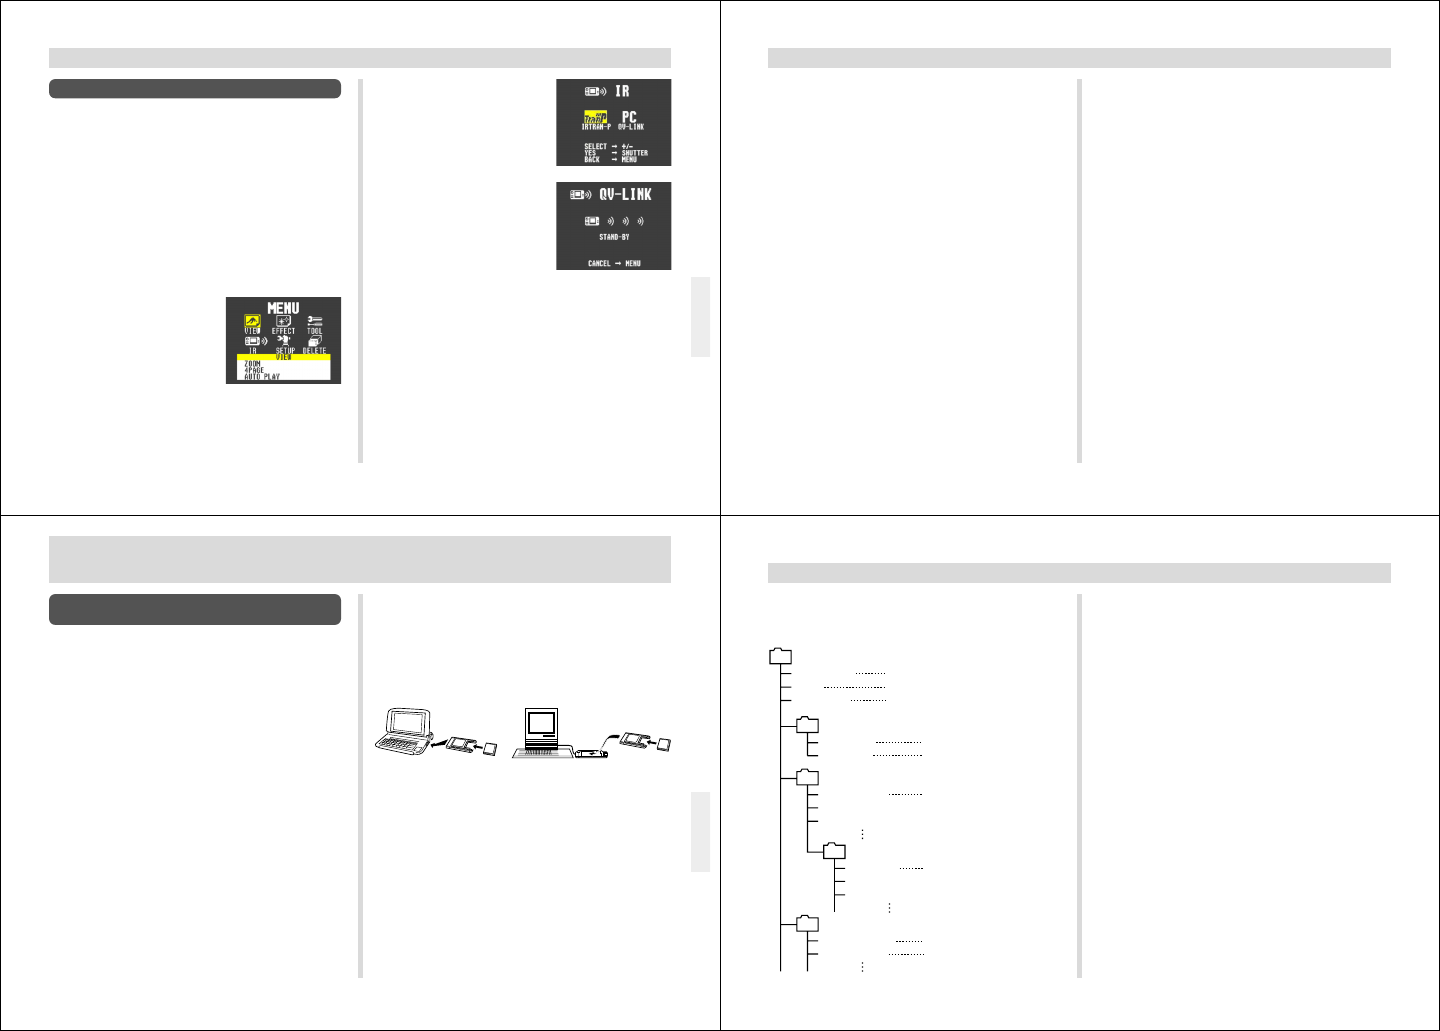
CompactFlash Card Directory Tree
QVIMG01 Folder
QVCAM.QVS
TITLE
INDEX.HTM
HTML Folder
MENU.HTM
BODY.HTM
CAMERA Folder
CAMERA.QVS
98901001.JPG (Image files)
98901002.JPG (Image files)
FOLDER A Folder
FOLDER A.QVS
98902001.JPG
PREVIEW Folder
DATA.HTM
98901001.JPG
98901002.JPG
Management file (Folders)
Title data
HTML file (Main)
HTML file (Menus)
HTML file (Image List)
Management file (Images)
Management file (Management)
Image file
HTML file (Image Data)