50
Using BEST SHOT
Using BEST SHOT
BEST SHOT provides you with a collection of sample “scenes” that show a variety of
different types of shooting conditions. When you need to change the setup of the
camera, simply find the scene that matches what you are trying to achieve, and the
camera sets up for it automatically. This helps to minimize the chance of ruined
images due to poor exposure and shutter speed settings.
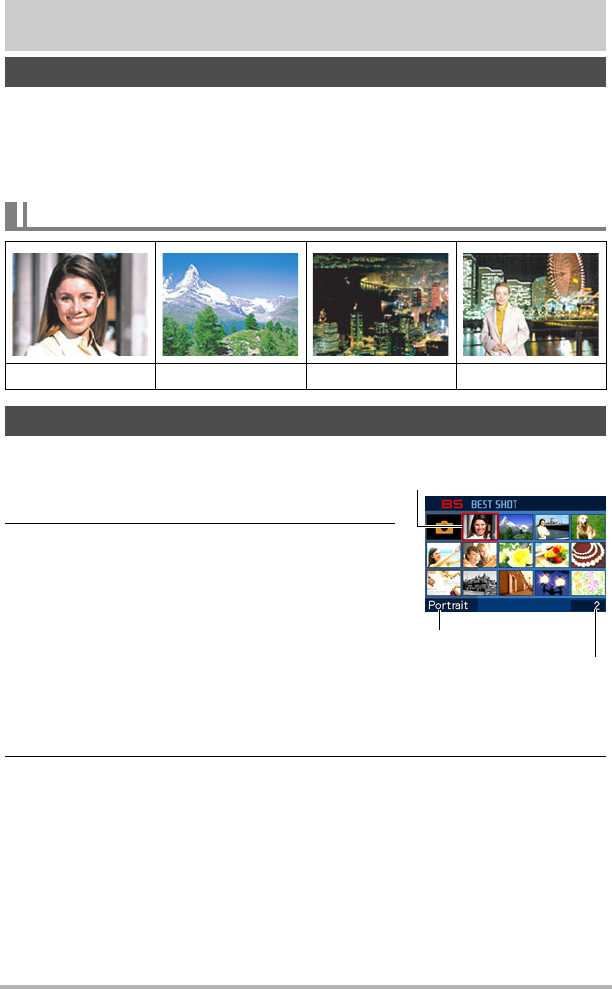
1. In the REC mode, press [BS].
This will display a menu of BEST SHOT scenes.
• The initial default selection is R (Auto).
2. Use [8], [2], [4], and [6] to move the
boundary to the scene you want to select.
• The scene menu has multiple pages. Use [8]
and [
2] to scroll between menu pages.
• You can access information about the currently
selected scene. See page 51 for details.
• To return to normal snapshot recording, select
Scene 1 R (Auto). Pressing [MENU] while the
scene selection screen or scene information
screen is displayed will cause the boundary to
jump directly to R (Auto).
3. Press [SET] to configure the camera with the settings for the currently
selected scene.
This returns to the REC mode.
• The settings of the scene you selected remain in effect until you select a
different scene.
• To select a different BEST SHOT scene, repeat the above procedure from
step 1.
What is BEST SHOT?
Some Sample Scenes
Portrait Scenery Night Scene Night Scene Portrait
To shoot an image with BEST SHOT
Currently selected scene
(with boundary)
Scene number
Scene name


