FILE MANAGEMENT
116
6.
Press the USB cradle
[USB] button.
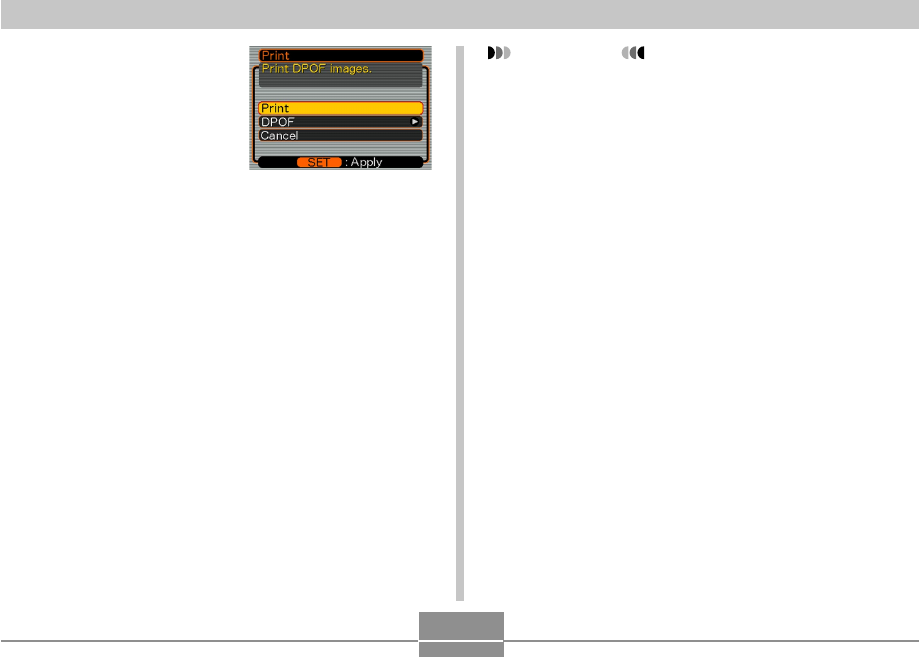
• This displays the print
menu on the camera’s
monitor screen.
7.
On the camera’s monitor screen, use [̆] and
[̄] to select “Print”, and then press [SET].
• This automatically starts printing of the images you
specified with the DPOF procedure.
• If you want to print the same batch of images again,
press the [USB] button on the USB cradle.
• A message appears on the monitor screen, followed
by the DPOF setting screen (page 112), if there are
no DPOF settings currently configured on the
camera to control the printing operation. If this
happens, configure the required DPOF settings and
then perform step 6 of the above procedure again.
• If you want to change the current DPOF settings,
select “DPOF” on the print menu to display the
DPOF setting screen (page 112).
8.
After printing is complete, turn off the camera
and remove it from the USB cradle.
IMPORTANT!
• See the documentation that comes with your printer
for information about print quality and paper settings.
• Contact your printer manufacturer for information
about models that support USB DIRECT-PRINT,
upgrades, etc.
• Never disconnect the USB cable, or perform any
camera or USB cradle operation while printing is in
progress. Doing so causes a printer error.
• To interrupt an ongoing print operation, perform the
required operation on the printer.
• The camera’s monitor screen will go blank after
printing starts. A blank monitor screen does not
necessarily mean that printing is complete. Check
the status of your printer to find out if printing is
complete.


