29
Quick Start Basics
. Shooting with Premium Auto
• In addition to shutter speed, aperture, and ISO sensitivity, the camera
automatically executes the following operation as required when shooting with
Premium Auto.
– Auto Focus is normally performed until you half-press the shutter button.
– Face Detection (page 41)
• Shooting with Premium Auto can cause vibration and noise to occur due to lens
operation. This does not indicate malfunction.
• When Shooting with Premium Auto, the message “Processing Premium Auto.
Please wait...” may appear on the monitor screen. If you feel the camera is taking
too long to process data, try shooting with standard Auto instead.
• In some cases, Premium Auto may not be able to interpret the shooting
environment correctly. If this happens, shoot with standard Auto.
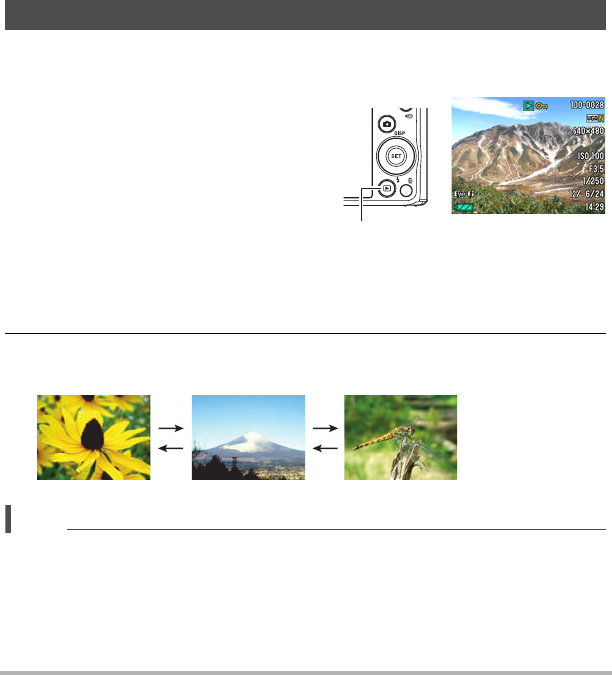
Use the following procedure to view snapshots on the camera’s monitor screen.
• For information about how to play back movies, see page 67.
1. Turn on the camera and press
[p] (PLAY) to enter the PLAY
mode.
• This will display one of the snapshots
currently stored in memory.
• Information about the displayed
snapshot also is included (page 11).
• You also can clear the information to
view only the snapshot (page 12).
• You can zoom in on the image by sliding the zoom controller towards z (page
68). If you are recording a snapshot that is very important to you, it is
recommended that you zoom the image and check its details after recording it.
2. Use [4] and [6] to scroll between images.
• Holding down either button scrolls at high speed.
NOTE
• Half-pressing the shutter button while in the PLAY mode or while a menu screen is
displayed will switch directly to the REC mode.
Viewing Snapshots
[p] (PLAY)
[6]
[6]
[4]
[4]


