10
Step 2:
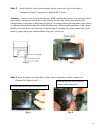
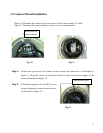
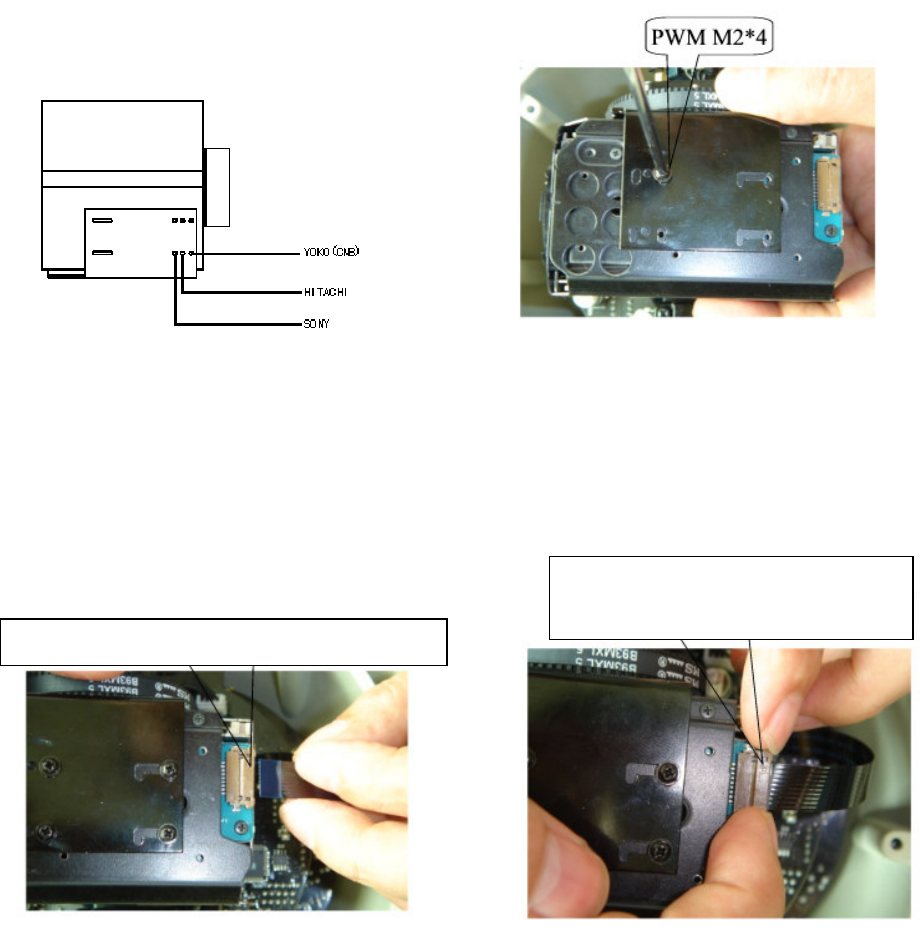
Install the block video camera module on the vertical axis tray of the dome as
illustrated in Figure 7 using the (4) supplied M2*4 screws.
Attention: Exercise care not to scratch the lens when installing the camera. (as a precaution leave
the protective camera lens cap in place until ready to use the dome. Secure the camera to the
corresponding screw holes as illustrated in Figure 6, according to the model and make of the camera,
as different camera models may have different dimensions. Following the installation of the camera
module verify that it does not touch any of the dome parts including the camera shroud and acrylic
dome by gently moving the camera module along the vertical axis.
Fig. 6 Fig.7
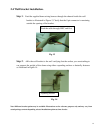
Step 3:
Insert the other end of the ribbon cable to the corresponding camera connector as
illustrated in Figures 8 and 9.
Fig. 8 Fig. 9
Pull this tab out and insert the ribbon cable
Push the tab back in to secure the
camera cable connection.


