19
4. Quick Start Operation Guide
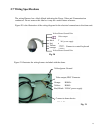
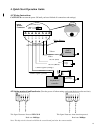
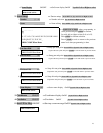
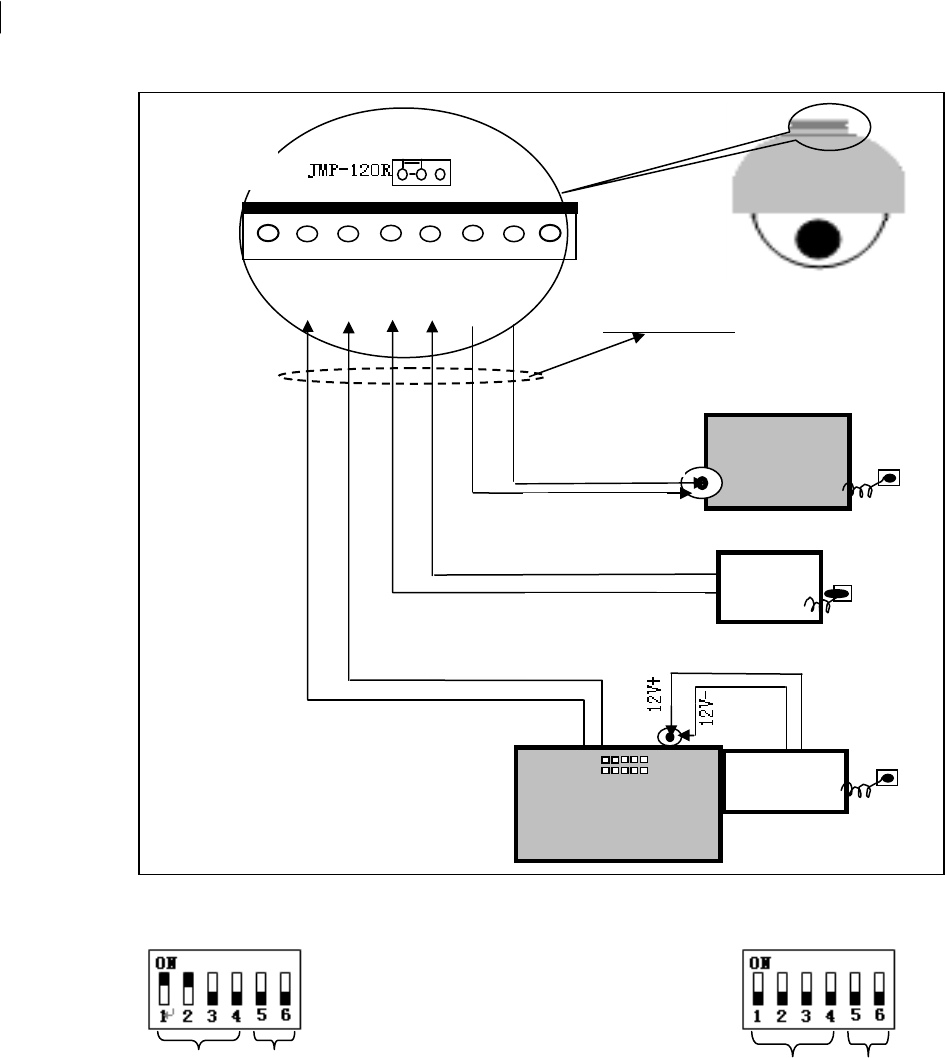
4.1 Wiring Instructions
CAUTION: Do not turn the power ON until you have finished all connections and settings).
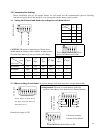
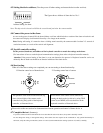
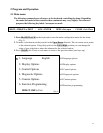
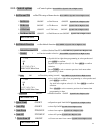
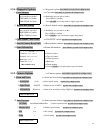
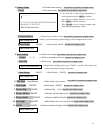
4.2 Setting protocol and baud rate. (Turn the power off when setting, and restart the device after revision).
This figure illustrates: Protocol: PELCO-D This figure illustrates: Auto detection protocol.
Baud rate: 2400 bps Baud rate: 2400bps
Note: This dip switch is located on PCB in the control board just below the camera module
Protocol setting
Baud rate setting
Protocol setting
Baud rate setting
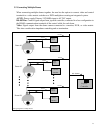
CCTV
Monitor
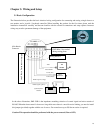
Wiring Harness
RS-485 -
RS-485+
AC24V
AC24V
VIDEO -
VIDEO+
Controller
Power Supply
Keyboard of
controller
Dome
Power
Supply
OD CONNECT-V3
Grounding
Grounding
8 Pin
Header
Connector
Video+
Video-
AC24V (
Red
)
AC24V (Black)
Control signal
-
(yellow)
Control signal+ (orange)


