


Installing Creative WebCam Notebook 1-2
Installing Creative
WebCam
Notebook
Follow the installation procedures for your operating system.
In Windows 98 / 98SE
/ Me / 2000 / XP
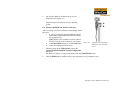
1. Do not connect Creative WebCam Notebook to your notebook before installing the drivers.
If you accidentally begin installation with Creative WebCam Notebook connected, the Add New
Hardware Wizard or Found New Hardware Wizard dialog box appears. Click the Cancel button.
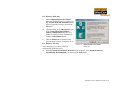
2. Insert the Creative WebCam Notebook CD into your CD-ROM drive. If it does not run
automatically, click Start-> Run and type D:\ctrun\ctrun.exe (where D:\ represents your CD-ROM
drive).
3. Click the options for installing drivers and applications.
4. Follow the instructions on the screen to complete the installation. You may be asked, after an
application is installed, if you want to restart your notebook. Do not restart your notebook until all
the drivers and applications are installed.
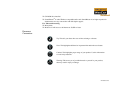
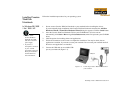
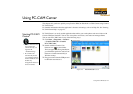
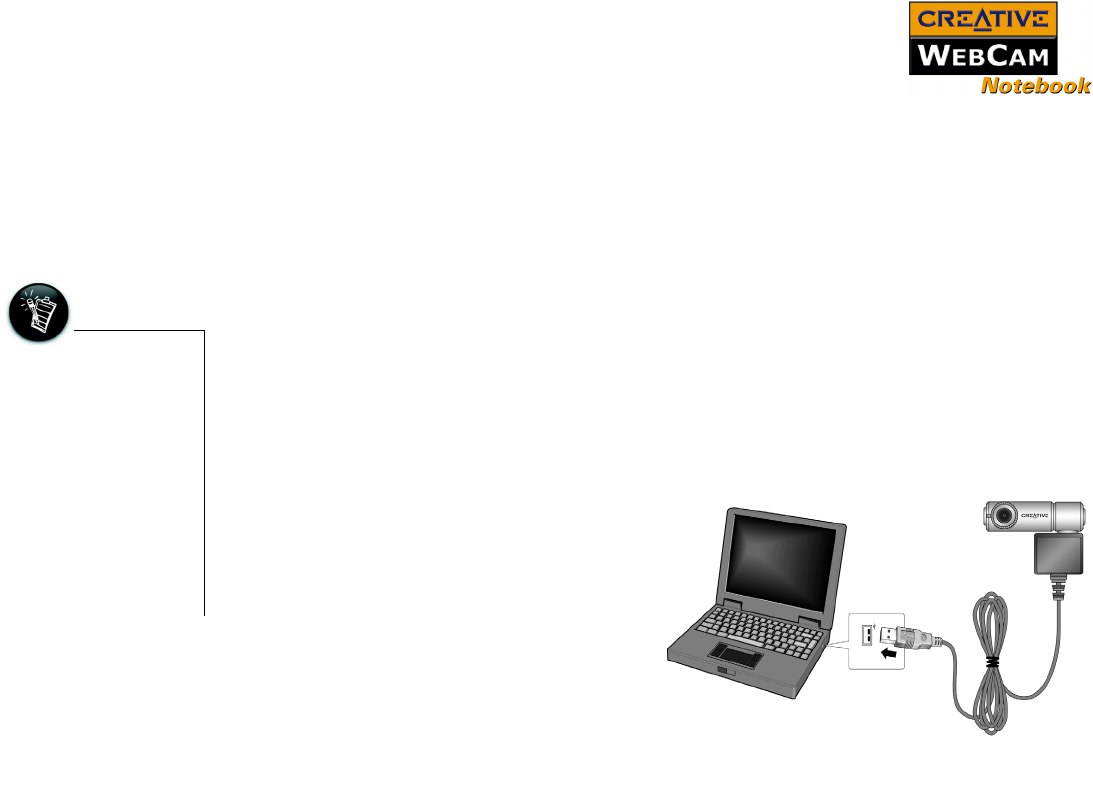
5. Connect the USB cable to an available USB
port on your notebook (Figure 1-2).
• You can attach
Creative WebCam
Notebook to a USB
hub with an external
power supply.
• If you have a
microphone, connect it
to your external
microphone connector.
Read your notebook’s
documentation for
more information.
Figure 1-2: Connecting Creative WebCam Notebook to
your notebook
USB port