Scanning and Restoring Photos 5
Scanning and Restoring Photos
Selecting Software Settings in EPSON Scan
The following example uses Adobe Photoshop Elements and EPSON Scan. If you
are using another software application, your steps may be different.
1. Start Adobe Photoshop Elements:
In Windows,
®
click Start > Programs or All Programs >
Adobe Photoshop Elements.
On a Macintosh,
®
open the Adobe Photoshop Elements folder (in your
Applications folder) and double-click the
Photoshop Elements icon.
2. Select
File > Import > EPSON
Perfection 4990
.
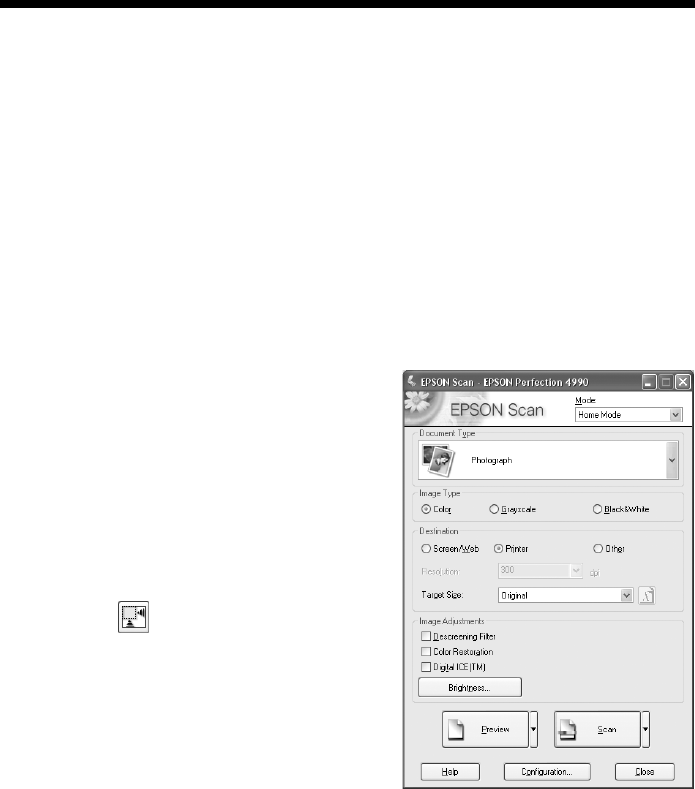
3. In EPSON Scan, choose Home Mode
or Professional Mode. You see a screen
similar to this:
4. Click the
Preview button at the
bottom of the screen. Your photo
appears in the Preview window.
5. Click the button to select the image
area to be scanned. Adjust the marquee
if necessary.
6. Select the
Digital ICE or Color
Restoration
checkbox (in Professional
Mode, scroll to the bottom of the
screen):
■ If your photo is dirty, scratched, creased, or torn, select Digital ICE.
■ If the colors in your photo are faded, select Color Restoration.
Note:
You can select both settings, if necessary.
7. Click the Scan button.
After your photo is scanned, you can make more adjustments in Photoshop
Elements or save your file.


