54
5.1 INSTALLATION ON A Windows PC
1
Install FinePixViewer as instructed in the Quick start guide.
2
After restarting the PC, install DirectX as directed by the on-screen instructions and then restart
your PC again. If the latest version of DirectX is already installed on your PC, this installation is
not performed.
●
!
If the latest version is already installed, this window does not appear.
●
!
Do not remove the CD-ROM during this procedure.
4
After restarting the PC, the “Installation of the FinePixViewer has been completed” message
appears.
3
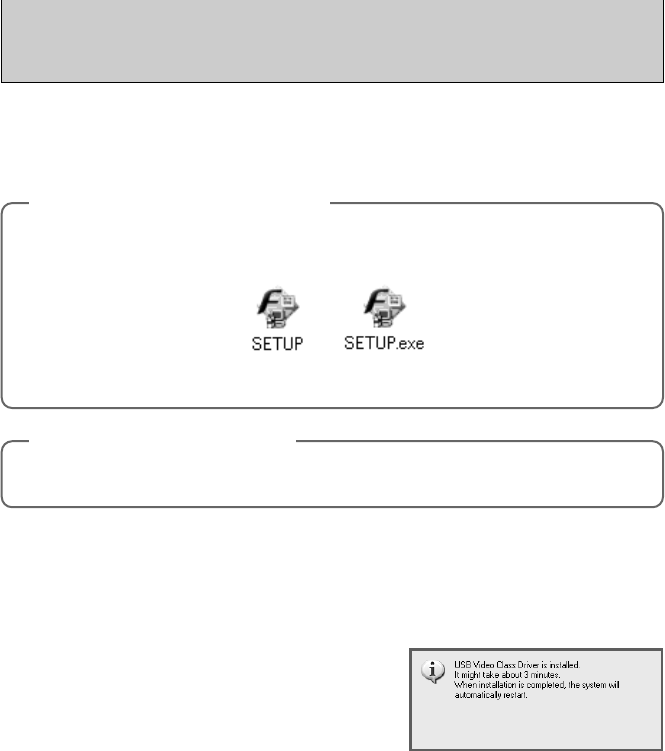
After the restart, the USB Video Class driver is
installed.
●
!
If the latest version is already installed, this window does not
appear.
●
!
The driver is only installed on Windows XP SP 1.
Do not connect the camera to your PC until the software installation is completed.
◆
Launching the installer manually
◆
1 Double-click the “My Computer” icon.
✽ Windows XP users should click “My Computer” in the “Start” menu.
2 Right-click “FINEPIX” (CD-ROM drive) in the “My Computer” window and select “Open”.
3 Double-click “SETUP” or “SETUP.exe” in the CD-ROM window.
◆
Installing other applications
◆
You may see messages for installing ImageMixer VCD2 for FinePix and WINASPI. Install these
applications as directed by the on-screen instructions. The installation screens for these applications
are displayed as required.
✽ The way file names are displayed differs as described below depending on your computer settings.
i File extensions (3-letter suffixes indicating the file type) may be shown or hidden. (e.g. Setup.exe or Setup)
i Text may be shown normally or all in uppercase (e.g. Setup or SETUP).


