56
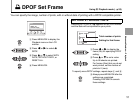
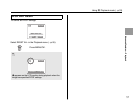
u DPOF Set Frame
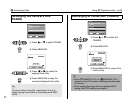
Canceling DPOF setting
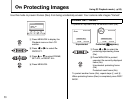
A Press MENU/OK to display the Playback menu on the
LCD monitor.
B Select u DPOF in the menu.
C Press n or o to select WITH DATE or WITHOUT
DATE.
D Press p or q to select the frame (file) with the DPOF
setting you want to cancel.
E Set the number of prints to 0 (zero).
To cancel the DPOF setting for another frame (file), repeat
steps D and E.
Always press MENU/OK to complete the settings.
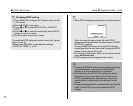
• DPOF ALL RESET (➝p.57)
• When DPOF settings were specified on another camera.
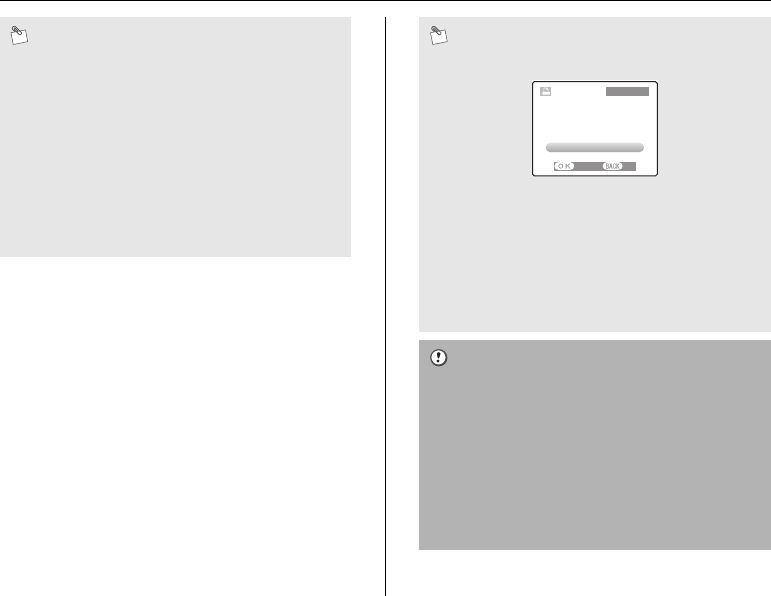
When the data includes a frame (file) with DPOF
settings that were specified on another camera, “RESET
DPOF OK?” appears.
Pressing MENU/OK erases all of the DPOF settings
already specified for each frame (file). Specify the DPOF
setting for each frame (file) again.
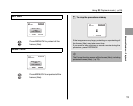
• Prints of up to 999 frames (files) can be ordered on the
same xD-Picture Card.
• DPOF settings cannot be specified for movies.
• Pressing DISP/BACK while choosing settings will cancel
all current settings. If there were previous DPOF
settings, only the modifications are canceled.
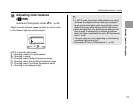
• When selecting the WITH DATE setting, the date is
imprinted on your shots using the Print Service or a
DPOF-compatible printer (depending on the printer
specifications, the date may not be printed in some
cases).
• Images photographed with a camera other than FinePix
A400 / FinePix A500 may not be specified DPOF
settings.
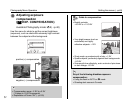
RESET DPOF OK?
100-0001
YES NO
Using w Playback mode (➝p.33)


