47
Connections
Printing Pictures via USB
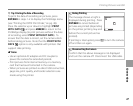
B Tip: Printing the Date of Recording
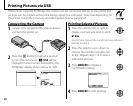
To print the date of recording on pictures, press
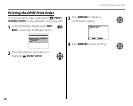
DISP/BACK in steps 1–2 to display the PictBridge menu
(see “Printing the DPOF Print Order,” on pg. 48).
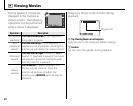
Press the selector up or down to highlight PRINT
WITH DATE y and press MENU/OK to return to the
PictBridge display (to print pictures without the date
of recording, select PRINT WITHOUT DATE). To
ensure that the date is correct, set the camera clock
before taking pictures. Note that the PRINT WITH
DATE y option is only available with printers that
support date printing.
A Notes
• Use an optional AC adapter and DC coupler to
power the camera for extended periods.
• Print pictures from internal memory or a memory
card that has been formatted in the camera.
• When pictures are printed via direct USB connection,
page size, print quality, and border selections are
made using the printer.
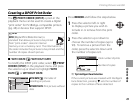
During Printing
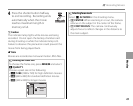
The message shown at right is
displayed during printing. Press
DISP/BACK to cancel before all
pictures are printed (depending
on the printer, printing may end
before the current picture has
printed).
PRINTING
CANCEL
If printing is interrupted, press D to turn the camera
off and then on again.
Disconnecting the Camera
Confirm that the above message is not displayed
and turn the camera off. Disconnect the USB cable.


