79
Menus
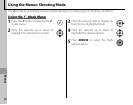
Using the Menus: Shooting Mode
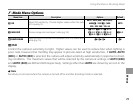
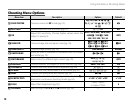
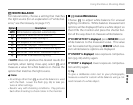
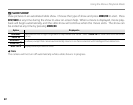
For natural colors, choose a setting that matches
the light source (for an explanation of “white bal-
ance,” see the Glossary on page 117).
Option
Option
Description
Description
AUTO White balance adjusted automatically.
h
Measure a value for white balance.
i
For subjects in direct sunlight.
j
For subjects in the shade.
k
Use under “daylight” uorescent lights.
l
Use under “warm white” uorescent lights.
m
Use under “cool white” uorescent lights.
n
Use under incandescent lighting.
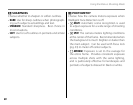
If AUTO does not produce the desired results (for
example, when taking close-ups), select h and
measure a value for white balance or choose the
option that matches the light source.
1 Notes
• At settings other than h, auto white balance is used
with the ash. Lower the ash (pg. 36) to take pic-
tures at other settings.
• Results vary with shooting conditions. Play pictures
back after shooting to check colors in the monitor.
■
■
h
h
: Custom White Balance
: Custom White Balance
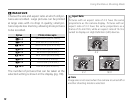
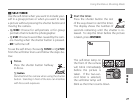
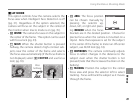
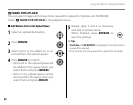
Choose h to adjust white balance for unusual
lighting conditions. White balance measurement
options will be displayed; frame a white object so
that it lls the monitor and press the shutter but-
ton all the way down to measure white balance.
If “COMPLETED!” is displayed, press MENU/OK to set
white balance to the measured value. This value
can be reselected by pressing MENU/OK when cus-
tom white balance options are displayed.
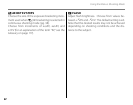
If “UNDER” is displayed, raise exposure compensa-
tion (pg. 42) and try again.
If “OVER” is displayed, lower exposure compensa-
tion and try again.
2 Tip
To give a deliberate color cast to your photographs,
measure a value for custom white balance using a col-
ored instead of a white object.
D
D
WHITE BALANCE
WHITE BALANCE


