


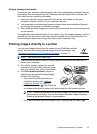

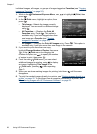
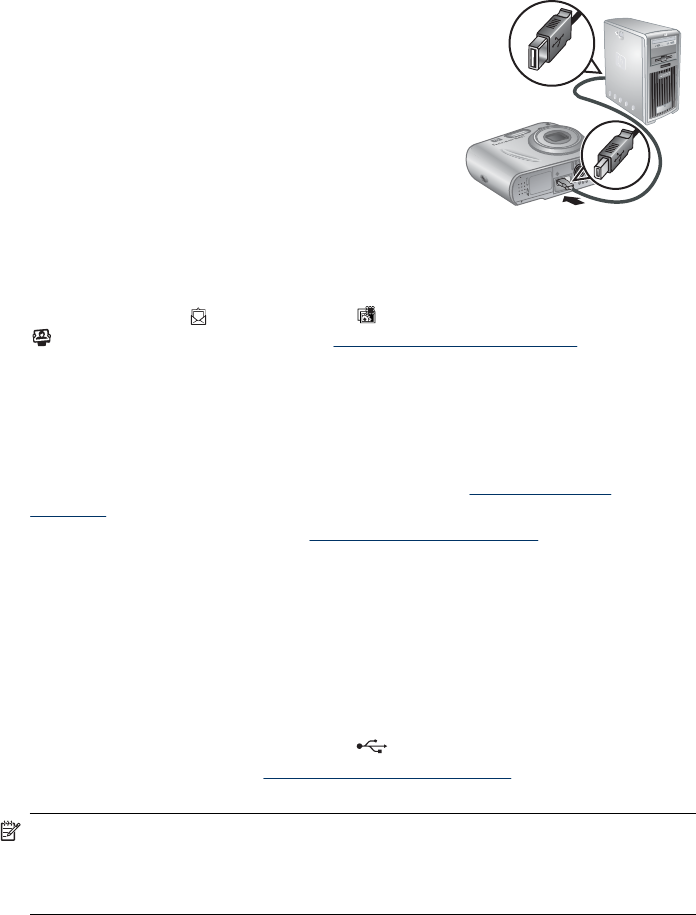
3. Connect the camera and computer using the USB
cable that came with your camera.
4. Turn on the camera and follow the instructions on
the computer screen. For more information, see the
Help feature in the HP Photosmart Software.
After you have transferred the images, you can then
use the HP Photosmart Software to edit, print, or send
the images from your computer.
Transferring images without HP Photosmart Software
If you do not install the HP Photosmart Software:
•
You cannot use the
Share features or Buy Prints Online on the camera's
Photosmart Express Menu (see “Using HP Photosmart Express”
on page 27).
• Images marked for printing do not automatically print when the camera is connected
to the computer.
• Favorites tags do not transfer to the computer.
However, you can still transfer images and video clips to your computer by:
• Connecting your camera directly to the computer (see “
Connecting to the
computer” on page 24)
• Using a memory card reader (see “
Using a memory card reader” on page 25)
Connecting to the computer
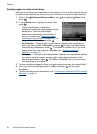
1. Turn off the camera, connect the camera and computer using the USB cable that
came with your camera, then turn on the camera. Your computer's provided image
transfer software should start. Follow the on-screen instructions to transfer your
images.
2. When you have finished transferring images, disconnect the camera from the
computer.
If you encounter problems, set the camera’s
USB Configuration to Disk Drive
(see USB Configuration under “
Using the Camera Setup Menu” on page 31) and
reconnect to your computer.
NOTE: On Macintosh computers, if you set the camera to Disk Drive and neither
Image Capture nor iPhoto starts automatically, look on the desktop for a disk drive
labeled with your camera model number and copy the images manually. For more
information about how to copy files, visit Mac help.
Chapter 6
24 Transferring and printing images