Removing red eyes
When you select Remove Red Eyes, the camera processes the current picture to
remove red eyes from the subjects.
Remove Red Eyes is only available for pictures taken with a flash.
NOTE: To prevent red eyes in images, see “Flash Setting—Red-Eye” on page 10.
The red-eye removal process takes a few seconds, after which the magnified image
displays with green boxes around corrected areas, along with the
Remove Red
Eyes menu:
• Save Changes (Default)—Saves a copy of the original image with the changes and
returns to the
Playback Menu.
• View Changes—Displays a magnified view of the image with green boxes around
the corrected areas.
To exit the
Remove Red Eyes menu without saving changes, press .
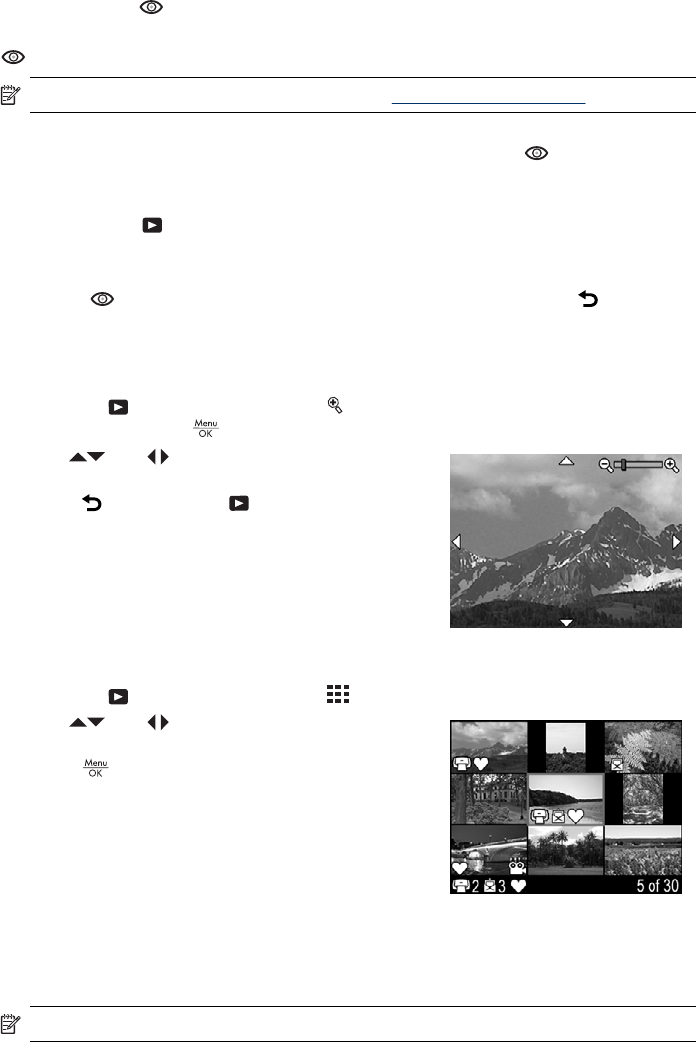
Magnifying images
This feature is for viewing purposes only; it does not permanently alter the image.
1.
From the
Playback Menu, select Magnify. The currently displayed image is
magnified 2x; press
to increase magnification to 4x.
2.
Use
and to pan around the magnified
image.
3. Press
to return to the Playback Menu.
Viewing thumbnails
1.
From the
Playback Menu, select View Thumbnails.
2.
Use
and to scroll through the
thumbnails.
3.
Press
to view the highlighted image on the
Image Display.
Tagging images as Favorites
Tagging an image as a Favorite allows you to quickly select the group of images tagged
as Favorites for printing or viewing as a group.
NOTE: You can tag up to 200 images as Favorites.
Using the Playback Menu 15


