


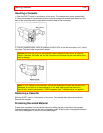
Getting Started - 22 -
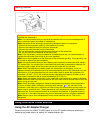
1. Plug the AC adapter/charger power cord into an AC outlet. Make sure that the wide blade fits
into the wide slot. If it doesn't fit try reversing it. If you still cannot make fit the blades fully into the
outlet either contact an electrician to replace your obsolete outlet, or use a polarized cord or outlet
accessory.
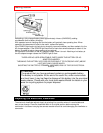
2. Connect one end of the DC cord (provided) to the DC IN jack of the camcorder. Connect the
other end of the DC cord to the DC OUTPUT of the AC adapter/charger.
Note: The AC adapter/charger can be used around the world. An AC plug adapter is required
in some foreign countries. If you need one purchase it at your Hitachi distributor.
Note: The battery level indicator sometimes displays the partial charge symbol when using
the AC adaptor/charger. Ignore this indicator when using the AC adaptor/charger.
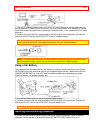
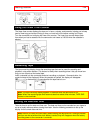
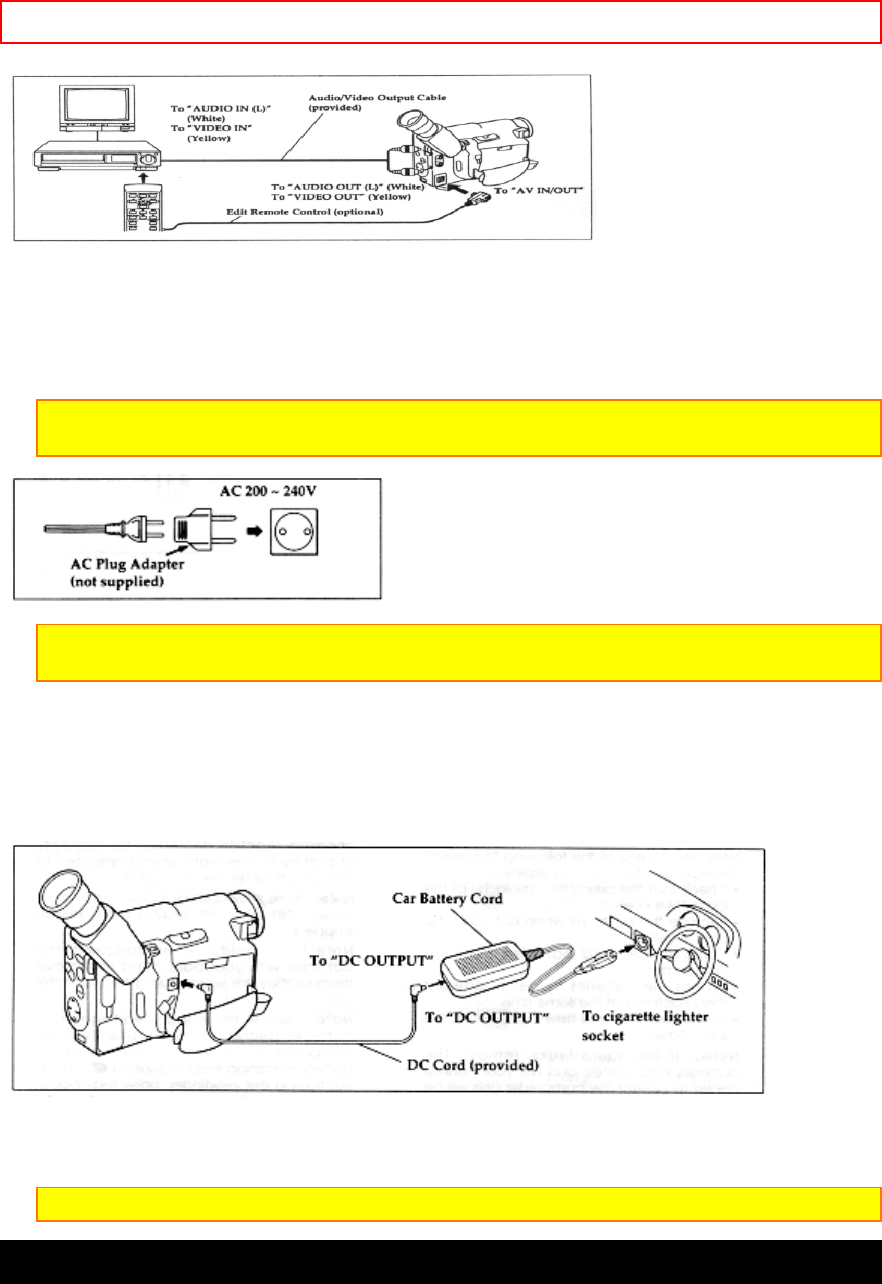
Using a Car Battery
The camcorder can be powered with a car battery by using an optional car battery cord (Hitachi
VM-CC80A) to plug the camcorder into the car's cigarette lighter socket. Please ensure that the
CAM/OFF/VIDEO switch is in the OFF position whenever attaching or detaching any power
supply (ie. battery, AC adapter/charger, etc).
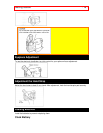
1. Plug the car battery cord into the car's cigarette lighter socket.
2. Connect one end of the DC cord (provided) to the DC IN jack of the camcorder. Connect to
other end of the DC cord to the DC OUTPUT of the car battery cord.
Note: Only use the car battery cord with cars having 12/24 volt negative ground system.
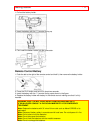
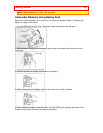
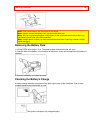
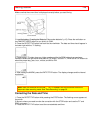
Inserting and Removing Cassettes
A power source must be connected before inserting or removing cassettes. Once connected
cassettes can be inserted or removed whether the CAM/OFF/VIDEO switch is on or off.