


14
NS-DV720P/NS-DV720PBL 720p HD Digital Camcorder
www.insigniaproducts.com
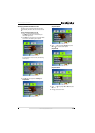
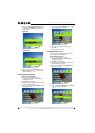
5 Press or to highlight a color balance
mode, then press SET. You can select:
• Auto—Select this option to let your
camcorder automatically adjust the white
balance.
• Daylight—Select this option when recording
movies or taking pictures outdoors.
• Fluorescent—Select this option when the
light source is fluorescent.
• Tungsten—Select this option when the light
source is tungsten.
6 Press to close the menu.
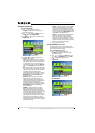
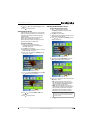
Imprinting the date and time on pictures
You can imprint the date or the date and time on
pictures.
To imprint the date and time on pictures:
1 Press to enter Record mode. The
record/power indicator on the back of your
camcorder lights blue.
2 Press SET. The menu opens.
3 Make sure that Simple Mode is off. See “Turning
Simple Mode off” on page 10.
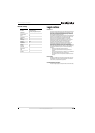
4 Press or to highlight the Settings tab. The
Settings menu opens.
5 Press to highlight Time Stamp, then press
SET or . The Time Stamp screen opens.
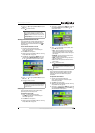
6 Press or to highlight an option, then press
SET. You can select:
• Date & Time—Imprints the date and time on
pictures.
• Date—Imprints the date on pictures.
• Off—Turns the time stamp feature off.
7 Press to close the menu.
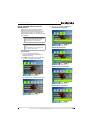
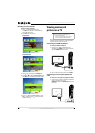
Setting the date and time
To set the date and time:
1 Press to enter Record mode. The
record/power indicator on the back of your
camcorder lights blue.
2 Press SET. The menu opens.
3 Make sure that Simple Mode is off. See “Turning
Simple Mode off” on page 10.
4 Press or to highlight the Settings tab. The
Settings menu opens.
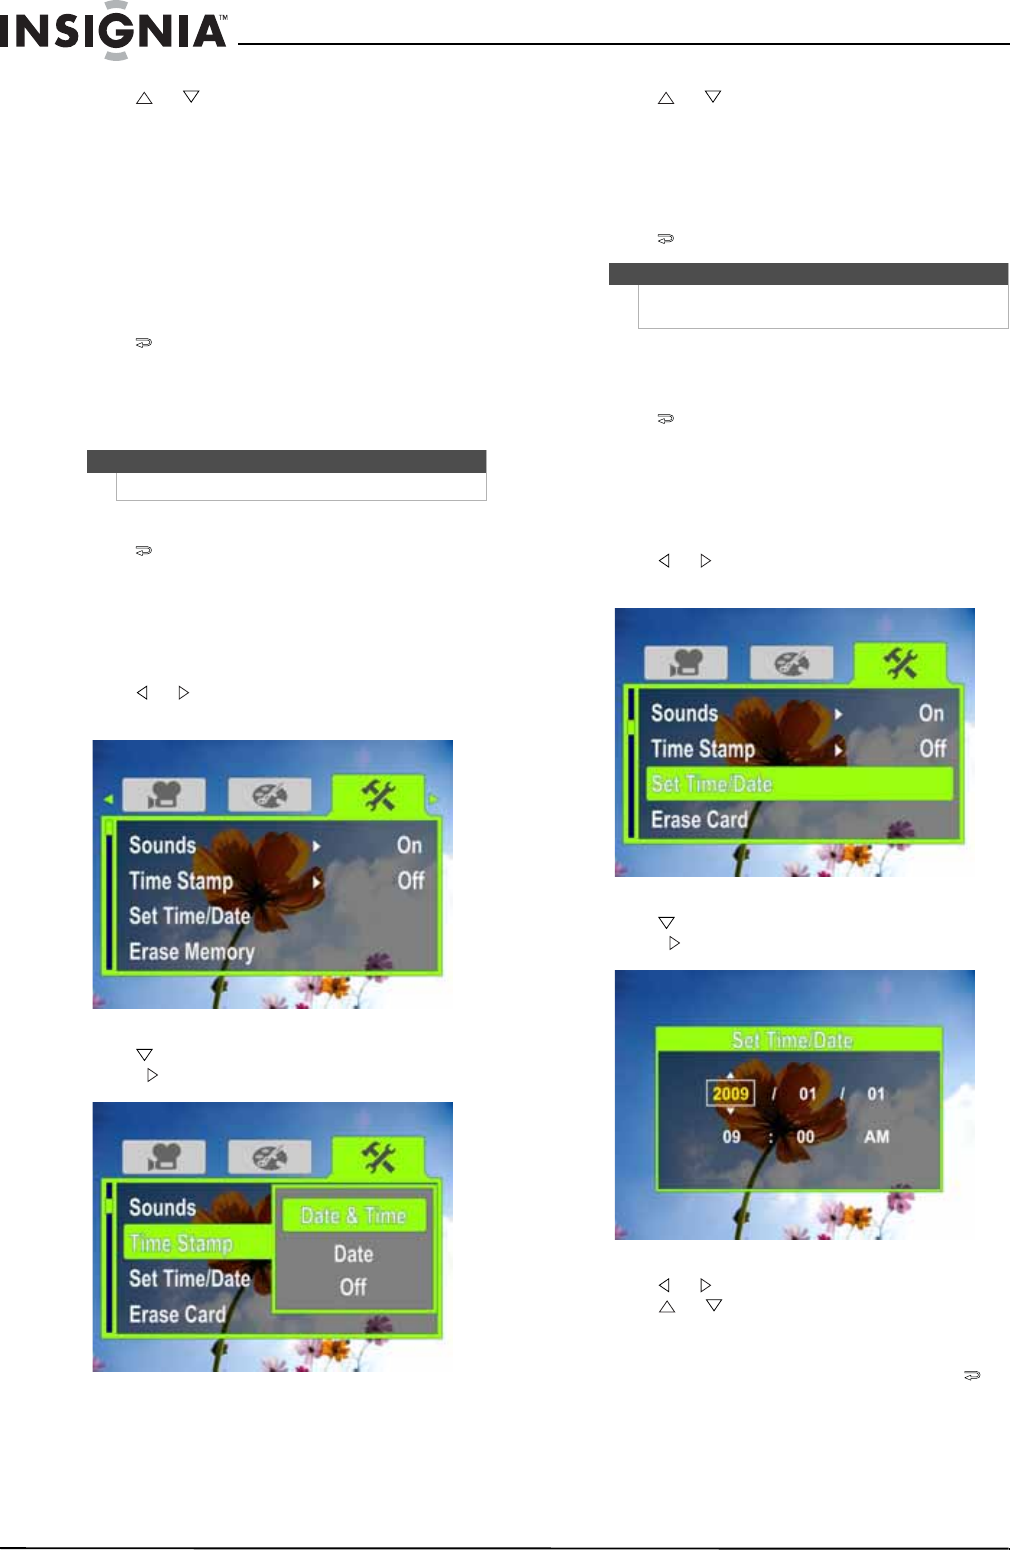
5 Press to highlight Set Time/Date, then press
SET or . The Set Time/Date screen opens.
6 Press or to move between the fields, then
press or to change the values in the fields.
The formats are YEAR/MONTH/DAY and
HOUR:MINUTES.
7 Press SET to save your settings, then press to
close the menu.
Note
Date and time cannot be imprinted on movies.
Note
Once the date or date and time are imprinted on a
picture, they cannot be removed.