User’s Guide – Iomega StorCenter ix2 1TB Network Storage and TRENDnet Wireless Day/Night Pan/Tilt Internet Camera Server with
2-way Audio
Page 5
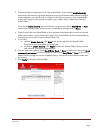
3. Choose whether to enable security for this shared folder. If you uncheck Enable Security,
everyone on the network is granted read/write access to the shared folder without having to
enter credentials; you cannot limit or configure individual user access to this shared folder.
Anyone with access to the network can open, copy, modify, add, or delete files within the
shared folder.
If you check Enable Security, the administrator can grant users either Read/Write or Read
access to the Shared Folder, or deny access completely by setting access to None.
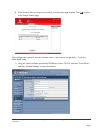
4. Check Connect the new shared folder to this computer to automatically connect this shared
folder upon creation. If you uncheck this option, this shared folder can be connected later by
accessing the Home tab's Connect Shared Folder link.
5. If you have:
• checked Enable Security, click Next to set access rights for the Shared Folder.
Continue to set access rights in the next step.
• unchecked Enable Security, click Apply to create the Shared Folder. Skip to the last
step, where a confirmation page displays.
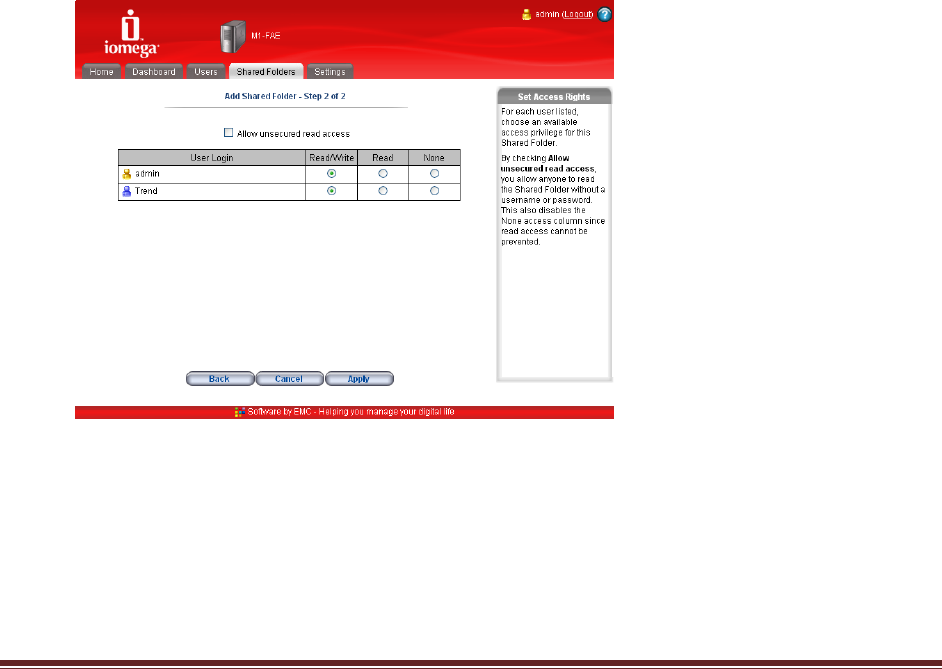
6. You can set access rights to either Read/Write, Read, or None for each user. Select the Allow
unsecured read access checkbox to grant all users either Read/Write or Read access to the
Shared Folder, though you cannot completely deny a user access to this Shared Folder with
this setting.
7. Click Apply to create the Shared Folder.


