


10 EN
– – – – –
6
– – – – –
REC MODE
WIDE MODE OFF
40X
SP
ZOOM
SELF-TIMER
GAIN UP
DIS
4
END
ON
AGC
OFF
FLASH
TO DATE / TIME MENU
TO SYSTEM MENU
AUTO
– – – – –
6
– – – – –
SP
SP LP
A M
P
L
A
Y
O
F
F
C
A
M
E
R
A
5
S
FOCUS
EXPOSURE AUTO
OFF
OFF
AUTO
AUTO
W. BALANCE
FADER
/ WIPE
P. AE
/ EFFECT
END
0FLASH ADJ.
TO MODE MENU
4
– – – – –
6
– – – – –
REC MODE
WIDE MODE OFF
40X
SP
ZOOM
SELF-TIMER
GAIN UP
DIS
END
ON
AGC
OFF
FLASH
TO DATE / TIME MENU
TO SYSTEM MENU
AUTO
4
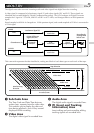
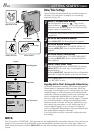
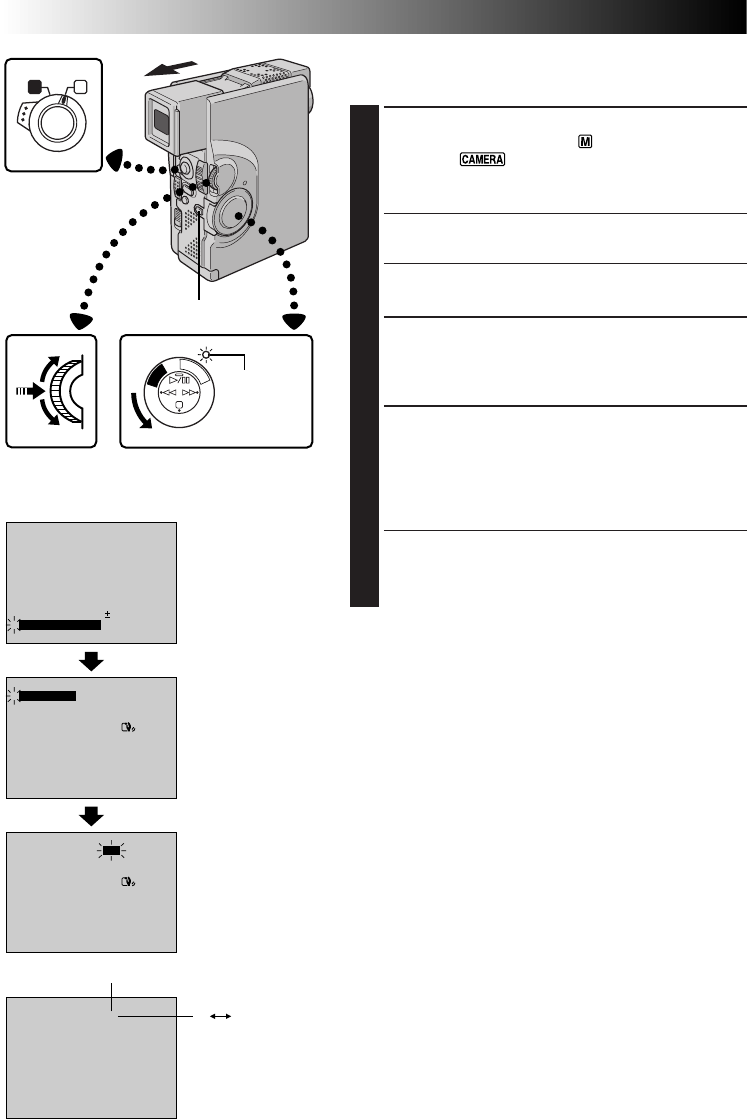
Recording Mode Setting
Set depending on your preference.
1
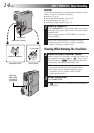
SELECT OPERATION MODE
Set the Operation Switch to “ ”. Then, set the Power
Switch to “ ” or “5S” while pressing down the
Lock Button. Open the LCD monitor fully or pull out
the viewfinder fully.
•The power lamp comes on and the camcorder is
turned on.
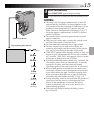
2
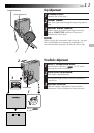
ACCESS RECORDING MENU
Press MENU/SET. The Recording Menu appears.
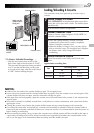
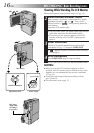
3
ACCESS MODE MENU
Move the highlight bar to “TO MODE MENU” by
rotating MENU/SET. Press it and the Mode Menu
appears.
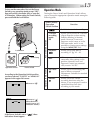
4
SET RECORDING MODE
First move the highlight bar to “REC MODE” by
rotating MENU/SET. Press it and the parameter “SP”
or “LP” is highlighted. Select “SP” or “LP” by rotating
MENU/SET. Press it twice to exit from the Recording
Menu.
•Audio Dubbing is impossible on a tape recorded in
the LP mode.
•“LP” (Long Play) is more economical, providing
1.5 times the recording time.
NOTES:
●
If the recording mode is switched during recording, the
playback picture will be blurred at the switching point.
●
It is recommended that tapes recorded in the LP mode
on this camcorder be played back on this camcorder.
●
During playback of a tape recorded on another
camcorder, blocks of noise may appear or there may be
momentary pauses in the sound.
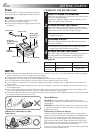
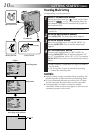
Power lamp
Display
Recording mode indicator
MENU/SET Dial
Power Switch
GETTING STARTED
(cont.)
Mode Menu
Recording Menu
Lock Button
Operation Switch