


MasterPage: Advan_Heading0_Right
26 EN
Interval Shooting
During interval shooting mode, the camcorder
continues to take snapshots automatically with
an interval of your desired setting.
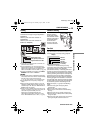
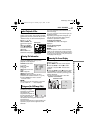
1 Set “INT.SHOT” to “ON”. (੬ pg. 33, 37)
● “INTERVAL” and “ ” appear.
2 Set “INT.TIME” to the desired shooting
interval. (੬ pg. 33, 37)
3 Set the power switch to “A” or “M” while
pressing down the lock button located on the
switch.
4 Press SNAPSHOT.
● First shot is taken after 2 seconds.
● The “O” indicator appears while the snapshot
is being taken.
● The clock icon “ ” turns while waiting for the next
shot is being taken.
● The next shot is being taken automatically when
the shooting interval set in step 2 has passed.
5 Press SNAPSHOT to stop interval shooting.
To cancel interval shooting mode
Set “INT.SHOT” to “OFF” in step 1.
NOTES:
● It is recommended to use the AC adapter as
the power supply instead of the battery pack.
(੬ pg. 13, 14)
● To distinguish between still images taken in
interval shooting mode and other still images, it is
recommended that you reset the file names before
shooting. (੬ pg. 28)
● Interval shooting will stop if the battery runs out of
power or the memory card becomes full.
● The function “Animation” in the provided software
“Digital Photo Navigator” can be used to create
movie files from the captured still images
(Windows
®
only). To create movie files with the
Macintosh, it is recommended that you use the
function “Creating a Slideshow From Still Images”
in the commercial software “QuickTime Pro”.
D.S.C. PLAYBACK
Images shot with the camcorder are
automatically numbered, then stored in
numerical order in the memory card. You can
view the stored images, one at a time, much like
flipping through a photo album.
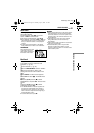
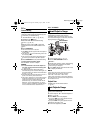
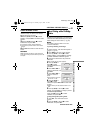
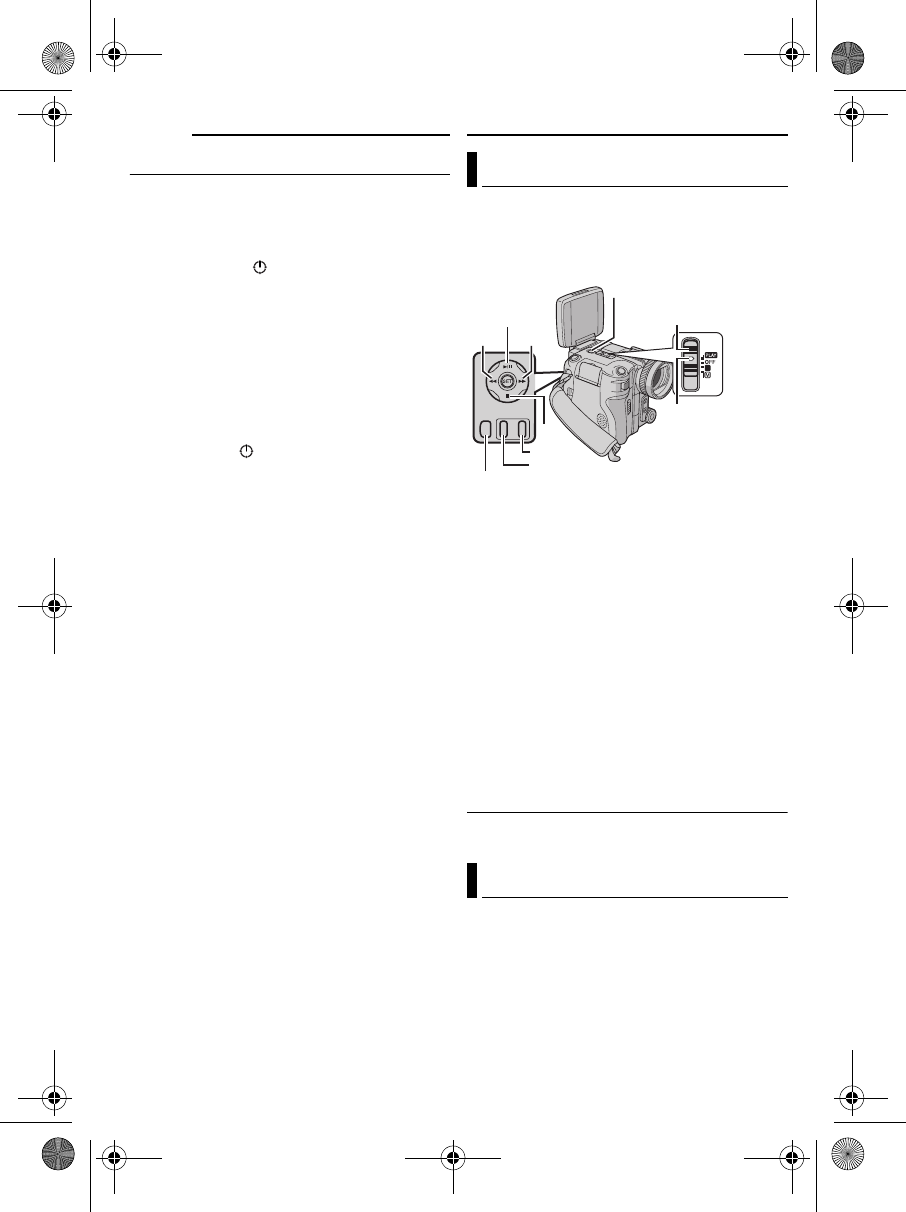
1 Load a memory card. (੬ pg. 17)
2 Set the VIDEO/MEMORY switch to
“MEMORY”.
3 Set the power switch to “PLAY” while pressing
down the lock button located on the switch.
● A stored image is displayed.
4 Press 3 to display the previous file. Press
5 to display the next file.
NOTE:
Images shot and stored in the memory card with
another device with resolutions other than
“640 x 480”, “1280 x 960”, “1600 x 1200”,
“2048 x 1536” and “2560 x 1920” will be displayed
as thumbnails only. These thumbnail images cannot
be transferred to a PC.
Playback Zoom
Available only with the remote control.
(੬ pg. 24)
You can run through all the images stored in the
memory card automatically.
1 Perform steps 1 – 3 in “Normal Playback of
Images” (੬ pg. 26).
2 Press 4/9 to start auto playback.
● If you press 3 during auto playback, files are
displayed in descending order.
● If you press
5 during auto playback, files are
displayed in ascending order.
3 To end auto playback, press 8.
Normal Playback of Images
Auto Playback of Images
A
4/9
Lock Button
3
VIDEO/MEMORY
Power Switch
8
MENU
5
INDEX
INFO
GR-X5PAL.book Page 26 Thursday, April 7, 2005 7:23 PM