


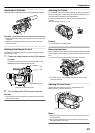
Assigning Functions to the USER
Buttons
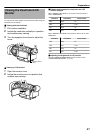
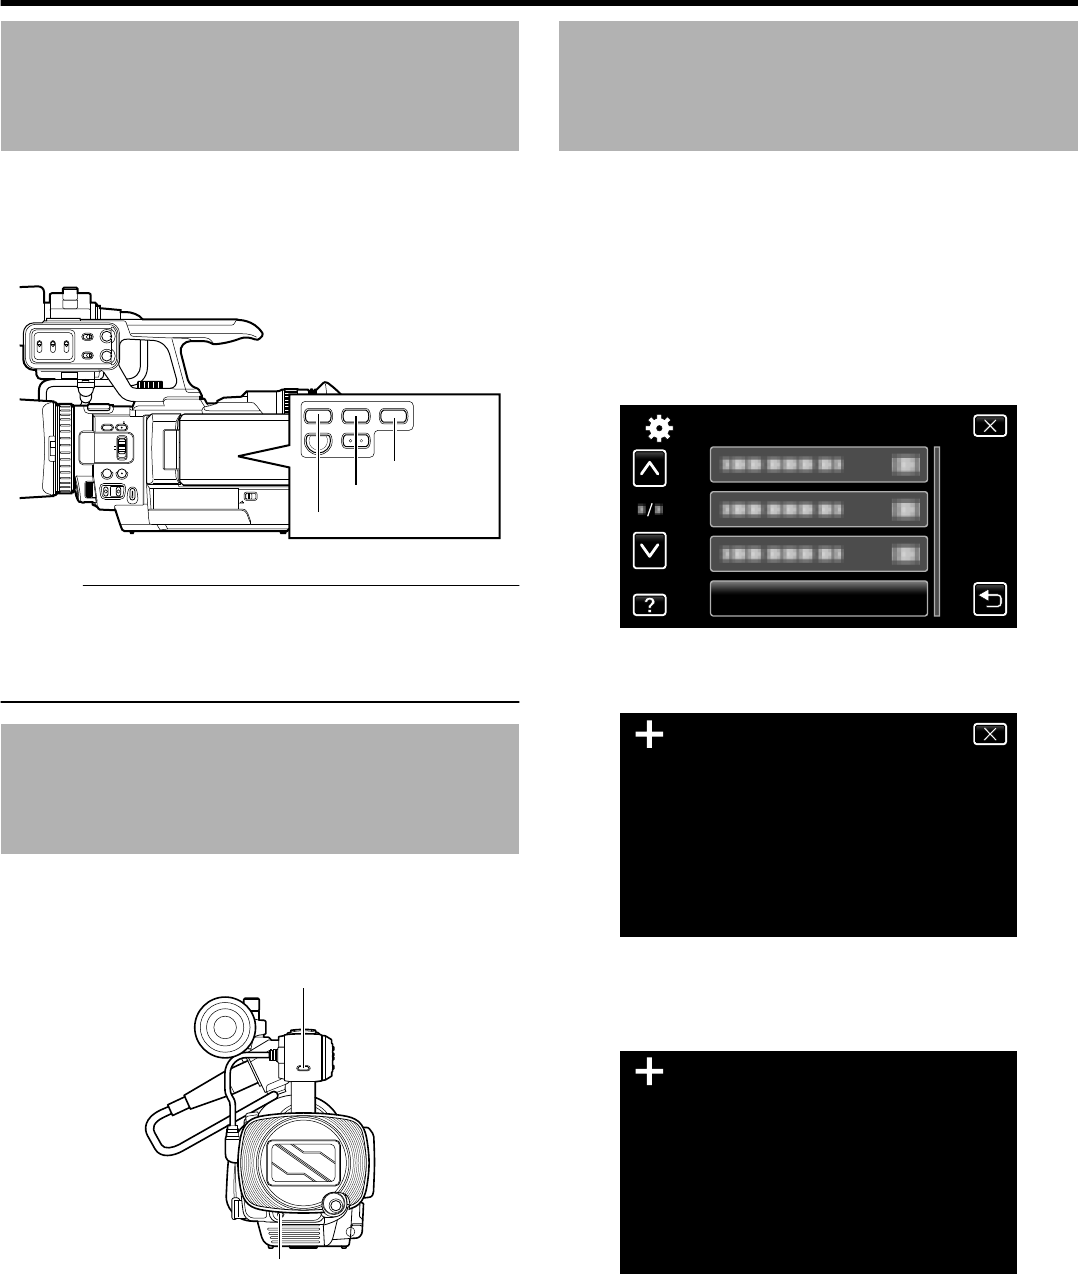
This unit comes with three user buttons, [USER1], [USER2], and
[USER3].
A specific function can be assigned to each button according to your
preference.
.
CH-2 INPUT
CH-1
3
4
5
2
1
2
3
0
CH-2
AUDIO INPUT
AUTO MA NUAL
AUTO MANUAL
FULL AUTO
DOOR LOCK
A E
SET
GAIN
ADJ.
IRISWHT. BAL
SHUTTER
A F
M F
AUDI O
SELECT
INPUT1
INPUT2
- LINE -
- MIC -
MIC+48V
INPUT1
INPUT2
L-
M-
H-
B -
A -
PRST
CAM/MEDIA
INFO
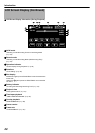
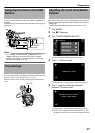
USER2 USER3USER1
[USER3] button
[USER2] button
[USER1] button
Memo :
0
You can assign “FOCUS ASSIST”, “TELE MACRO”, and
“ZEBRA” respectively to the three user buttons, “USER1”,
“USER2”, and “USER3” in the recording menu. You can also
leave them unassigned. (A p. 63)
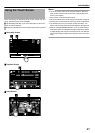
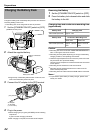
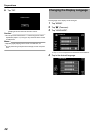
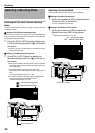
Tally Settings
You can select whether to enable the illumination of the tally lamp.
Set using “TALLY” in the common menu. (A p. 64)
When this is set to “ON”, the tally lamp lights up in the recording
mode.
.
AWB
Tally Lamp
Tally Lamp
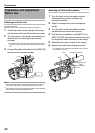
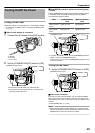
Adjusting the Touch Panel Button
Position
If the reactive area of the screen is misaligned with the touched area,
adjust the alignment between the button display position and the
reactive area.
0
Select “TOUCH SCREEN ADJUST” in the common menu.
1
Tap “MENU”.
2
Tap “Q” (Common).
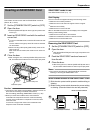
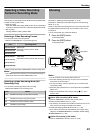
3
Tap “TOUCH SCREEN ADJUST”.
.
TOUCH SCREEN ADJUST
COMMON
0
The touch screen adjustment screen appears.
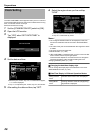
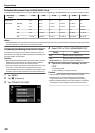
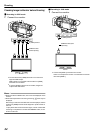
4
Tap “+”. (3 times in total)
.
1/3
PRESS THE + MARK
0
Keep tapping “+” as its position changes with every tap.
5
Tap “+” again to confirm the adjusted
positions. (3 times in total)
.
1/3
PRESS + MARK AGAIN
CONFIRM THE ADJUSTMENT
0
Keep tapping “+” as its position changes with every tap.
0
If areas on the adjustment screen other than the “+” mark
are tapped, errors will occur. In this case, try again from step
4.
Preparations
27