


.
3
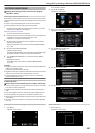
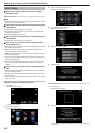
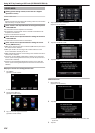
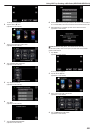
Tap “DETECT/MAIL” (P).
.
4
Tap “DETECT/MAIL ATTN.”.
.
5
Select “DETECT/MAIL ATTN.”, then tap J.
.
0
To display the P icon, tap the e-mail address.
0
To cancel the e-mail address, press the icon one more time.
0
Up to 8 e-mail addresses can be selected.
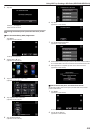
6
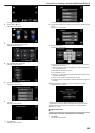
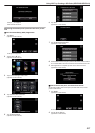
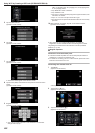
Tap “START” (I).
.
7
Start making a connection.
.
8
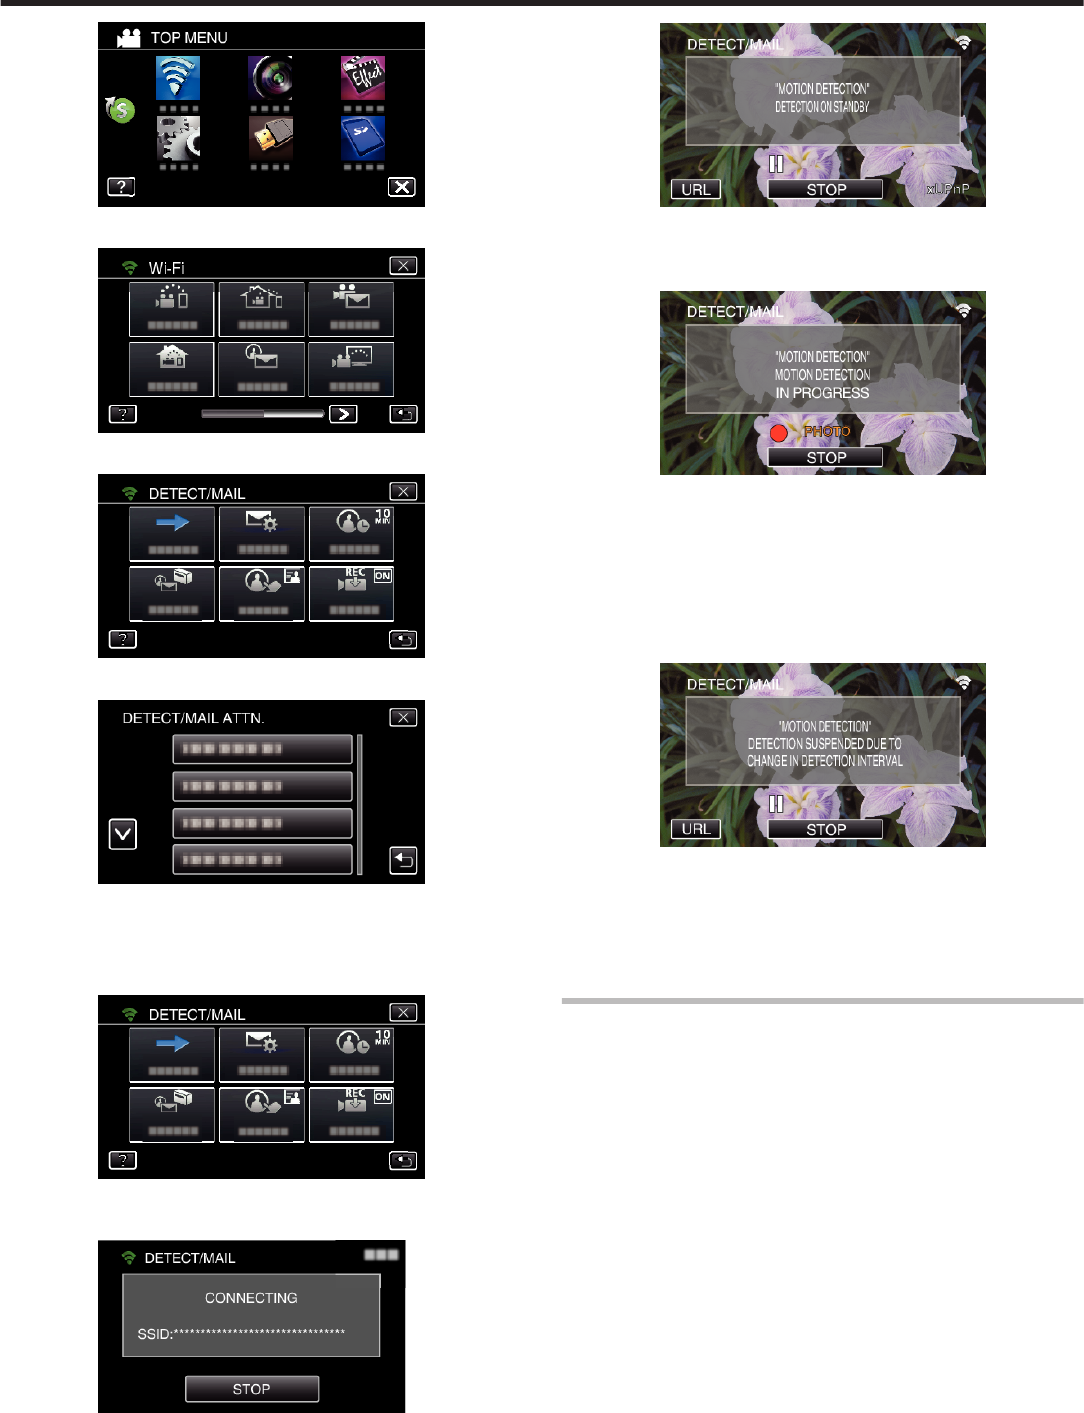
DETECT/MAIL detection standby
.
0
Detection is suspended for the first 5 seconds.
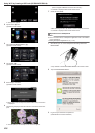
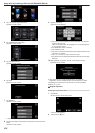
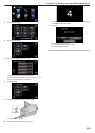
9
DETECT/MAIL detection in progress (an e-mail is automatically sent out
after detection is completed)
.
0
The “PHOTO” icon appears on the screen for about 2 seconds upon
detection.
0
Images are captured automatically when moving subjects or human
faces appear on the camera’s screen. (The PHOTO icon appears on
the screen upon detection.)
0
The captured still images will be sent via e-mail to the selected
recipients.
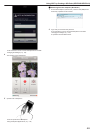
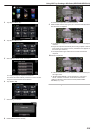
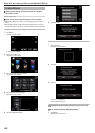
10
Detection suspended
.
0
Until the next detection is made, detection is suspended for the pre-
set length of time.
0
“DETECTION INTERVAL” can be selected from 15 seconds, 1
minute, 3 minutes, 10 minutes, 30 minutes and 60 minutes.
“Setting the Detection Interval of this Camera (DETECT/MAIL
SETTING)” (A p. 163)
Check the incoming e-mail.
Using Wi-Fi by Creating a QR Code (GZ-EX355/GZ-EX310)
215