28
EN
Backup All Files
Preparation:
•
Connect the camcorder to the DVD burner.
•
Select ! mode.
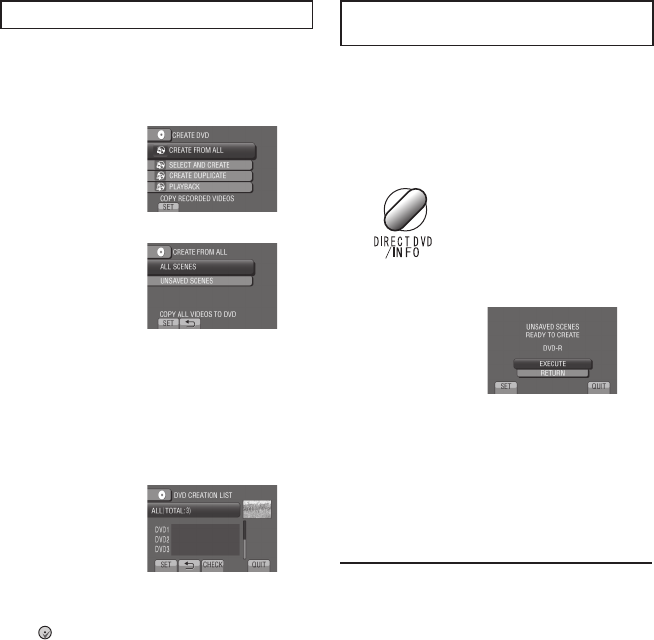
1 Select [CREATE FROM ALL].
2 Select the desired menu.
•
[ALL SCENES]:
All files in the recording medium are
copied.
•
[UNSAVED SCENES]:
Files that have never been copied to a
DVD disc are automatically selected and
copied.
3 Select the desired disc number.
•
If you select [ALL], all discs in the list are
created.
•
To preview scenes, select [CHECK].
•
mark shows that the disc is created
already.
4 Select [YES] or [NO].
•
[YES]: Displays the thumbnails by group.
•
[NO]: Displays the thumbnails by date.
5 Select [EXECUTE].
•
The files are copied on the disc. When
[COMPLETED] appears, touch OK.
•
When [INSERT NEXT DISC PRESS
[STOP] TO EXIT CREATE] appears,
change the disc. Remaining files are
copied on the second disc.
•
To cancel copying, select [STOP].
Copying Video Files that Have Never
Been Copied
Files that have never been copied to the DVD
discs are automatically selected and copied.
1 Open the LCD monitor to turn on the
camcorder.
2 Press DIRECT DVD.
3 Select [EXECUTE].
•
The DVD disc begins to be created.
When [COMPLETED] appears, touch
OK.
•
When [INSERT NEXT DISC PRESS
[STOP] TO EXIT CREATE] appears,
change the disc. Remaining files are
copied on the second disc.
•
To cancel the DVD creation, select
[CANCEL].
To quit the screen
1) Select [QUIT].
2) When [QUIT?] appears, select [YES].
To play back the created disc using the
camcorder
1) Connect the camcorder to the DVD
burner.
2) Turn on the camcorder first, then turn on
the DVD burner.
3) Select [PLAYBACK].
4) Select the desired folder.
5) Select the creation date of the disc.
6) Select the desired file. To return to the
previous screen, select @.
Copying Files (Continued)


