


46
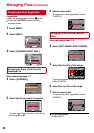
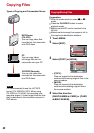
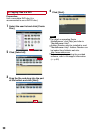
L To play back the created disc using the
camcorder
1) Connect the camcorder to the DVD
burner.
2) Turn on the camcorder first, than turn on
the DVD burner.
3) Select [PLAYBACK].
4) Select the desired folder.
5) Select the creation date of the disc.
6) Select the desired file. To return to the
previous screen, select @.
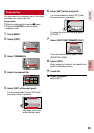
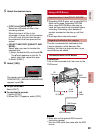
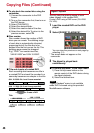
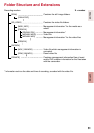
L Disc number
Disc number shows the number of DVD
discs you can create. The dubbing range
of each disc is automatically allocated,
presuming that all the files are to be
dubbed from the first one on the list. This
dubbing range cannot be changed.
E.g.) “DVD1” can contain two files,
“JAN.01.2009” and “JAN.15.2009”.
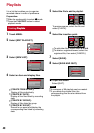
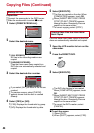
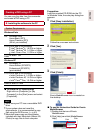
L Title and chapter of created DVD
Each recording date becomes one title in
a created DVD and each file recorded in a
same day becomes one chapter in the title.
JAN. 11. 2009: file 3 and 4 were recorded.
JAN. 10. 2009: file 1 and 2 were recorded.
Create a DVD
File 1
File 2
File 4File 3
1 2 3 4
Title
Chapter
File 1 File 2 File 3 File 4
JAN.10.2009
JAN. 11.2009
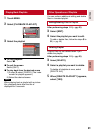
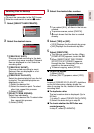
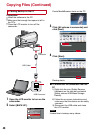
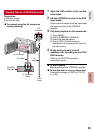
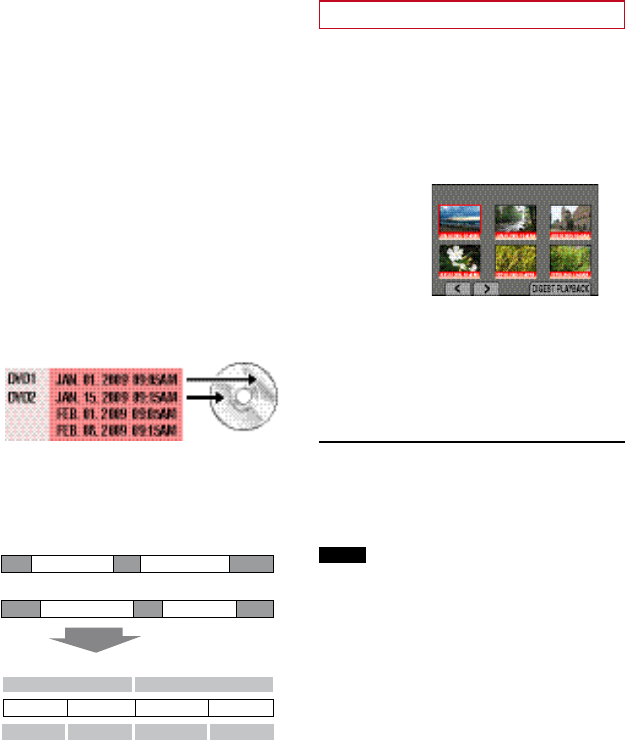
Digest Playback
You can view the opening scene of each
video (digest) in the created DVD.
Create a DVD using a DVD burner (CU-VD50
CU-VD3).
1
Load the created DVD on the DVD
player.
2
Select [DIGEST PLAYBACK]*.
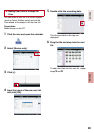
You can view the previous or next page by
selecting £ / ¤.
* The screen does not appear on the
camcorder.
3
The digest is played back
continuously.
L To normal playback / To the index menu
1) Press the top menu button on the
remote control of the DVD device during
the digest playback.
2) Select the desired item.
NOTE
“Digest Playback” menu is not available
when DVD is burned using the provided
MediaBrowser software.
Copying Files (Continued)