


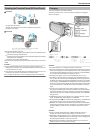
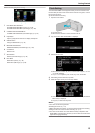

Using the Touch Screen
The LCD monitor of this unit is a touch panel which enables operations by
touching the screen.
Icon operation buttons, thumbnails, and menu items are displayed on the
touch screen according to the mode in use.
0
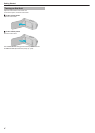
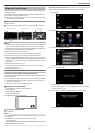
There are two ways to operate the touch screen, namely “tap” and “drag”.
The following are some examples.
A Tap the displayed button (icon) or thumbnail (file) on the touch screen
to make selection.
B Drag the thumbnails on the touch screen to search for the desired file.
.
Memo :
0
The touch screen of this unit is pressure-sensitive. When the touch screen
does not respond smoothly, apply slightly more force to your fingertip.
0
Tap the buttons (icons) on the touch screen accurately. The buttons may
not respond if they are not tapped on the right area.
0
Do not press or rub with excessive force.
0
Do not operate the touch screen using an object with a sharp tip.
0
Pressing two or more places at a time may cause a malfunction.
0
Perform “TOUCH SCREEN ADJUST” if the reactive area of the screen is
misaligned with the touched area. (Adjust by lightly tapping with a corner
of an SD card, etc. Do not press with an object with a sharp tip or do not
press hard.)
“Adjusting the Touch Panel” (A p. 9)
0
You cannot operate the touch screen under water. Lock the screen to
prevent operation errors.
“Shooting under Water” (A p. 32)
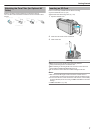
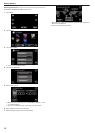
Locking the Screen (when Shooting Underwater)
Lock the screen before using this unit underwater to prevent operation errors
on the touch screen.
0
Once the screen is locked, operations on the touch screen are disabled.
0
The START/STOP (recording) button and the zoom lever can be used
while the screen is locked.
0
You can set for both video and still image modes.
o
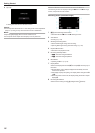
Setting the “SCREEN LOCK”
A
Check that the unit is in the recording mode.
B
Tap “MENU”.
C
Tap “RECORD SETTING”.
D
Tap “SCREEN LOCK”.
0
The L button appears on the screen.
.
o
To cancel “SCREEN LOCK”
Tap the L button.
Memo :
0
Once “SCREEN LOCK” is set, only the L button on the touch screen can
be operated.
0
“SCREEN LOCK” cannot be set for the following cases:
- during recording
- when “TIME-LAPSE RECORDING”, “RECORDING EFFECT” or “DATE/
TIME RECORDING” has been set
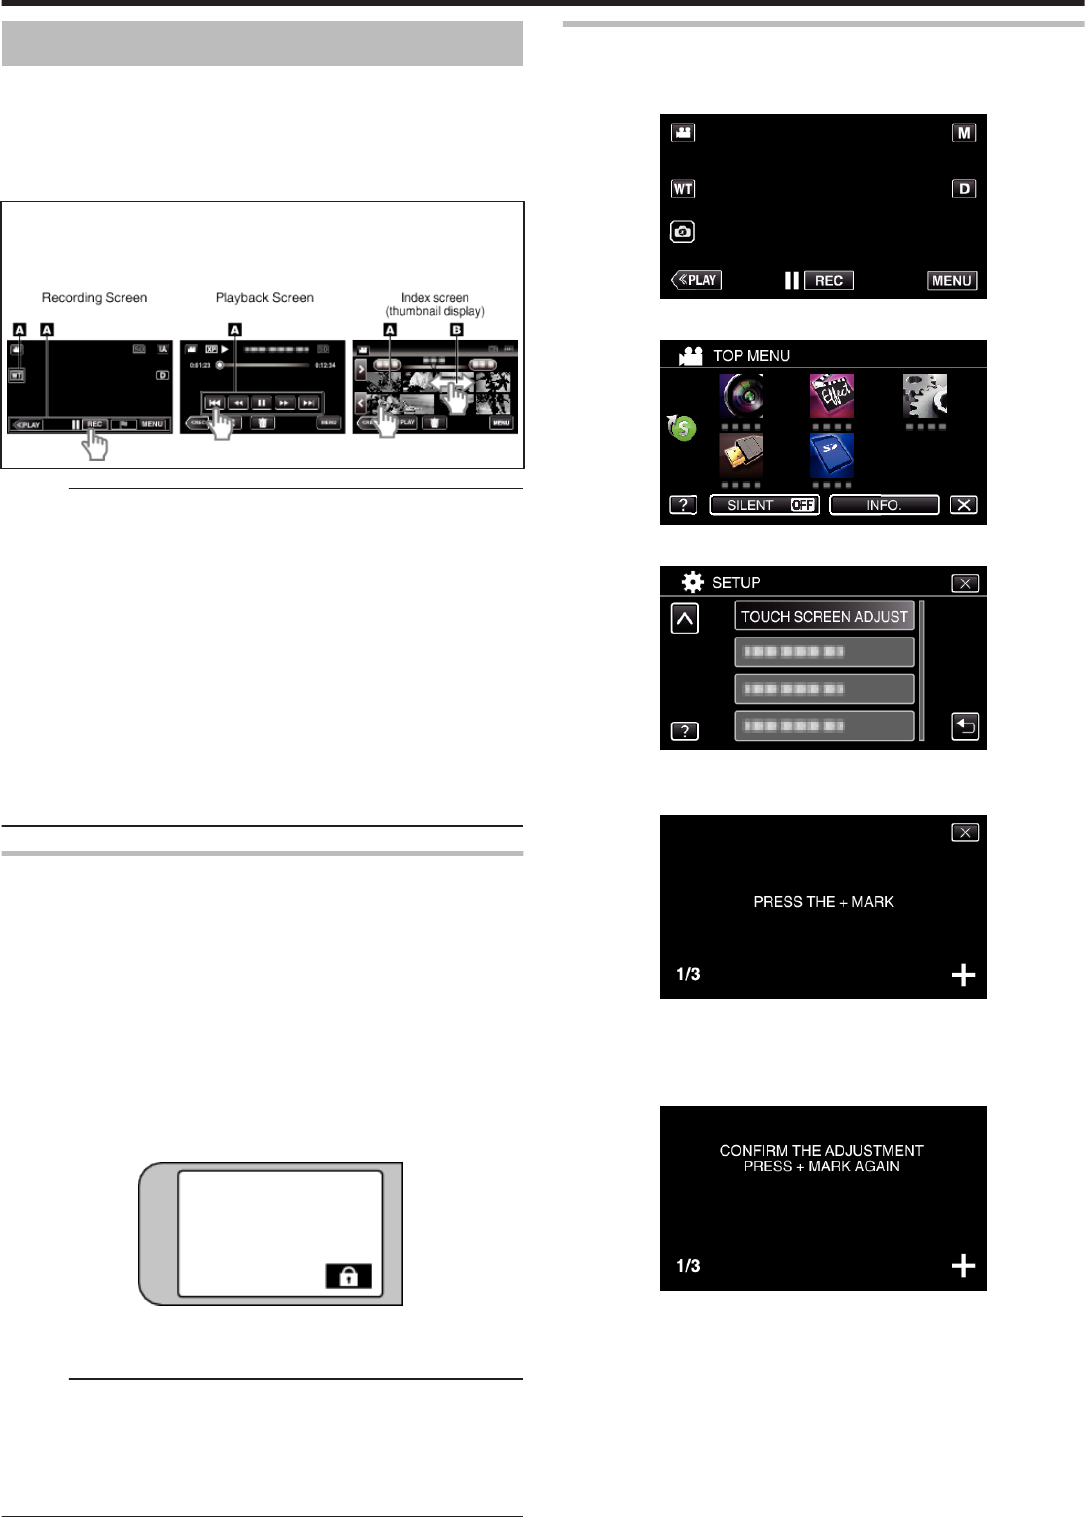
Adjusting the Touch Panel
Adjusts the response position of the buttons on the touch screen.
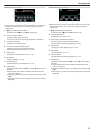
1
Tap “MENU”.
.
2
Tap “SETUP”.
.
3
Tap “TOUCH SCREEN ADJUST”.
.
0
The touch screen adjustment screen appears.
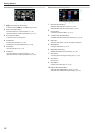
4
Tap “+”. (3 times in total)
.
0
Keep tapping “+” as its position changes with every tap.
0
If areas other than the “+” mark are tapped, errors will occur. Make
sure to tap the “+” mark.
5
Tap “+” again to confirm the adjusted positions. (3 times in total)
.
0
Keep tapping “+” as its position changes with every tap.
Getting Started
9