22 EN
BASIC OPERATIONS
MasterPage: Body_Left
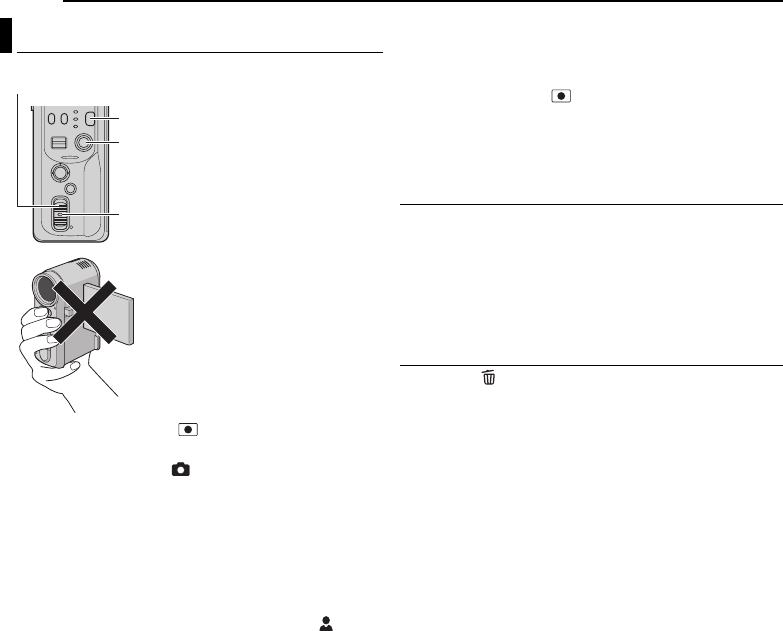
1 Set the power switch to while pressing down the
lock button located on the switch.
2 Press MODE to select .
● The camera is programmed to record still images on the
medium in the SD slot by the factory preset. To switch the
recording medium, see pages 26 and 27.
● To change the image size and picture quality, see pages 26
and 29.
3 Press the recording start/stop button. The still image is
recorded.
● To check how the image looks before recording, press the
recording start/stop button halfway and hold. The
indicator appears and stops blinking when the captured
image is focused. To cancel the recording, release the
recording start/stop button. To record it on the recording
medium, press the recording start/stop button fully.
NOTES:
● If shooting is not performed for approx. 5 minutes when
using the battery pack, the camera’s power shuts off
automatically. To perform shooting again, set the power
switch to OFF, then to . When using AC adapter, the
camera enters the power save mode. To cancel the power
save mode, perform any operation such as zooming.
● To turn the shutter sound off, see page 26.
● For approximate number of storable images, see page 42.
Continuous Shooting
Keeping the recording start/stop button pressed in step 3
provides an effect similar to serial photography. (Interval
between still images: approx. 0.3 seconds)
To use this function, set [CONTINUOUS SHOOTING] to
[ON]. (੬ pg. 26, 29)
● Continuous shooting may not work well depending on
the recording medium.
Deleting Files
If you press during recording mode, the file recorded
most recently will be deleted.
● However, if the recording mode (video, still image or voice) is
switched or the power is turned off and on again after
recording, you cannot delete the file.
Still Image Recording
Power Switch
Lock Button
MODE
Recording Start/Stop Button
When shooting with the flash, be
carefull not to cover it.
GZ-MC100PAL.book Page 22 Friday, September 10, 2004 7:41 PM


