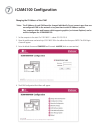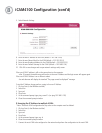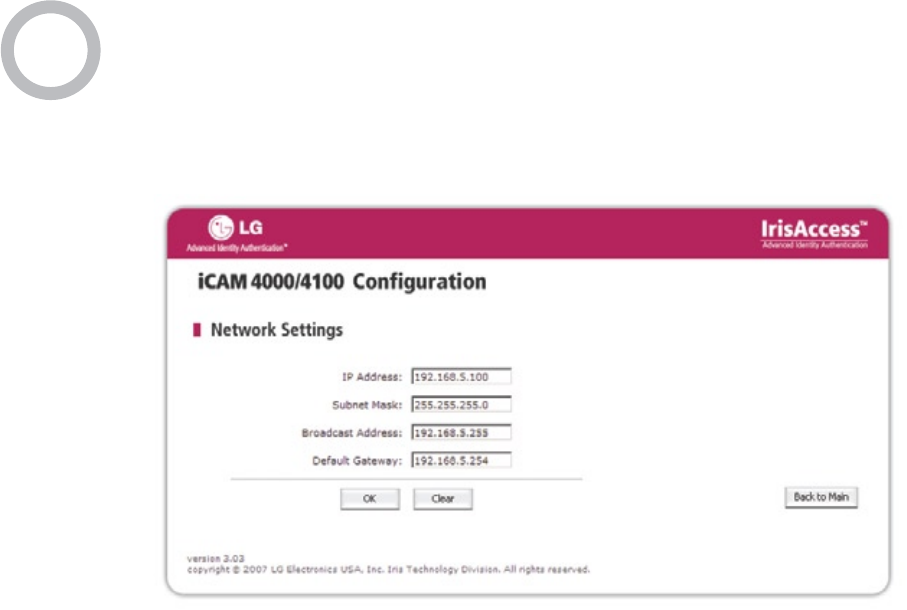
5. Select Network Settings.
6. Enter the new IP address for the iCAM (default = 192.168.5.100)
7. Enter the new Subnet Mask for the iCAM (default = 255.255.255.0)
8. Enter the new Broadcast Address for the iCAM (default = 192.168.5.255)
9. Enter the new Default Gateway for the iCAM. (default = 192.168.5.254)
10. Click OK to save changes and to open network settings verify screen.
If the new iCAM IP address is still on the same subnet as the computer:
- after 10 seconds the web browser will resolve to the new IP address and the login screen will appear again.
If the new iCAM IP Address is on a different subnet:
- the web browser will display the standard “The page cannot be displayed” message.
To test the IP Address change, perform a ping to the new IP Address.
1. Click on Start (in the Windows task bar)
2. Select Run
3. Type cmd
4. Press Enter
5. At the command prompt type: ping <new IP> (ex. ping 192.168.5.120)
6. Close the command prompt window.
If changing the IP Address to multiple iCAMs
* Note: After each iCAM configuration the arp cache on the computer must be deleted.
1. Click on Start (in the Windows task bar)
2. Select Run
3. Type cmd
4. Press Enter
5. At the command prompt type: arp –d
6. Close the command prompt window.
7. Connect the next iCAM to be configured on the network and perform the configuration to the next iCAM.
8
iCAM4100 Configuration (cont’d)


