


19
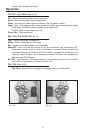
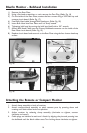
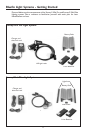
Mounting Battery Pods
1) Remove the rear plate of the housing.
2) Slide the battery pods into housing channels.
3) Insert Pod Locker between the pods and tighten using 1/8” allen key.
Do not over-tighten.
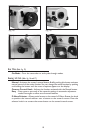
Connecting Lights to Battery Pods
1) Plug in the cable connectors on the pod.
2) Tighten the locking sleeves by rotating clockwise until tight.
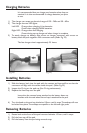
1) Plug in the cable connectors on the Light Head.(Pro Lights only)
2) Tighten the locking sleeves by rotating clockwise until tight.
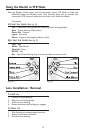
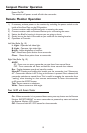
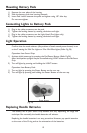
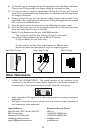
Light Operation
Confirm that the mode selector (flat position of bezel around power button) is set
to the P setting for Mini Pro Lights or E for Mini Elite Lights. (Refer Fig 24)
Operation from Smart Grips
1) Activate initial power-up by pressing the Pod Power Button. (Refer Fig 24)
After initial power-up lights may be controlled using LIGHT button on the left Smart
Grip.
2) Turn off lights by pressing and holding the LIGHT button.
Operation from Battery Pods
1) Turn on light by pressing the Power Button on the rear cap.
2) Turn off light by pressing and holding the Power Button on the rear cap.
(Fig. 24)
Power Button
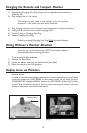
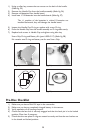
Replacing Handle Batteries
The battery life of your Smart Grip Handles will vary depending on usage and
technique. But eventually the handle batteries will exhaust.
Replacing the handle batteries is an easy procedure. However, pay special attention
to the wear of the O-ring and to the orientation of the batteries.