


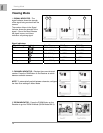

Advanced Menu Mode
13
ENG
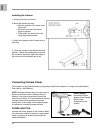
While in ZOOM MODE, you can Pan and Tilt the
Camera image using the Arrow keys on the receiver.
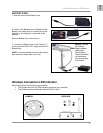
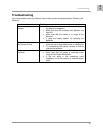
4. STATUS INDICATOR – The Status indicator
message “No Connection” will appear when a
camera cannot be found.
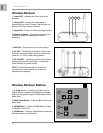
Advanced Menu Mode
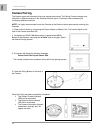
Press the MENU Button on the Receiver to enter MENU Mode. Use the ▲▼◄► Buttons to navigate UP,
Down, Left or Right in the menu.
1. AUDIO VOLUME – Use the Left and Right arrows to change the
Audio Volume from 0 (off) to 20 (high).
2. SCAN TIME – Sets the Auto Sequence to OFF (you must press
the CAM Button on the receiver to see other channels), or 5
Second, 10 Second or 15 Second Auto scanning.
NOTE: Before turning on the Auto Sequence, make sure all
cameras are paired to the System.
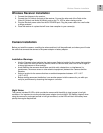
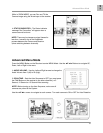
Use the ▲▼◄► arrows to navigate to each camera. Turn each camera to ON or OFF for Auto Detection.
NOTE: There may be temporary signal losses for
less than 1 second, due to the handshake
process between the Camera and Receiver
(when switching between channels).