METERING — Setting the ISO Manually
52
Set the ISO manually to override the DX-coded ISO or when using non-DX coded
film.
• Non-DX coded film is initially set to the previous roll’s ISO.
Film must be loaded before the ISO can be changed.
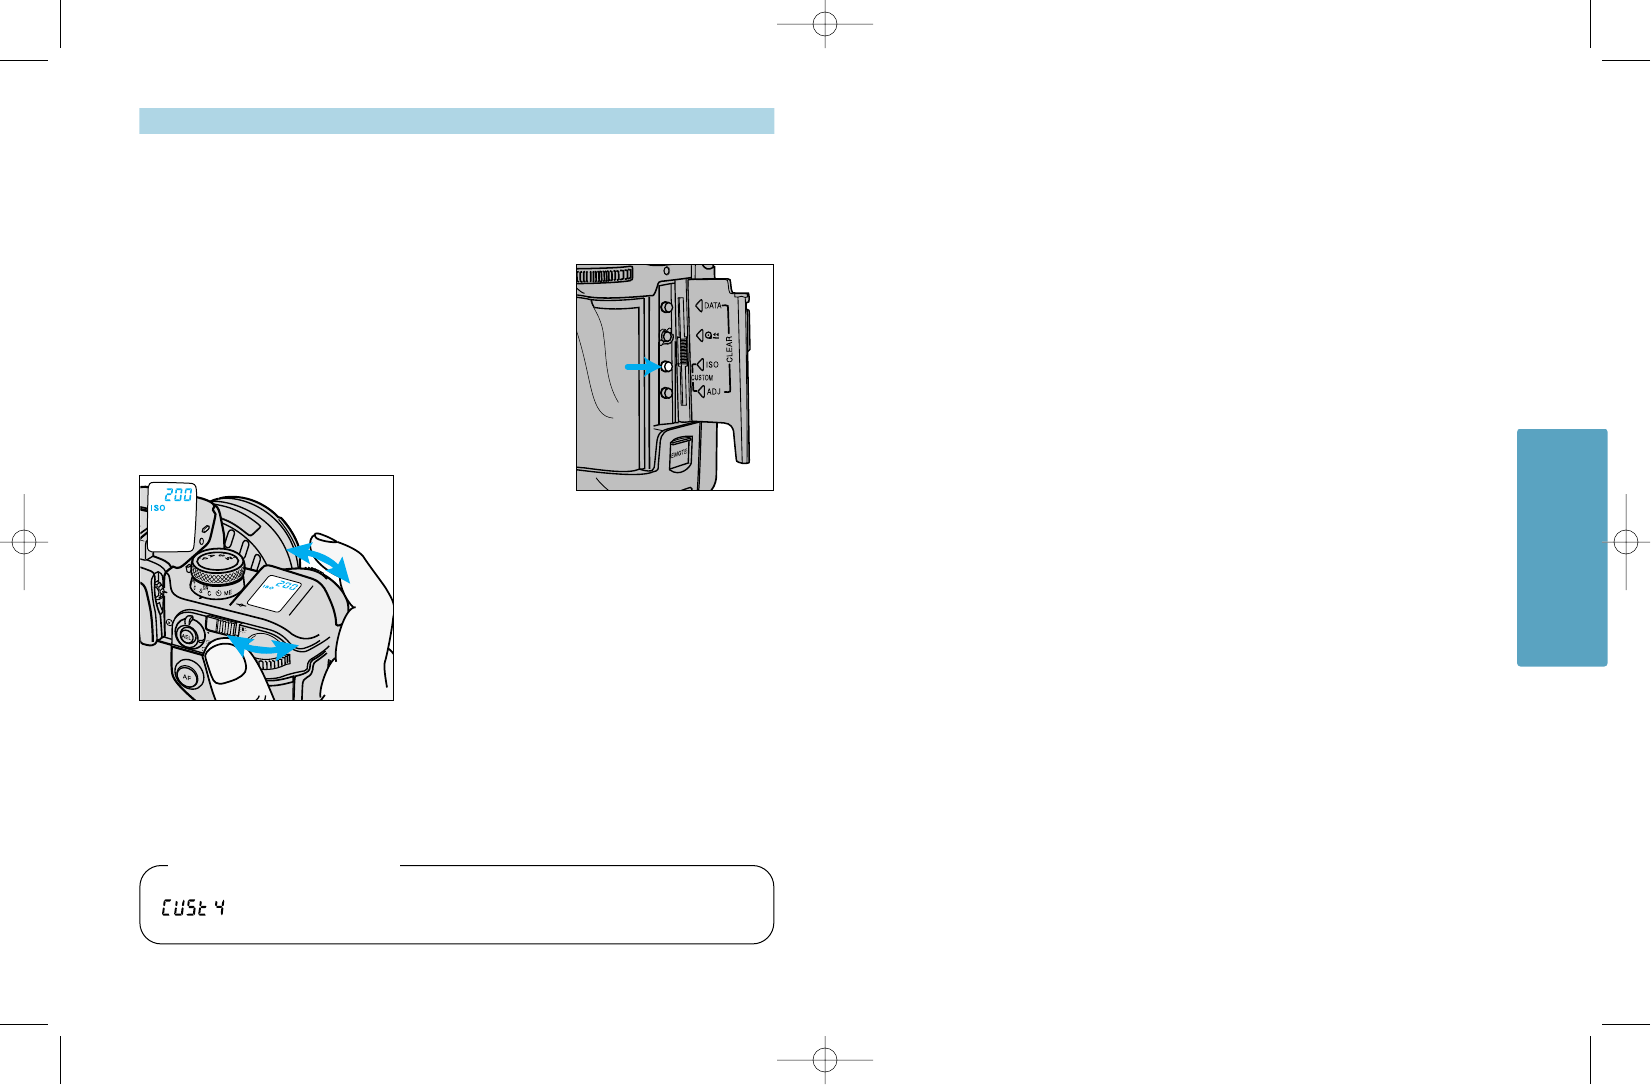
1. Open the control panel door and press the
ISO button.
2. Turn either control dial to set the
desired ISO value.
• The ISO can be changed manually from 6 to
6400 in 1/3 EV increments.
3. Press the shutter-release button
partway down to enter the new ISO.
DRIVE
Setting 2 - DX Memory On (p.94).
Applies ISO changes to future rolls with the same DX-coded ISO.
Custom Function Notes
DRIVE
MAXXUM9E 2/3/99 2:45 PM Page 52


