


- 41 -
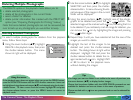
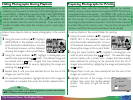
Hiding Photographs During Playback
When creating a slide show or playing back photographs for an
audience, you may want to hide some of the photographs in the
current folder. Hidden items are only visible in the HIDE IMAGE
menu and can not be deleted using the button or the
DELETE—SELECTED or DELETE—ALL options (hidden files
will be deleted when the card is formatted). They will also be
treated as hidden files when the memory card is read using a
computer.
Follow these steps to hide or reveal photographs in the current
folder:
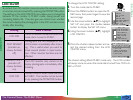
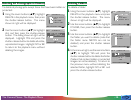
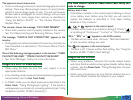
1 Using the zoom buttons (▲▼), highlight
HIDE IMAGE in the playback menu and
press the shutter-release button. A menu
of thumbnail previews will be displayed
showing the images in the current folder.
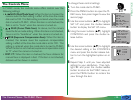
2 Using the zoom buttons (▲▼), highlight a photograph you
want to hide and press the button. The selected image will
be marked with a icon. Images that have already been
hidden can be restored to view by highlighting the image and
pressing the button.
3 Repeat Step 2 until you have selected all but the one of the
images you want to hide.
4 To complete the operation, highlight the last of the images to
be hidden or revealed, then press the shutter-release button.
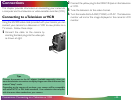
Preparing Photographs for Printing
Photographs taken with the COOLPIX 700 can be printed
directly using an output device that supports DPOF format and
is equipped with a card reader. The PRINT SET option in the
camera menu allows you to select the photographs to be printed,
set the number of copies, and specify whether the date of
recording is to be printed on the photo. This information is stored
in printer files on the memory card. You can then remove the
memory card from the camera and take it to be printed.
To set up photos in the current folder for printing:
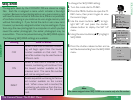
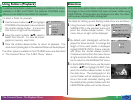
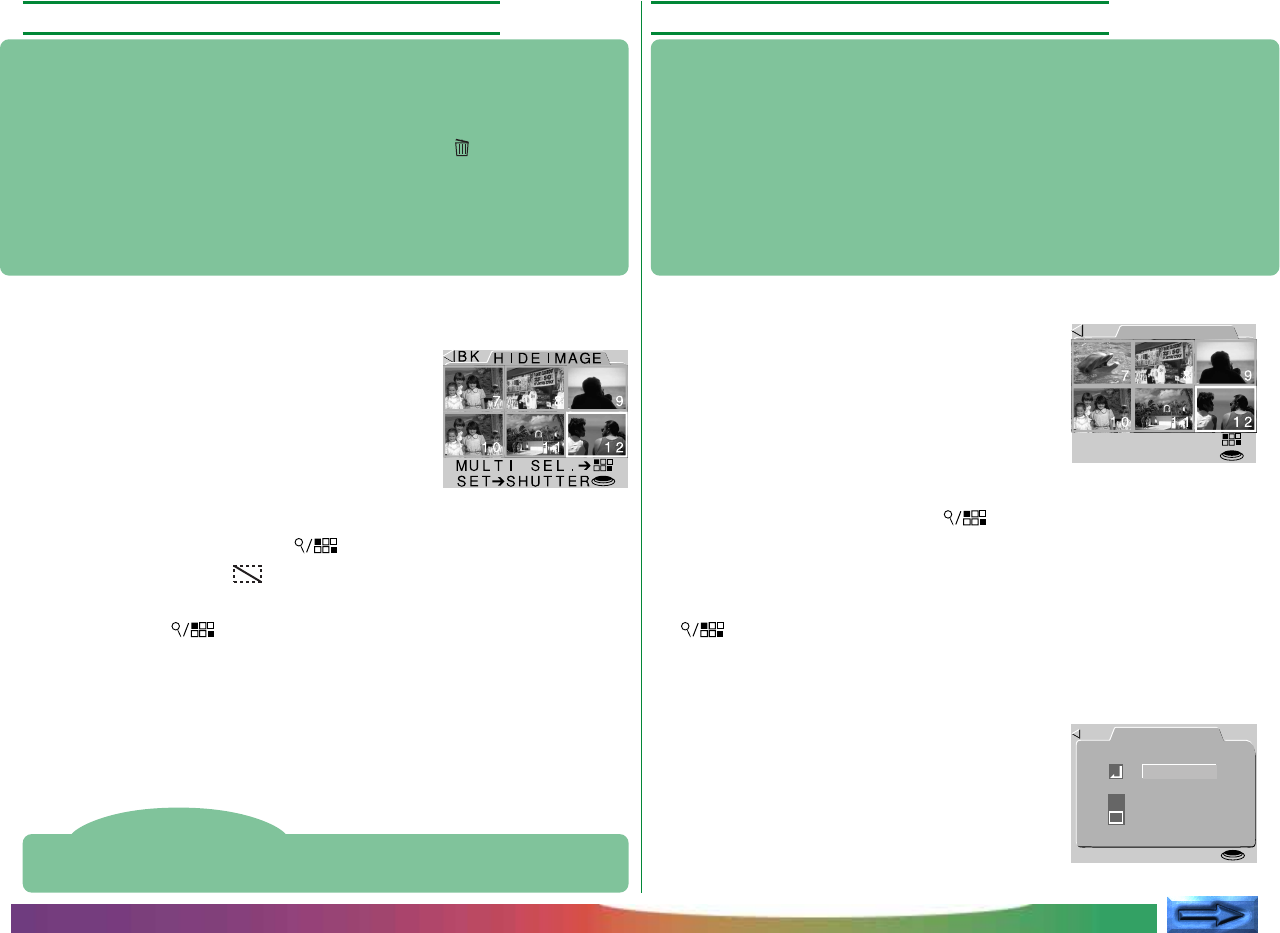
1 Using the zoom buttons (▲▼), highlight
PRINT SET in the playback menu and
press the shutter-release button. A menu
of thumbnail previews will be displayed
showing the images in the current folder.
2 Using the zoom buttons (▲▼), highlight a photograph you
want to print and press the button. The selected image
will be marked with a printer icon. Images that have already
been selected for printing can be removed from the list of
images to be printed by highlighting the image and pressing the
button.
3 Repeat Step 2 until you have selected all but the one of the
images you want to print.
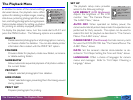
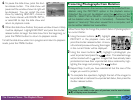
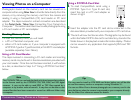
4 Highlight the last of the images to be
printed, then press the shutter-release
button. The menu at right will be dis-
played.
CONCEPT
PRACTICE
Tip
If an image is not visible in the menu of previews, use the zoom buttons
(▲▼) to display more image previews.
CONCEPT
PRACTICE
The Camera Menus: The Playback Menu
BK
PRI NT
MULT I SEL .➔
SET➔SHUTTER
PRNT SET
SET➔ SHUTTER
BK
DONE
COPIES
DATE
1